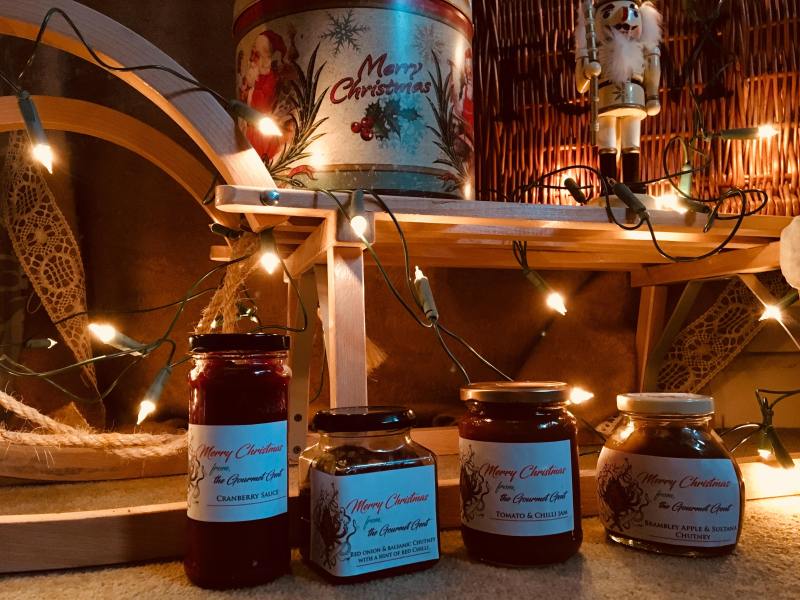


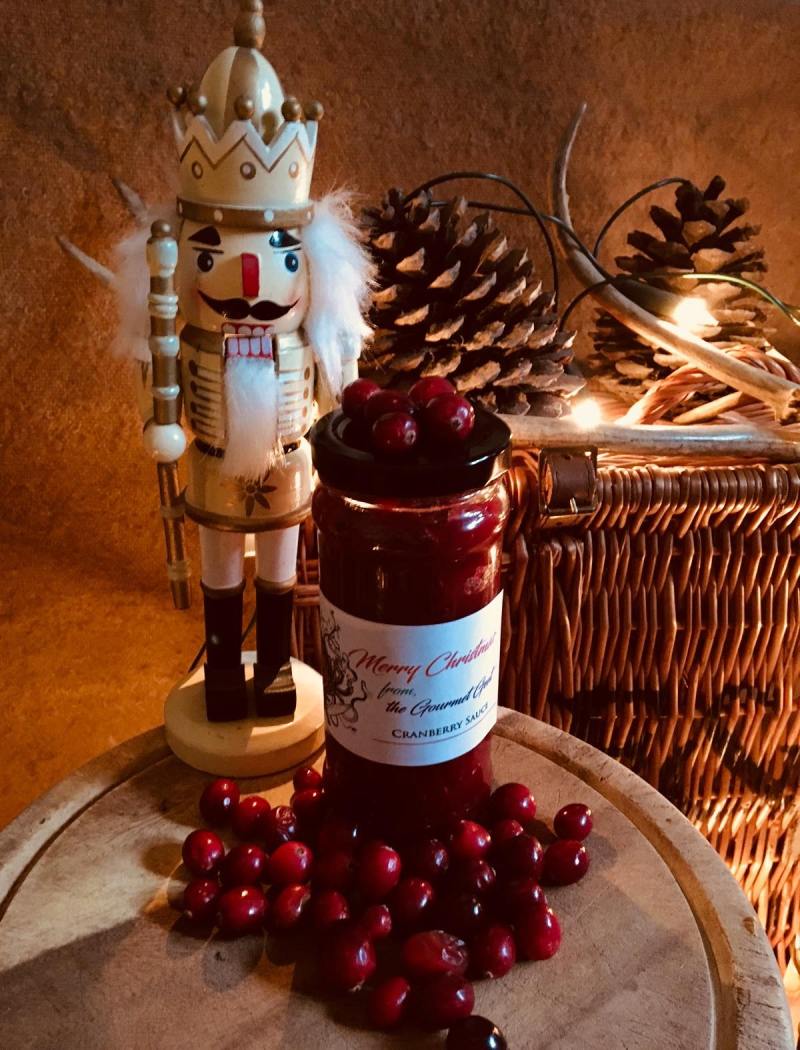

The Gent’s Cranberry Sauce
 Ingredients:
- 400 grams cranberries – washed
- 200 grams caster sugar
- 150 ml of aged port
- 2 cooking apples peeled, cored and chopped into cubes
- 2 orange Zest
- the juice of 2 oranges
Gent top tip – when prepping the apples to stop them turning brown once peeled place them into a bowl of cold water, with the juice and skin of half a lemon.
- To begin this fruity festive classic; weigh and prepare all of the ingredients as stated above.
- Pre-heat a heavy based pan, once the pan is gently warming add both the orange juice and caster sugar cook until the sugar has dissolved with no grains.
- Next add the freshly grated orange zest along with the first 75 ml of aged port.
- Allow the alcohol to burn off, as you want the beautiful subtle fragrance.
- Lastly add both the cranberries and apples (cubed) as well as the other 75 ml of aged port.
- Cook – until it reaches a jam like consistency.
- Decant the mixture into your jars ensure the lid is screwed on tight as this helps to preserve the sauce forming an oxygen free environment, for the best results store for at least 2 months before eating – ready in time for Christmas Day!
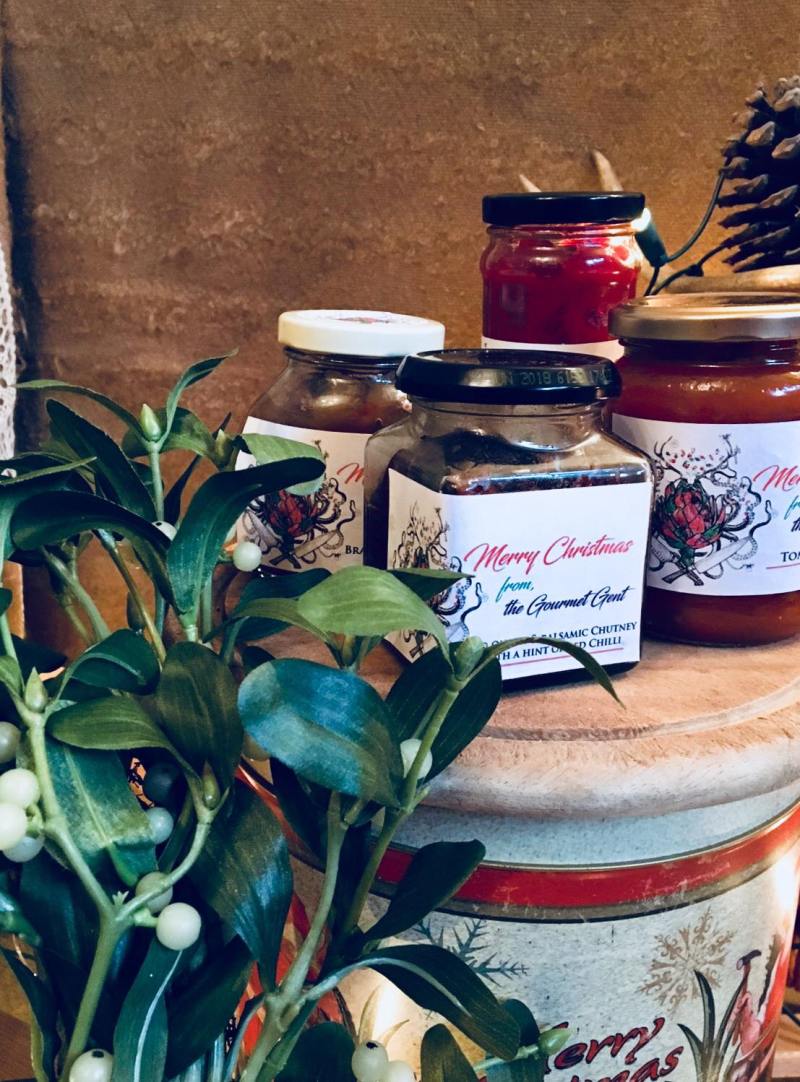
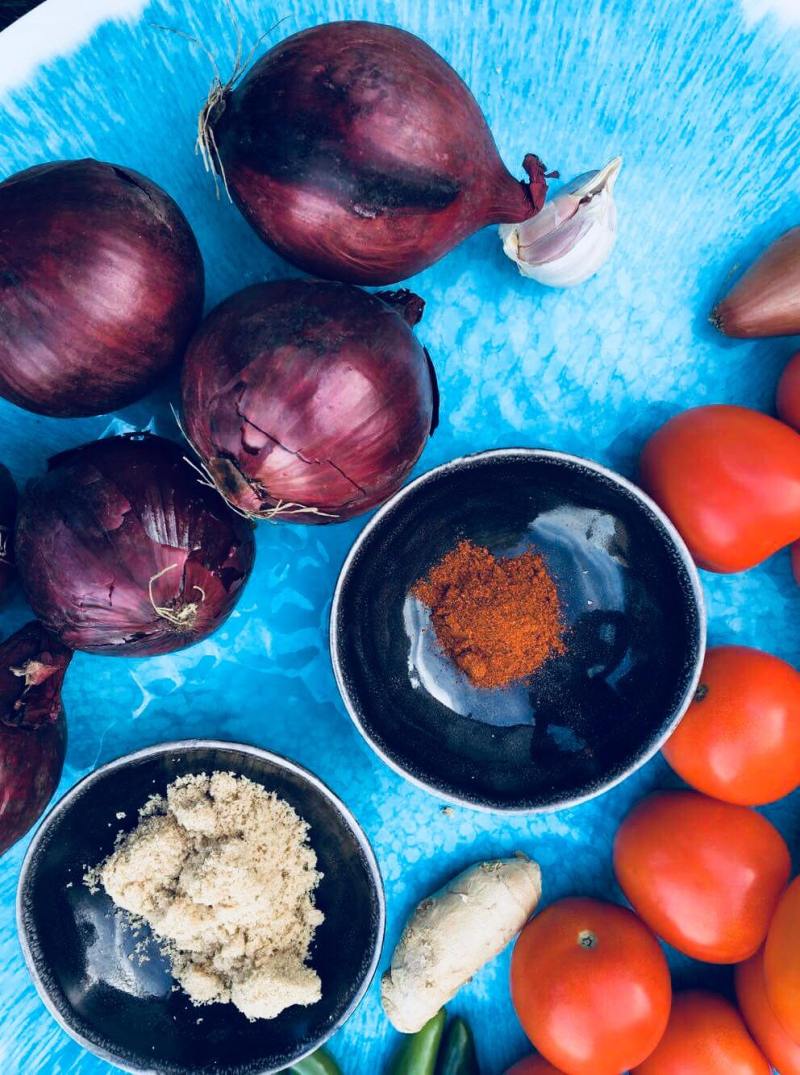
Red Tomato and Green Chilli Jam

 Ingredients:
- 500 grams red onion – finely sliced.
- 1 shallot – finely sliced
- 1 kg of fresh plum tomatoes
- 3 garlic cloves – finely sliced
- 4 green chillis – seeds left in and finely sliced
- Thumb sized piece of fresh ginger – peeled and sliced (match sticked)
- ½ teaspoon of smoked paprika
- 250 ml of red wine vinegar
- 1 teaspoon of olive oil
- To begin this little pot of sunshine, weigh and prepare all of the ingredients as outlined above.
- Place a medium range master sauce pan onto the heat allow to heat slightly once up to temperature add your olive oil.
- Next add your red onion and shallot, allow sweating as this allows their natural sweetness and sugars to be released roughly about 15 minutes.
- Next add your other aromas consisting of garlic, ginger and chilli once again allow sweating as this helps to mellow the harshness of the chilli but also helps to release the natural sweetness and perfume from the aromas.
- Next add your 250 ml of red wine vinegar and allow the vinegar to evaporate. Once the vinegar has evaporated add your sliced tomatoes with the light brown sugar.
- Stir to incorporate and dissolve the sugar.
- Once fully combined, bring off the heat and get ready to jar up!
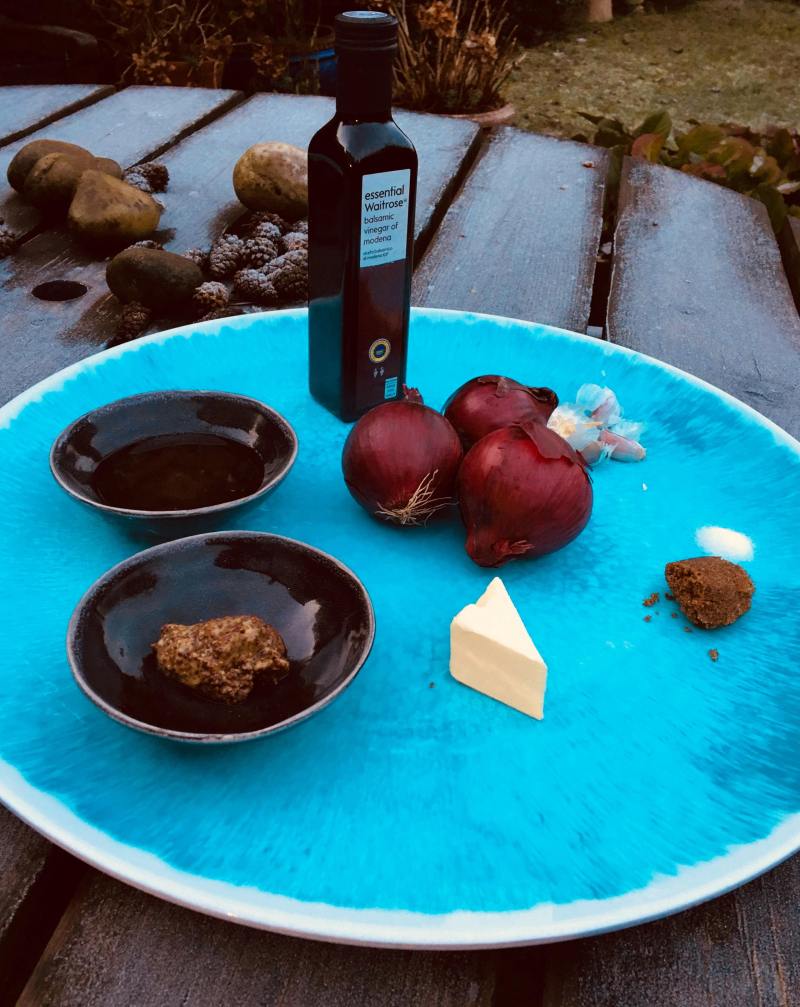
Caramelised Balsamic Red Onion Chutney with Red Chilli hints
 Ingredients:
- 2 garlic cloves – peeled and finely diced
- 200 ml of white wine vinegar
- 1 tbsp of wholegrain mustard
- pinch of sea salt
- 300 grams of light brown muscovado sugar
- 5 kg of red onions – peeled and finely sliced
- knob of softened butter
- ½ red chilli with the seeds left in – finely sliced
- 25 ml aged balsamic vinegar
- 1 tsp olive oil.
- To begin this winter warmer of a chutney, weigh and prepare all of the ingredients as outlined above.
- Next place a medium range master sauce pan onto the heat, allow to warm once warm add the olive oil.
- Once the oil is up to temperature, add your finely sliced red onion, chilli and diced garlic.
- Cook on a low heat as this allows the vegetables to sweat releasing their natural sugars (allow them to do this for at least 30 minutes)
- Next add your wholegrain mustard along with your white wine vinegar.
- Cook for 2-3 mins to allow the vinegar to evaporate.
- Next add your balsamic vinegar, along with the light brown muscovado sugar, stir to incorporate and allow the sugar to dissolve.
- Cook the chutney until it has reached a jam like consistency.
- Whilst this is happening sterilise your chosen jars; to do this boil a kettle, once the kettle has boiled very carefully pour the hot water into the jars, with the lid tightly screwed on. Allow to cool and them pour the contents down the sink as this helps to ensure that you chosen jars are clean and bacteria free.
- Carefully decante the mixture into your jars ensure the lid is screwed on tight as this helps to preserve the chutney forming a oxygen free environment, for the best results store for at least 2 months before eating.
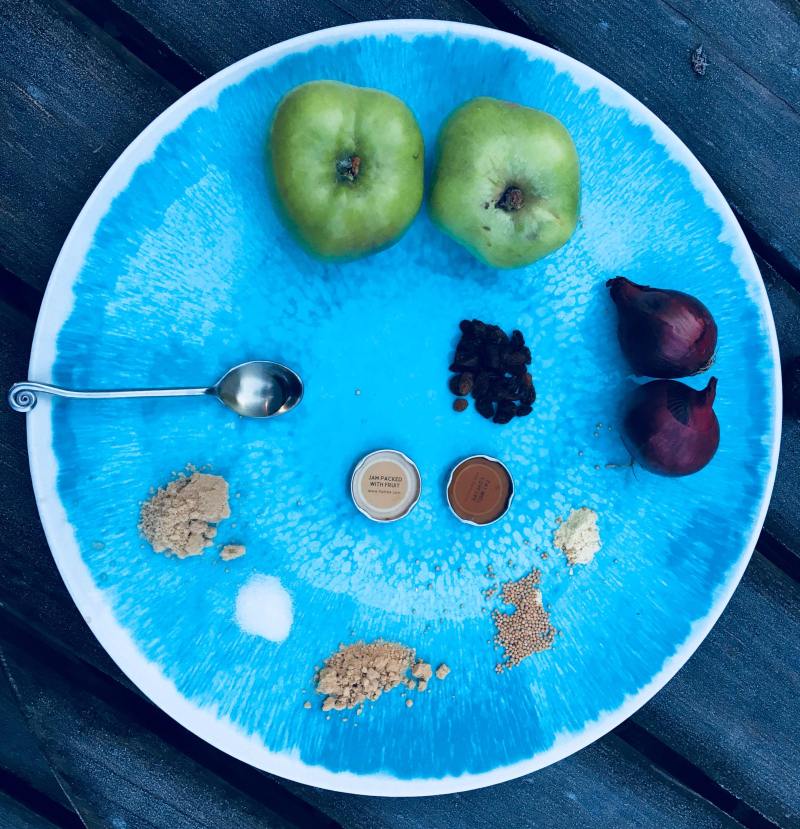
Bramley Apple and Sultana Chutney
 Ingredients:
- 2 red onions – peeled and fine dice
- 2 tablespoons of good quality vegetable oil
- 3 tablespoons of yellow mustard seeds
- 1 tablespoon of ground fenugreek seeds
- 2 teaspoons of ground ginger
- 2 kg of Bramley apples – peeled, cored and large dice
- 500 grams of sultanas
- 1 tablespoon of sea salt
- 600 grams of light brown sugar
- 375 ml of malt vinegar
- 375 ml of cider vinegar
Gent’s top tip – when prepping the apples to stop them burning brown once peeled place them into a bowl of cold water allow with the juice and skin of half a lemon.
- To begin this winter classic, weigh and prepare all of the ingredients as outlined above.
- Place a medium range master sauce pan onto the heat and allow to heat gently, once the pan is up to temperature add your vegetable oil.
- Then add your finely diced red onion and allow to sweat on a low heat as this enables the onions natural sweetness to be released.
- Once the onions are beautiful and sweet, add your aromats consisting of yellow mustard, ground ginger and lastly ground fenugreek, gently warming as this helps to release their natural oils.
- Deglaze the pan with both the malt and cider vinegars and allow the vinegar to burn off.
- Once the base has reached this stage, add your chunks of Bramley apple.
- Add your Sultanas
- Lastly add your light brown sugar and a pinch sea salt.
- Whilst this is happening sterilise your chosen jars; to do this boil a kettle, once the kettle has boiled very carefully pour the hot water into the jars, with the lid tightly screwed on. Allow to cool and them pour the contents down the sink as this helps to ensure that your chosen jars are clean and bacteria free.
- For the Gourmet Gent I love to use pre-loved and recycled jars as they offer you new and interesting shapes and sizes, but also you are giving them a new lease of life therefore reducing the harmful effects on our planet.
- Carefully decant the mixture into your jars ensure the lid is screwed on tight as this helps to preserve the chutney forming a oxygen free environment, for the best results store for at least 2 months before eating.
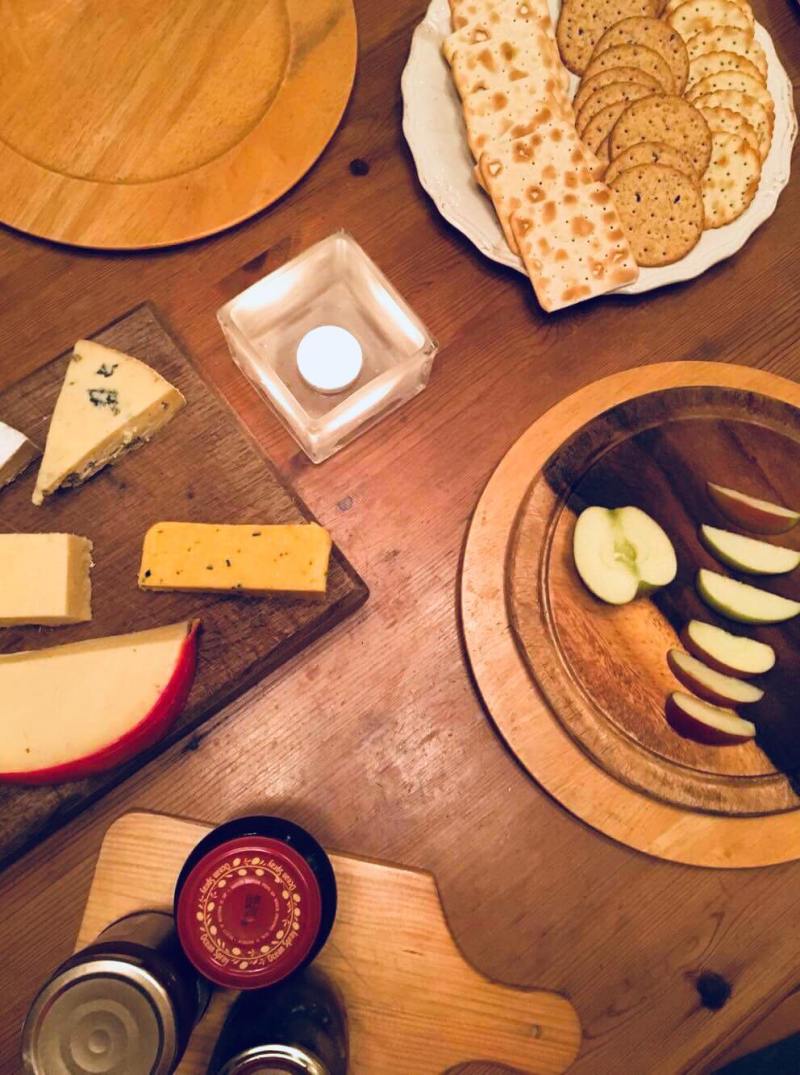
Enjoy with lots of cheese!
Wrap it up.


The Knife Wrap that goes everywhere with the Gent.
Produced by an independent Artisan designer, who uses pre-loved materials, recycled to come together in perfect harmony to make this one off piece. The perfect individual gift for any Gourmet Chef.
Hail Caesar


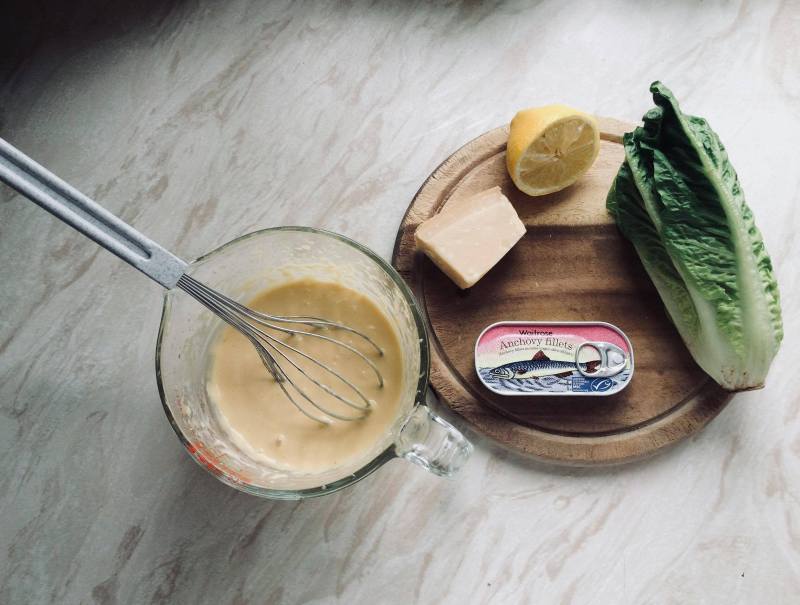


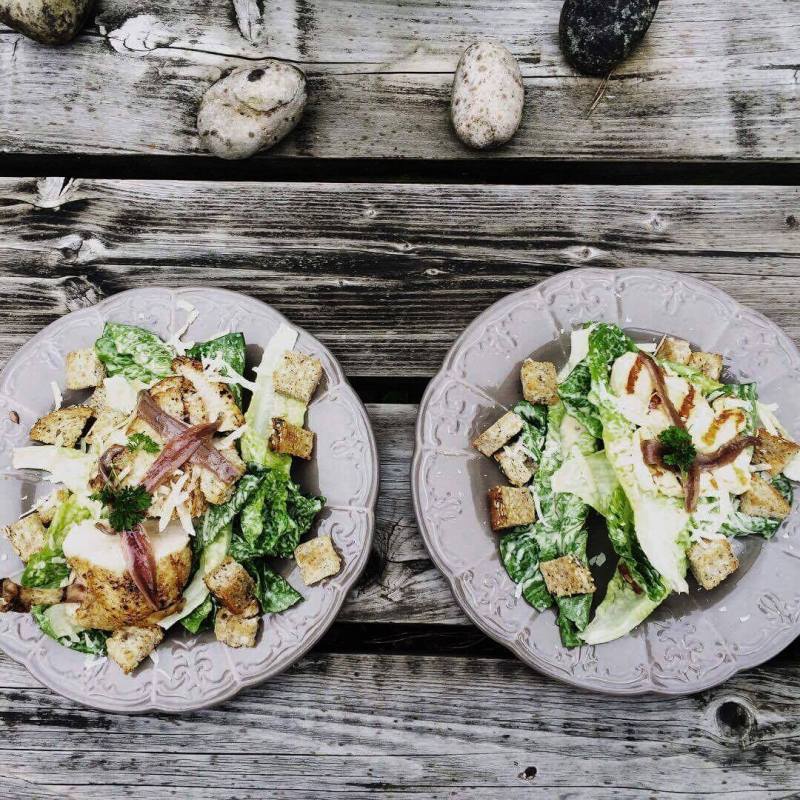
Chicken Caesar Salad:
Ingredients:
Mayonnaise:
- 4 egg yolks
- 2 heaped teaspoons of Dijon mustard
- ¼ pint of veg oil
- ¼ pint of olive oil
- Dash of white wine vinegar
- Squeeze of lemon juice
- Pinch of sea salt
- Freshly cracked white pepper
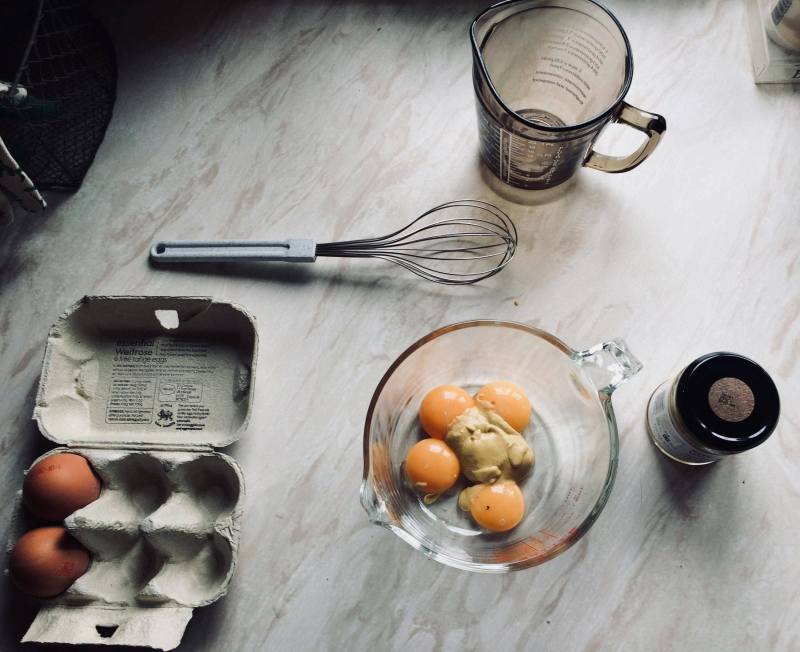
- To begin the mayonnaise, crack four eggs into a clean bowl and separate the yolks from the white, discard the whites and the shells. Next add four heaped teaspoons of Dijon mustard and a dash of white wine vinegar.
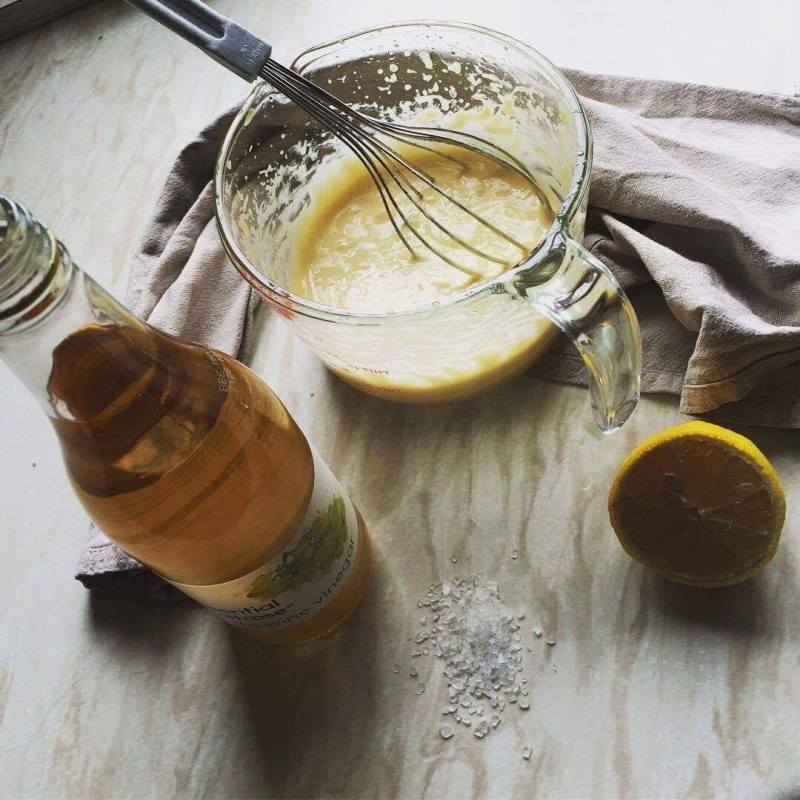
- In a separate jug mix together the vegetable and olive oil, add to the egg yolk mixture in a steady stream ensuring that you whisk constantly or otherwise the mixture will split. The secret to a silky mayonnaise is to take your time.
- To finish the mayonnaise, add a squeeze of fresh lemon juice and season to taste with a pinch of sea salt and freshly cracked white pepper.
- Reserve in the fridge until it is required later on in the process.
Caesar Dressing:
- 2 ml of semi skimmed milk
- Your freshly made mayonnaise
- Six anchovy fillets finely chopped
- 2 cloves of garlic pureed
- 5 grams of freshly grated parmesan cheese
- White pepper
- To create the best Caesar dressing, into your freshly made mayonnaise from earlier, add the semi skimmed milk, finely chopped anchovy fillets and the pureed garlic cloves. (To puree the garlic cloves finely dice the cloves of garlic, next using the back of your knife and a little sea salt to create an abrasive surface press down ensuring that you mind your fingers and rub to create a white paste) by pureeing the garlic it helps to release the natural oils and helps to give a smooth consistency.
- To finish the dressing, add the freshly grated Parmesan cheese and if needed a little more seasoning although, Parmesan is a very salty hard cheese so season accordingly.
To create the classic Caesar:
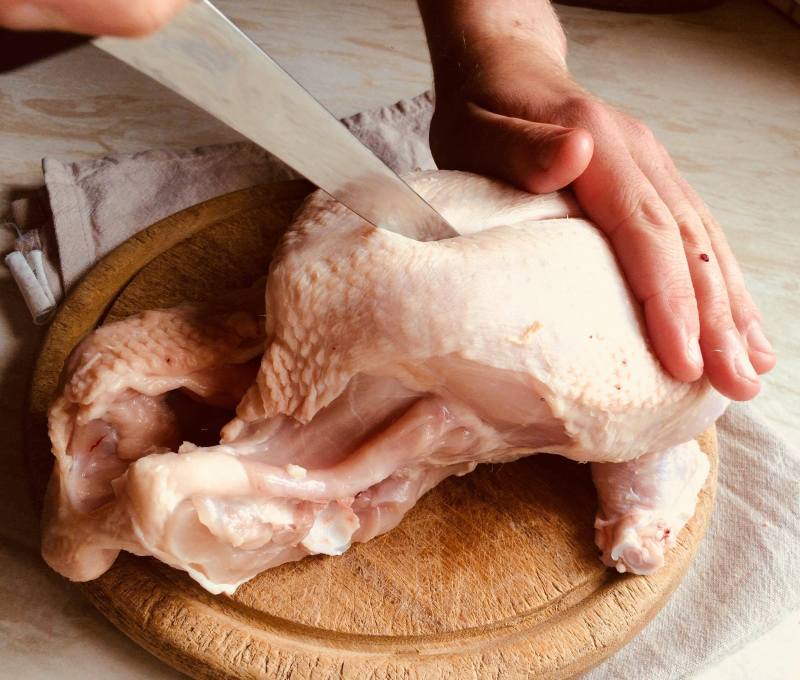
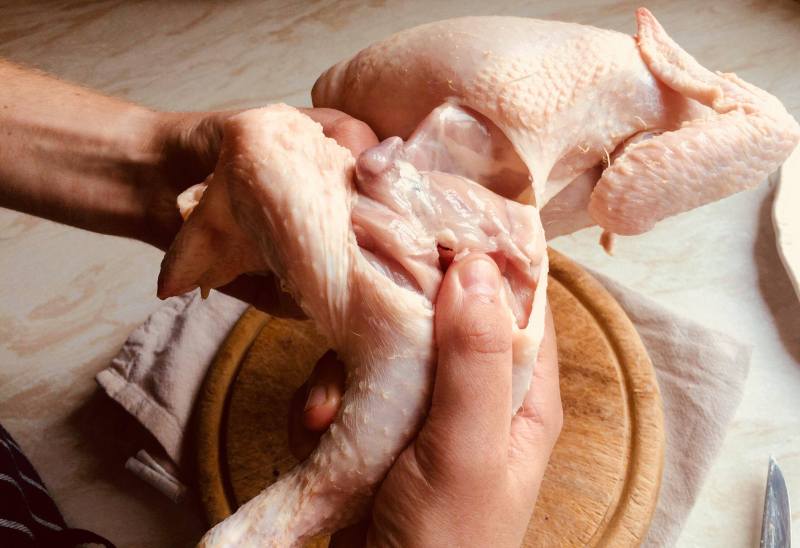
By purchasing a whole free range chicken firstly you are able to complete the quality control checks which consist of dry skin to touch, no aroma and lastly the chicken skin should be firm and pulp.
Prep and French trim a chicken breast, the term French trim means to expose the bone offering a more appealing product once plated. (Find the step-by-step photos of me breaking down the free-range chicken for sauté as I didn’t want to waste the other cuts, classily this will consist of two breasts, two thighs, two legs, and two wings.)
How to cook the perfect chicken breast every time:
- Firstly place a heavy based frying pan onto a medium heat once the pan is up to temperature, add a generous amount of creamery butter. Allow the butter to colour a little as this helps to deliver a beautiful nutty flavour.
- On a separate plate or ideally a red raw chopping board, season all over with freshly cracked white pepper and sea salt. Add the chicken breasts skin side down and allow to cook until a beautiful golden brown, as colour equals flavour. To finish the chicken place into a pre-heated oven for 15 minutes until the core temperature has reached 75 degrees.
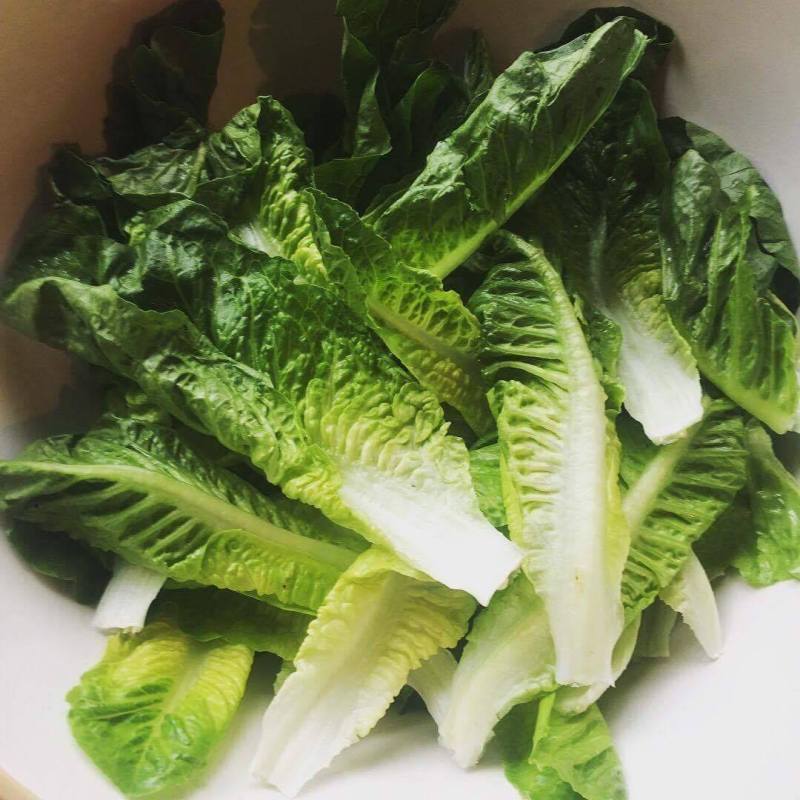
Garnish and salad:
- 6 Cos leaves
- Four anchovy fillets
- Grated parmesan
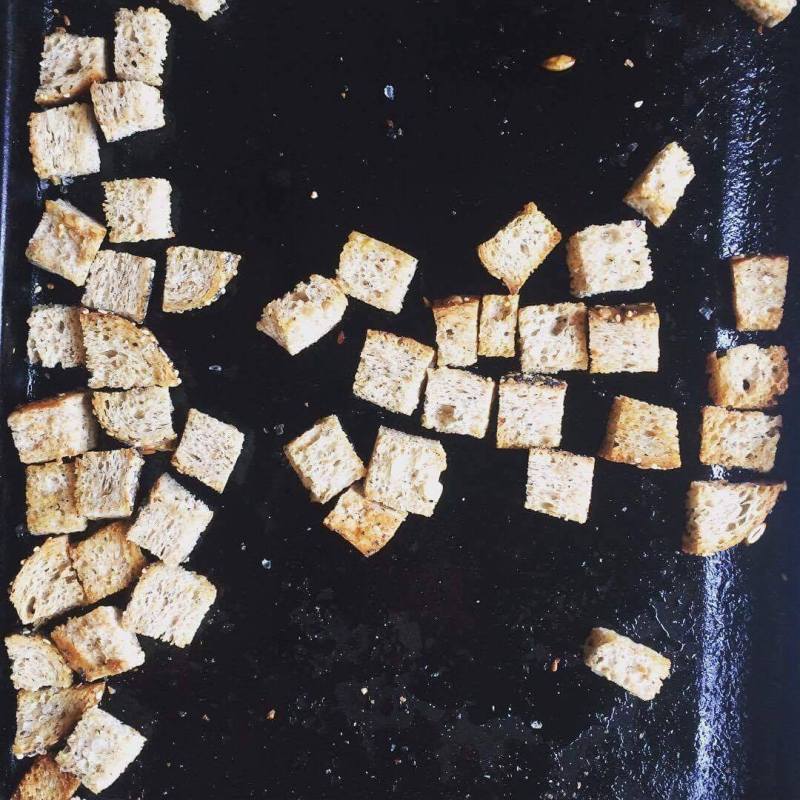
- Freshly made croutons
- Caesar Dressing
To create the perfect croutons, firstly select the correct bread, for me it has to be a sourdough loaf, slice into equal squares or for a rustic feel rip it up, to transform these into the perfect croutons add a little sea salt, freshly cracked black pepper, garlic cloves, lastly lemon thyme and a drizzle of olive oil.
Tip into an oven proof dish a cook until golden brown and crisp. Serve immediately whilst warm and crisp.
Salad time:
- Wash 6 cos salad leaves, under cold water, pat dry to remove a little of the water or otherwise this will result in a watery Caesar dressing. Next add two heaped tablespoons of the freshly made Caesar dressing onto the leaves and don’t be shy to use your hands, as they are a chef’s best tools!
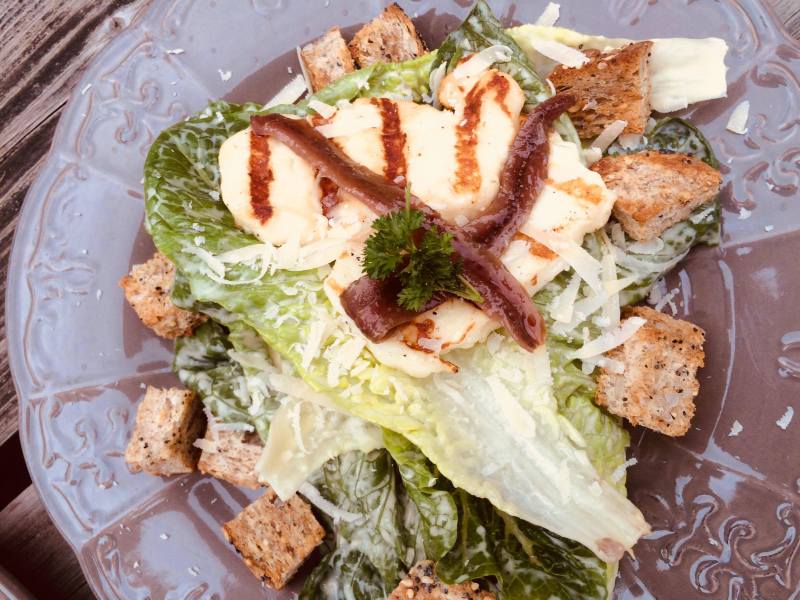
- Once all of the leaves are liberally coated, arrange on an artisan plate. To finish the salad, slice your chicken breast into three pieces and place on top whilst warm. To garnish add some anchovy fillets a little sprinkle of grated parmesan and lastly freshly made bad boy croutons.
- Serve and enjoy with family and friends.
The GENT.
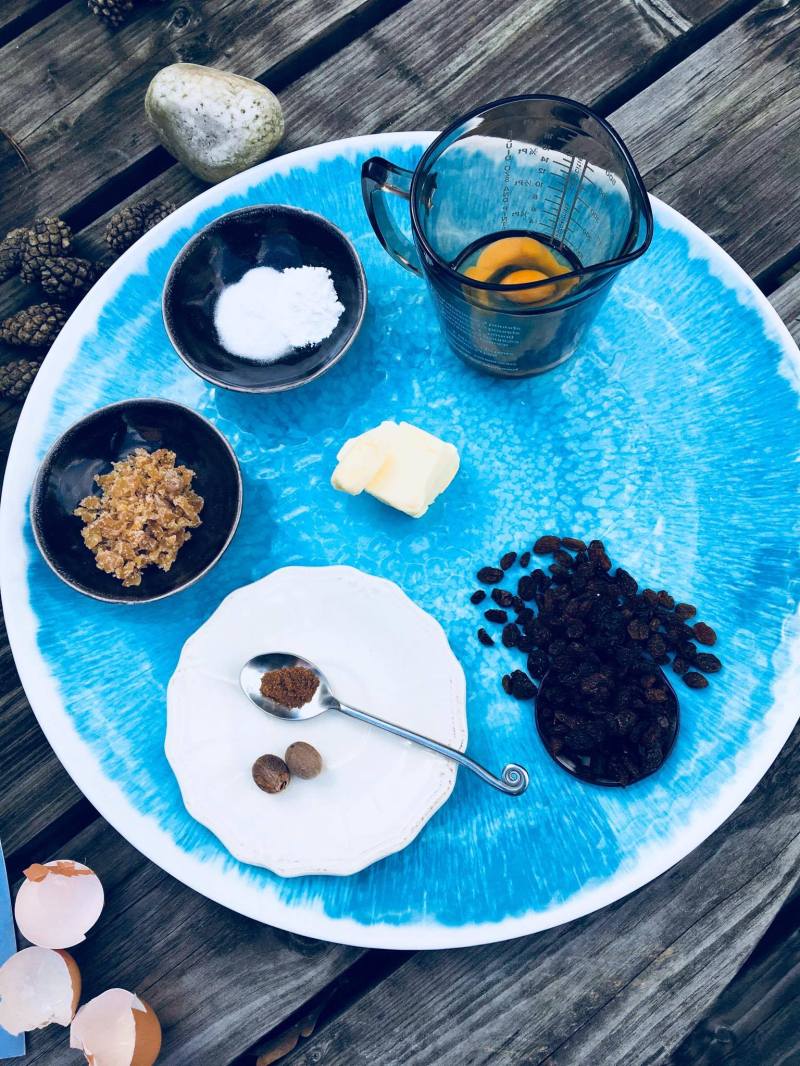
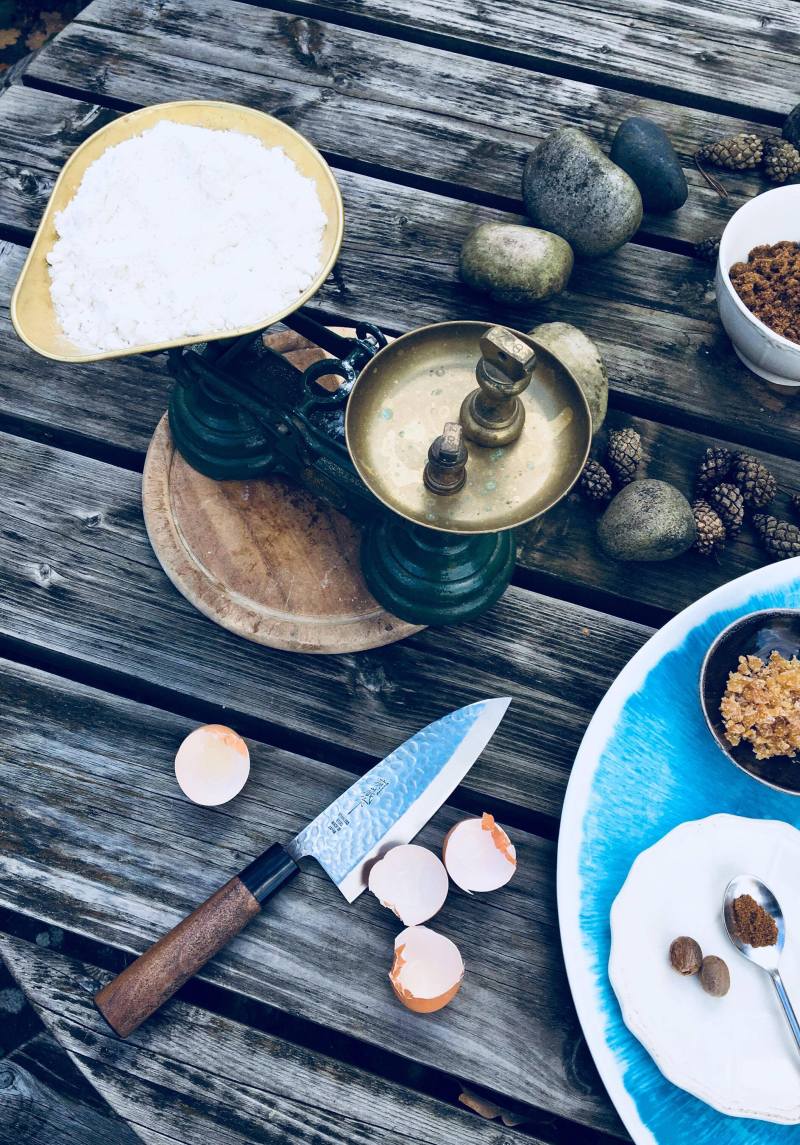
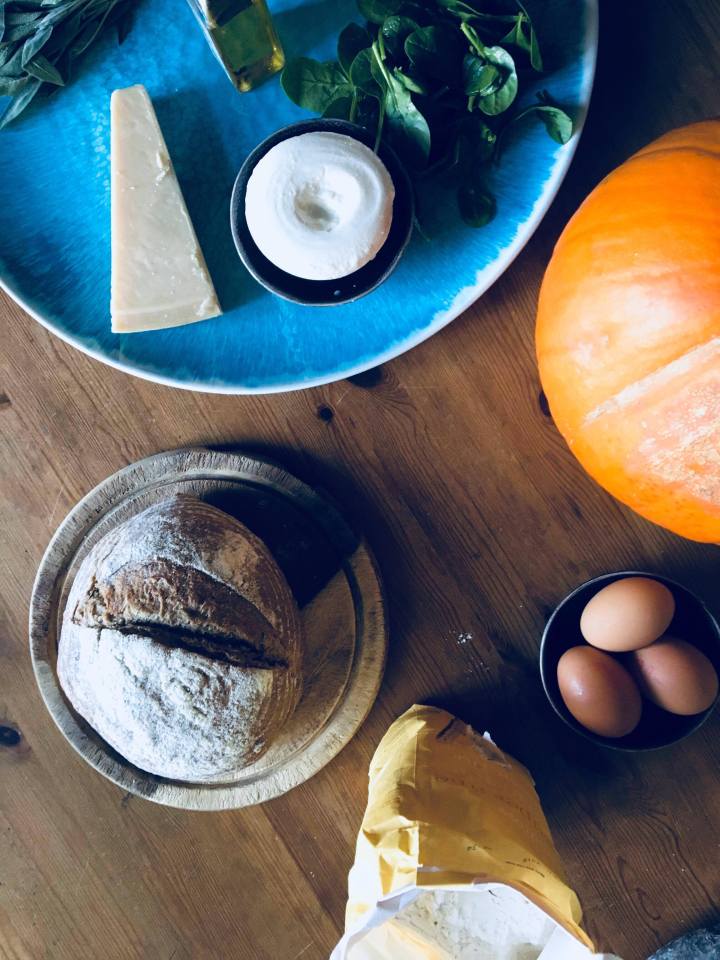
Pumpkin Loaf


 Ingredients:
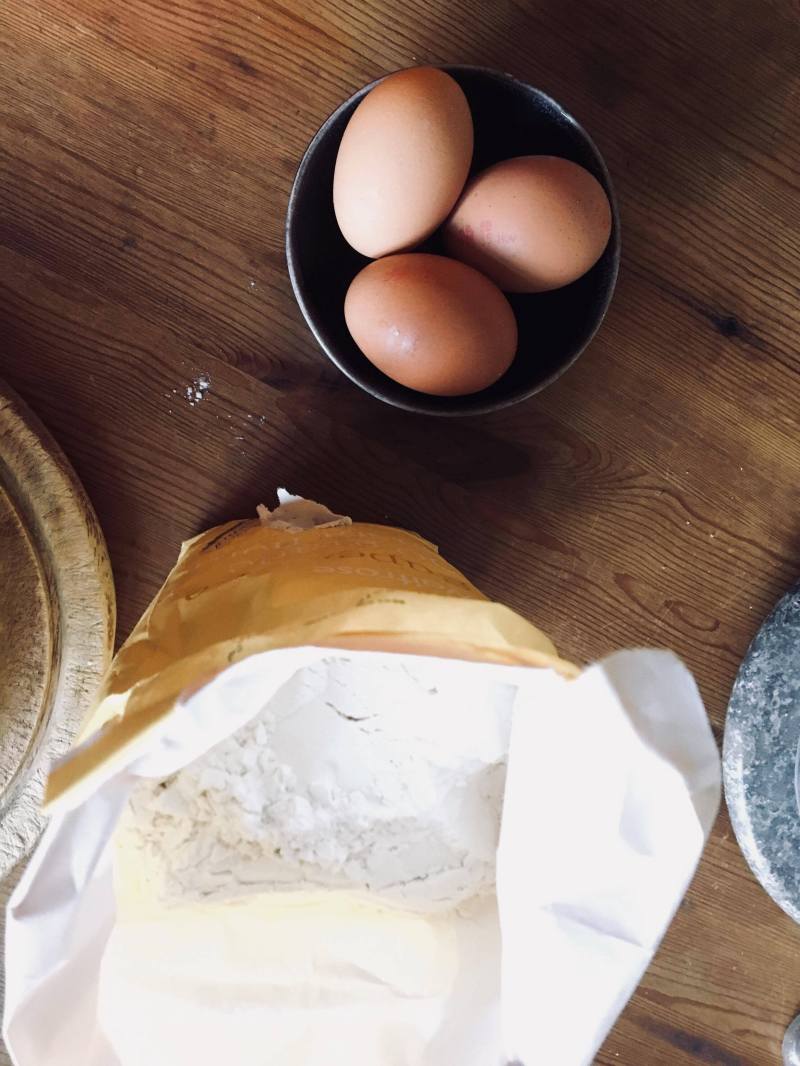
- 10 oz plain flour
- 1 tsp baking powder
- 1 tsp bicarbonate of soda
- 2 tsp of chopped crystallised ginger
- ½ tsp of table salt
- ½ tsp of mixed spice
- 6 oz of dark muscovodo sugar
- 2 oz sultanas
- 3 whole eggs beaten
- 2 0z butter
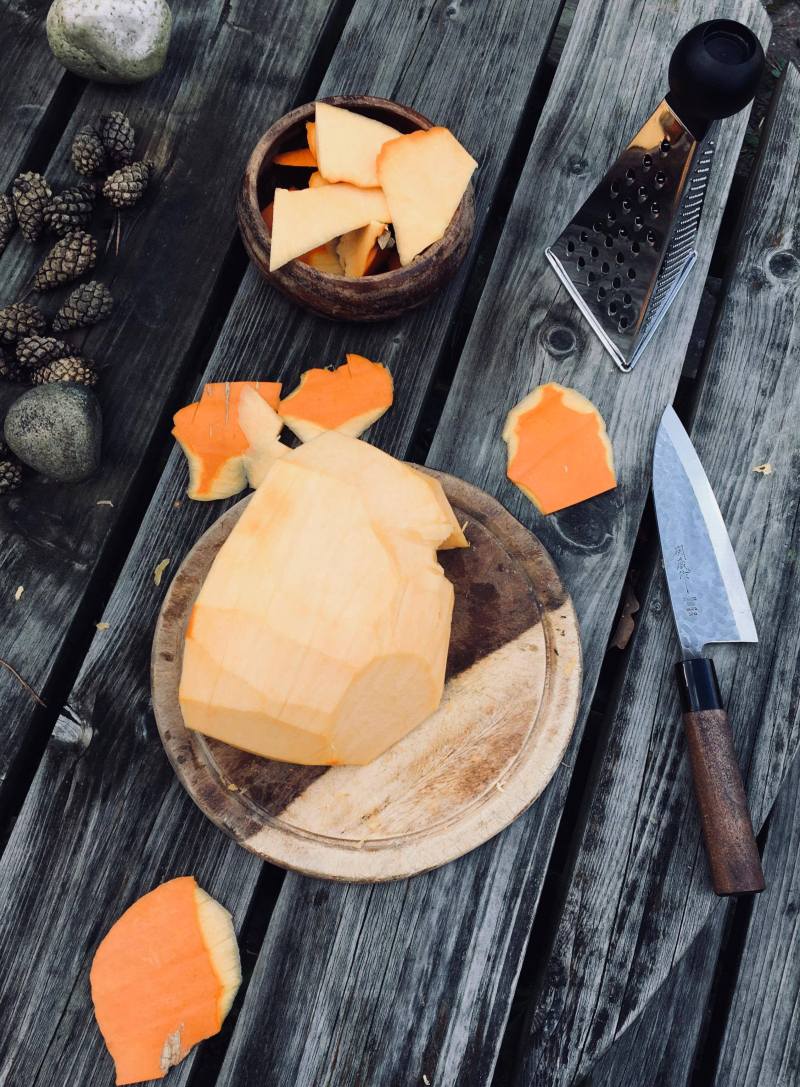
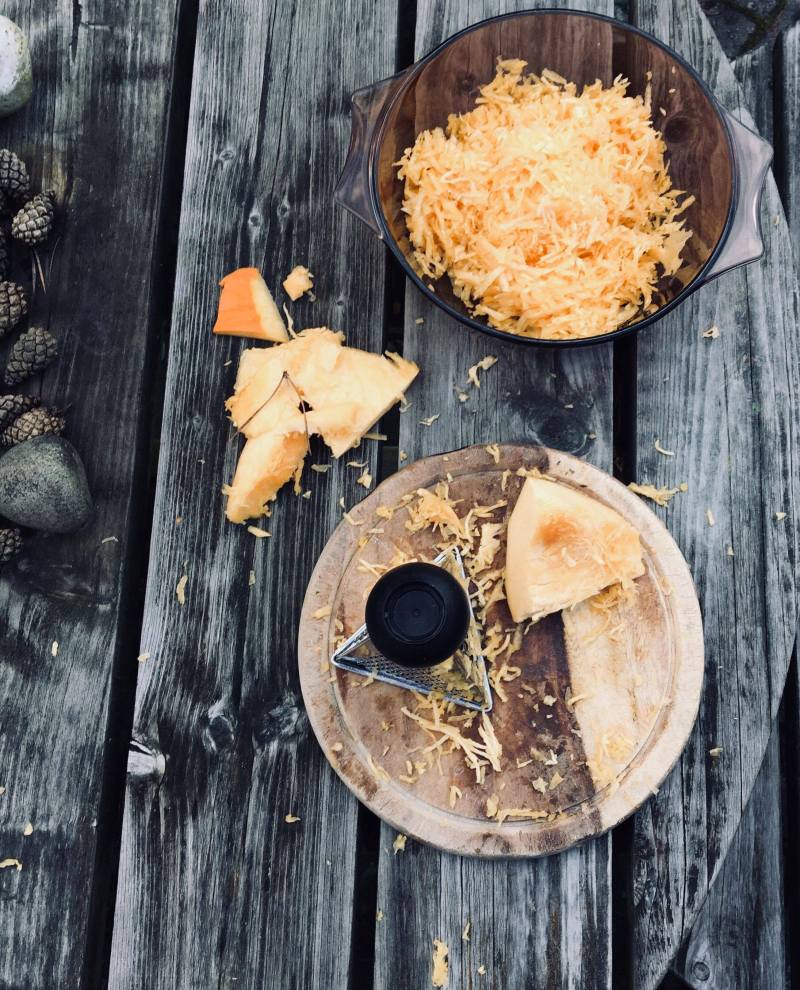
- 5 oz peeled and grated Pumpkin.
- To begin this Beautiful Pumpkin loaf weigh out each of the ingredients as outlined above and then pre-heat your oven to 190 degrees.
- Using a little extra butter first grease a medium loaf tin, then line the tin with baking parchment as this enables you to release the cake once it has been baked.
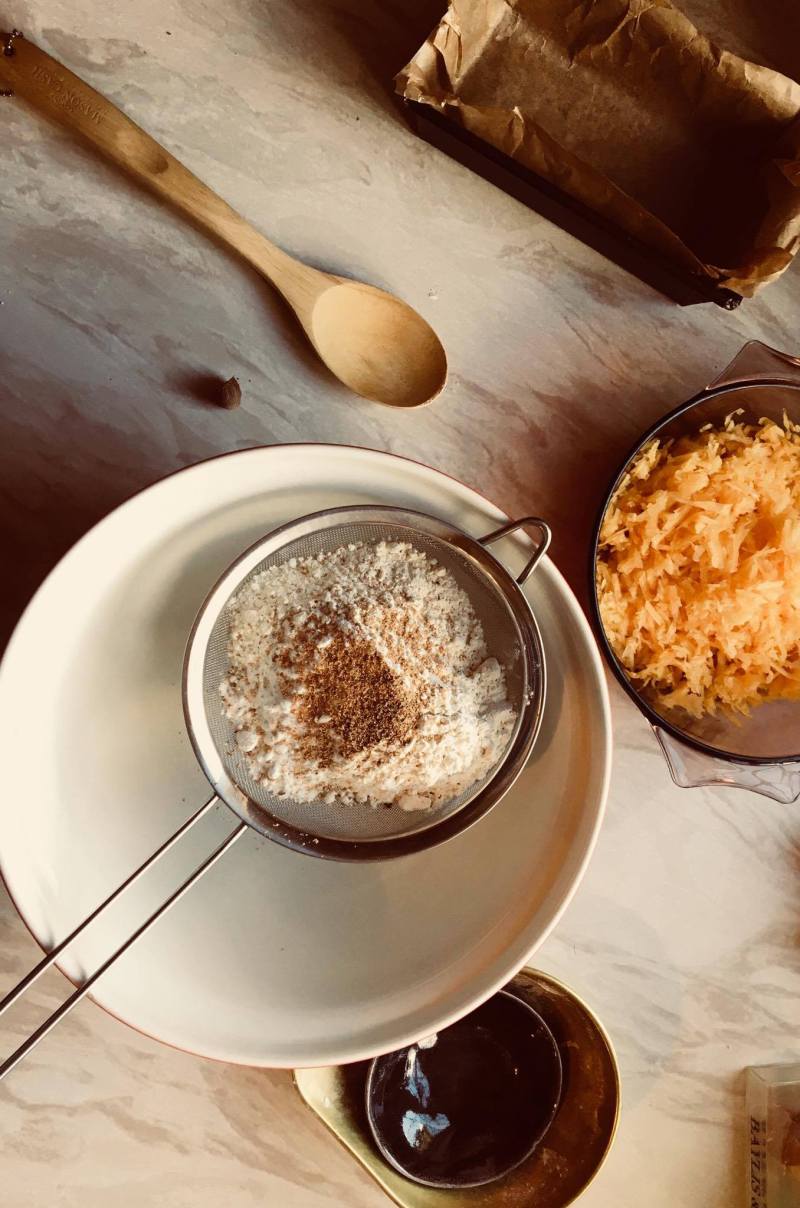
- Next in a medium mason and cash mixing bowl incorporate all of the dry ingredients by sieving them together, using a micro-pane grate in half a nutmeg and stir to incorporate.
- Now add your butter, make sure that all of the butter has been worked into the dry ingredients or otherwise once it has been baked you will get little grease spots of the unworked butter.
- Next add your dark brown sugar along with the dried sultanas and the grated pumpkin. By using pumpkin like you would with grated carrot it enables the loaf to remain lovely and moist.
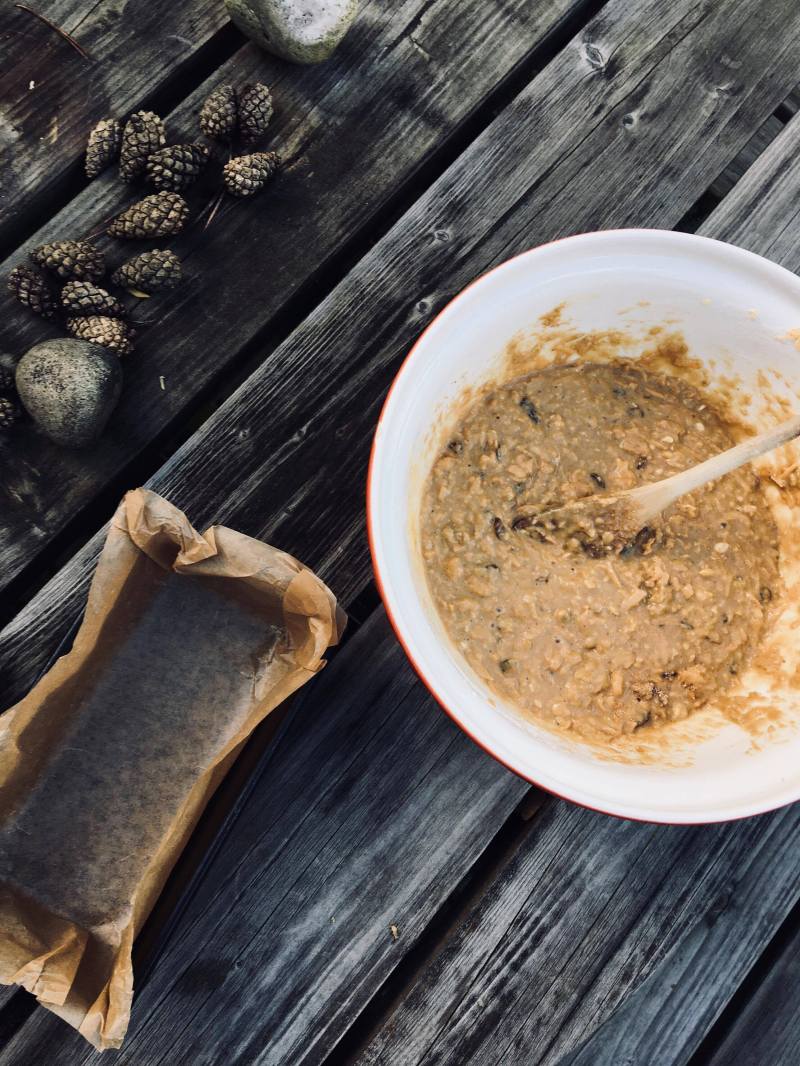
- Once all of the ingredients have been mixed together crack three large eggs into a glass pyrex jug whisk using a fork and then add to your dry ingredients.
- Stir to incorporate all of the ingredients together make sure that you mix this thoroughly, as you don’t want any raw dry ingredients.
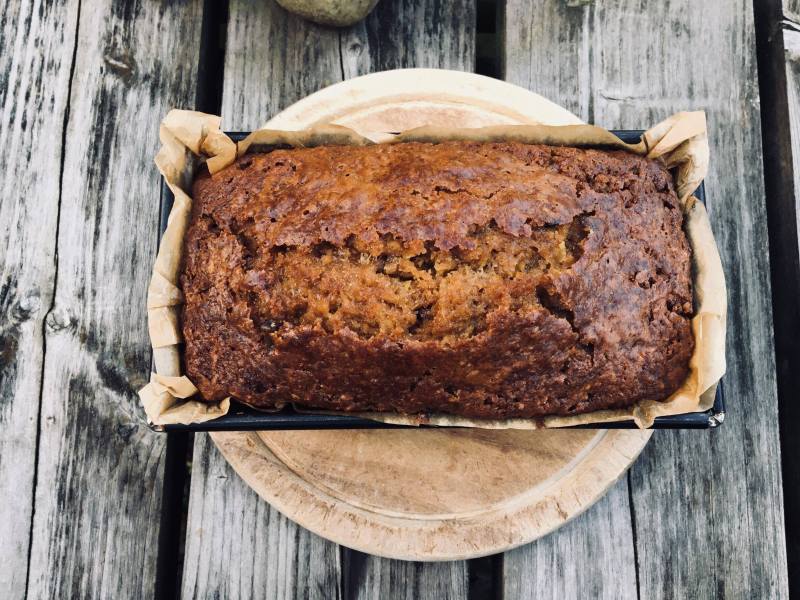
- Pour the mixture into your pre-lined loaf tin, and then place into the oven on a baking tray as this enables a level surface for your loaf to bake on.
- Bake for 1-1.5 hours or until the loaf is a beautiful golden brown, to test if the cake is cooked or not, using a wire probe, probe the cake if the probe comes out clean you are laughing.
Whilst the loaf bakes get cracking with these beautiful garnishes, which don’t only improve the image of the loaf but also offer new dimensions in both flavour and texture.
Pumpkin Praline:
- 2 grams of Sea Salt
- 50 grams of caster sugar
- 50 grams of Toasted seeds
- ½ tsp. smoked paprika
- ½ tsp. cayenne pepper
- Touch of cold water.
- To begin the praline weigh all of the ingredients as outlined above.
- Next on an oven tray lay a piece of baking parchment, as this is where you will allow your praline to set.
- To start the praline in a small saucepan empty the sugar along with a touch of water, place the pan onto a medium heat and allow it to reach a light golden colour. BE CAREFUL NOT TO BURN IT.
- To toast your seeds in a small saucepan, warm on a medium heat once the pan is up to temperature add your seeds and roast until they reach the popping stage.
- At this point decant into a small bowl add your aromats and add to the caramelised sugar.
- Remove from the heat and decant onto the baking parchment.
- Allow to stand until it has set solid.
- Then you can go freestyle. Shard it, chop it, powder it.
Crystalized Sage Leaves:
- 25 grams of sugar
- Touch of cold water
- Picked Sage Leaves
- To begin this garnish, weigh all of the ingredients as outlined above.
- Next on an oven tray, lay a piece of baking parchment down, as this is where you will allow your praline to set.
- To start this garnish in a small saucepan empty the sugar along with a touch of water, place the pan onto a medium heat and allow to colour until it reaches a light golden colour. BE CAREFUL NOT TO BURN IT.
- At this point add your picked sage leaves remove from the heat and then decant onto the lined tray using a pair of tweezers.
- Allow to cool and crystalize.
Remove your loaf from the oven once it is golden brown and cooked all the way through, to take this pumpkin loaf to the next level hit it with a little runny honey whilst it is still warm. Once completely cool add your garnish, and accompany with a classic crème Anglaise (follow the recipe below)
Crème Anglaise ( English Home Made Custard)
Ingredients:
- 6 egg yolks
- 4 tablespoons of caster sugar
- 500 ml of cream
- 250 ml of milk
- 1 vanilla pod.
- To begin this recipe weigh out all of the ingredients as outlined above.
- To begin this crème pour both the cream and milk into a medium saucepan and place onto a medium heat to bring up to a simmer.
- Using a paring knife carefully split the vanilla pod, and scrape out the seeds, add these to the mixture along with the vanilla pod and allow to infuse.
- In a medium mason and cash mixing bowl separate four large eggs discard of their whites, then add four tablespoons of caster sugar to the egg yolks and whisk until the mixture has gone pale in colour.
- Once the milk and cream mixture is ready remove from the heat along with the vanilla pod.
- Now add this to your egg yolks and sugar, ensure that you do this in a steady stream and whisk constantly or otherwise you will just cook and scramble eggs.
Enjoy, The Gent
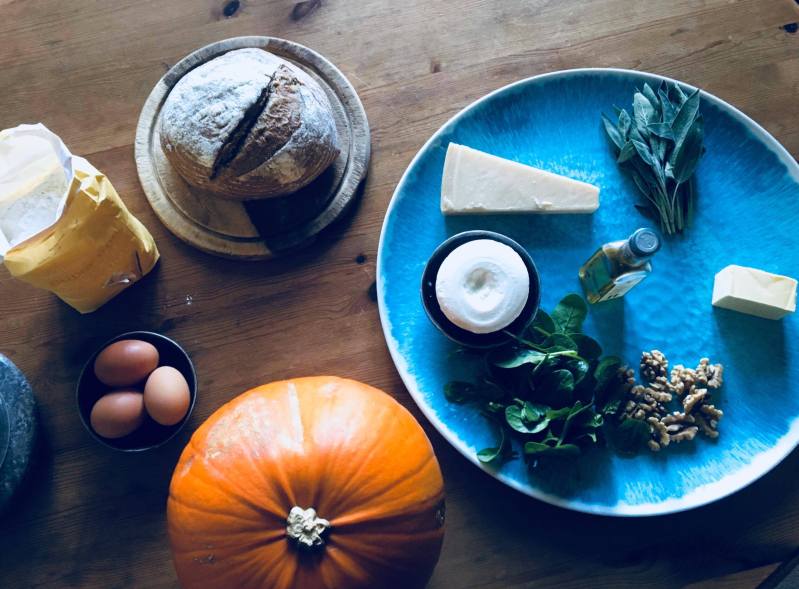
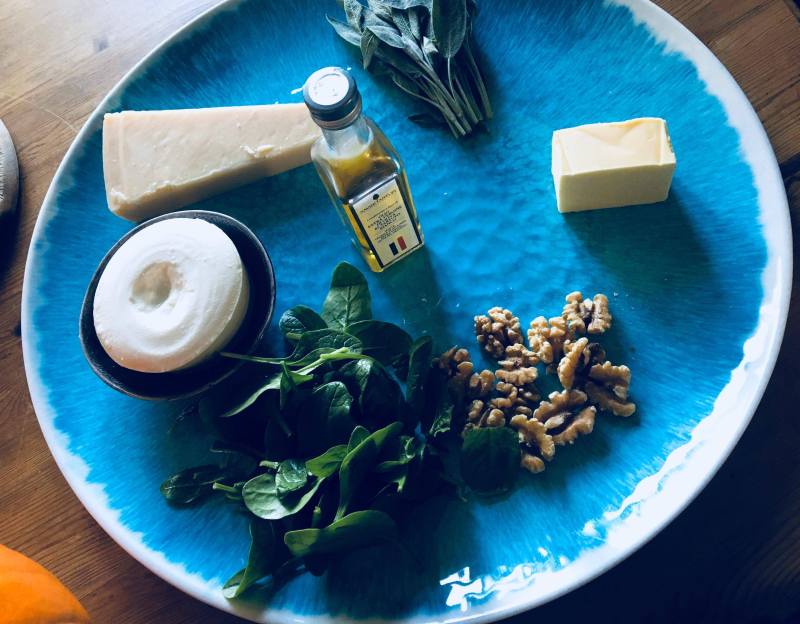
Honey Roasted pumpkin, ricotta cheese ravioli with toasted walnuts, pumpkin pieces, and sage beurre noisette, finished with truffle oil hints.


 Ingredients needed for the pasta dough:
- 300 grams of OO pasta flour
- 3 medium whole eggs
- A pinch of Maldon sea salt
- To start the pasta dough place the OO flour and Maldon sea salt into a large mixing bowl.
- Create a volcano shape in the middle of the flour, as this is where you will crack your eggs.
- One by one crack your eggs into the centre of the flour, discarding of the shells using a metal fork whisk the eggs (you can do this before in a Pyrex jug) using a clean wooden spoon begin to drag the OO flour in from the edges and incorporate the eggs and flour.
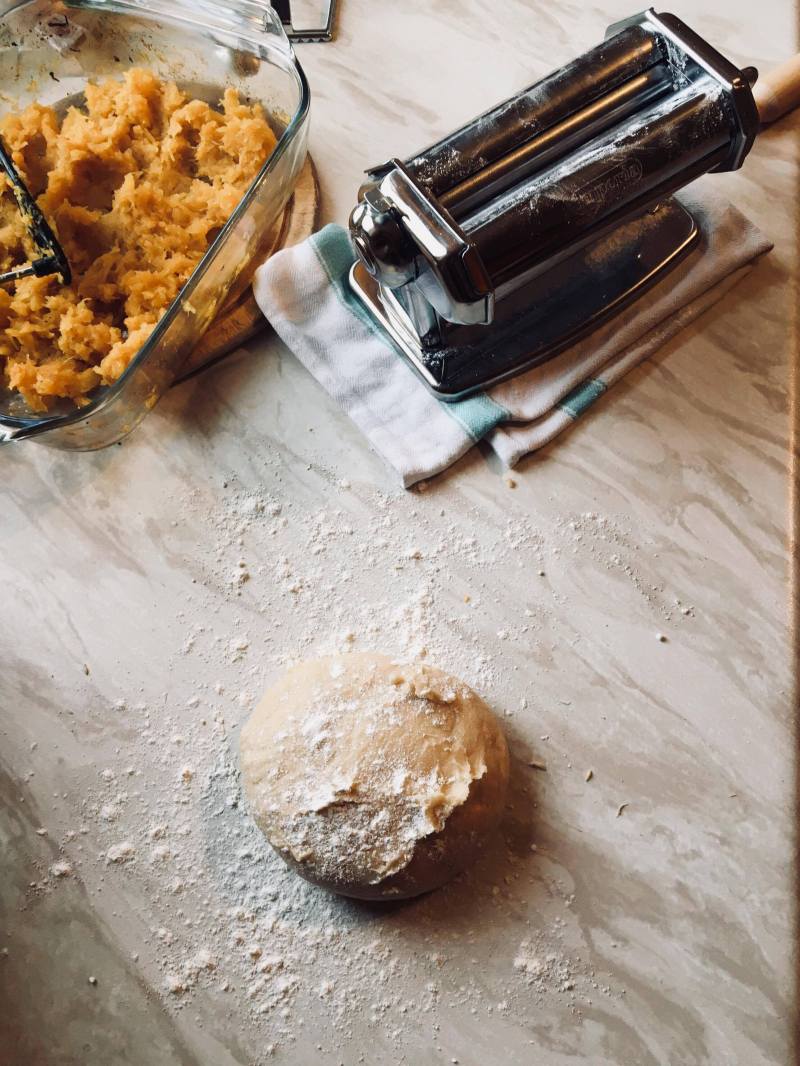
- Once the dough has reached a beautiful crumbly consistence start using your hands to pull the dough together, using your palms. Once the dough is ready and all of the flour and eggs incorporated tip out onto a floured service.
- Begin to knead the dough as this builds the glutens up, after 10 minutes of kneading your dough it should be smooth and silky.
- Once at this stage wrap your dough in cling film and leave to rest in the fridge for 30 minutes as this allows the dough to relax.
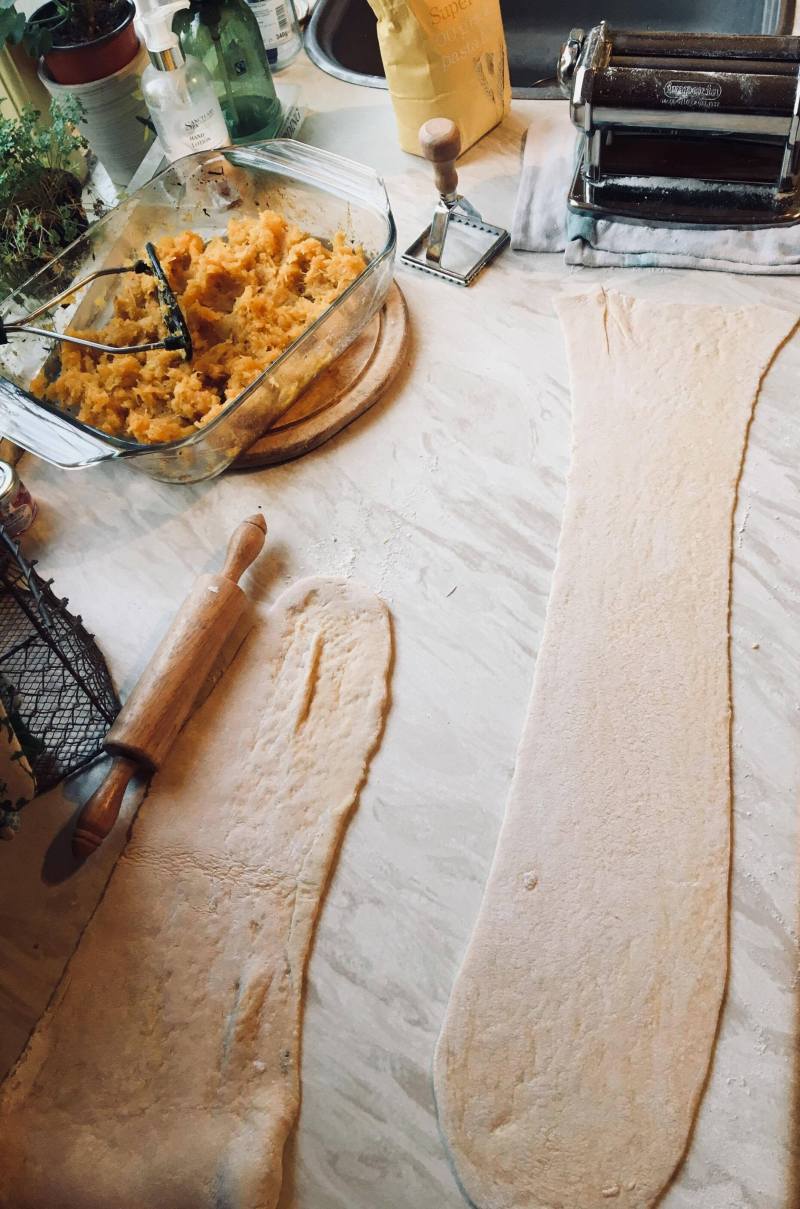
- Having rested the pasta dough it is now time to shape your dough you can either do this by using a rolling pin or using a pasta machine, as this will ensure that all of the pasta is even once it has reached your desired thickness. (On a pasta machine you have three settings as these enable you to work the dough down to the desired thickness)
- After rolling the dough to fit to the machine, run the dough through the thickest setting, fold in half and then drop the thickness as this helps to ensure the dough is silky and glossy. The thickness you want to achieve is that of a pound coin.
- Once you have reached this stage allow to air for a minute. Using your cutter cut out the shapes once cut place onto a floured large dinner plate as this helps to stop them from sticking together.
- Wrap with cling film and rest until it is time to fill.
Honey roasted pumpkin, ricotta cheese ravioli filling:
- 1/8 pumpkin peeled
- 15 grams of drained ricotta cheese
- Little salt
- Freshly cracked black Pepper
- Pre-heat your oven to 200 degrees.
- Weigh out 15 grams of ricotta cheese (to remove the excess moisture from the cheese, place into a fine sieve over a bowl and reserve in the fridge) the excess moisture can ruin the mixture and also make your pasta parcels explode.
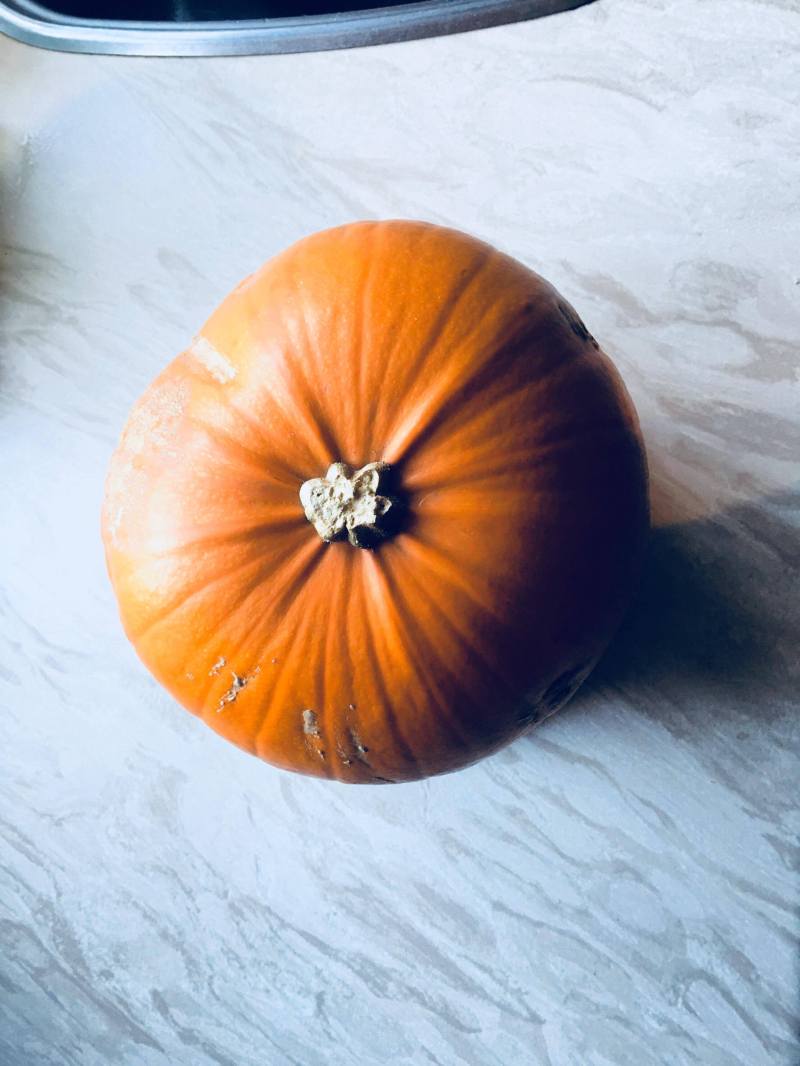
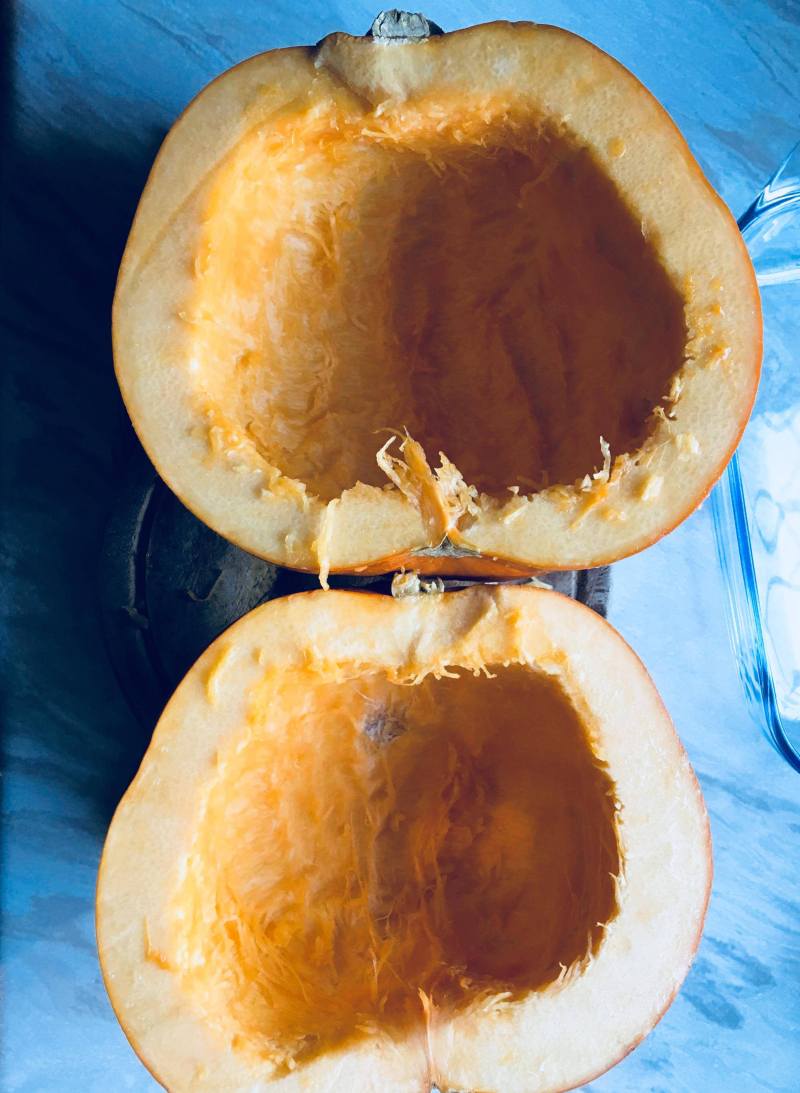
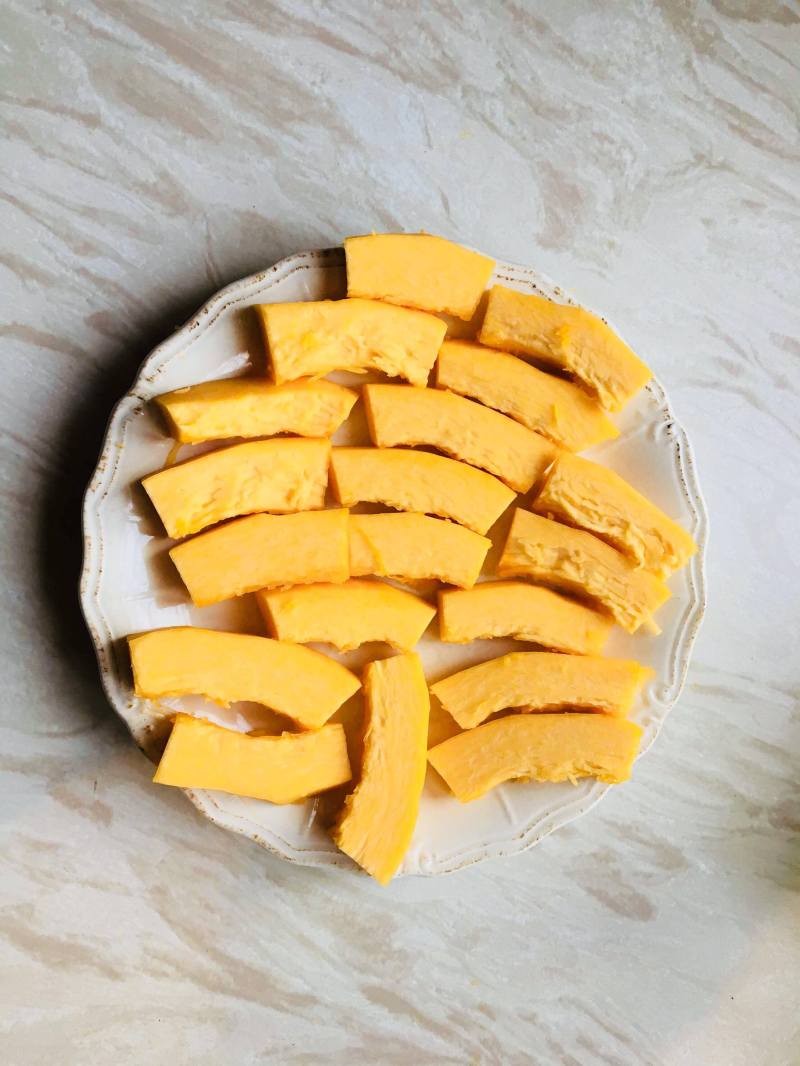
- To prepare the pumpkin remove the skin, seeds, membrane and white piff as this is bitter and not very nice to eat, once the pumpkin has been prepared cut into equal size chunks, as this will ensure for even cooking.
- Place into an oiled ovenproof Pyrex dish and place in the oven for 30minutes.
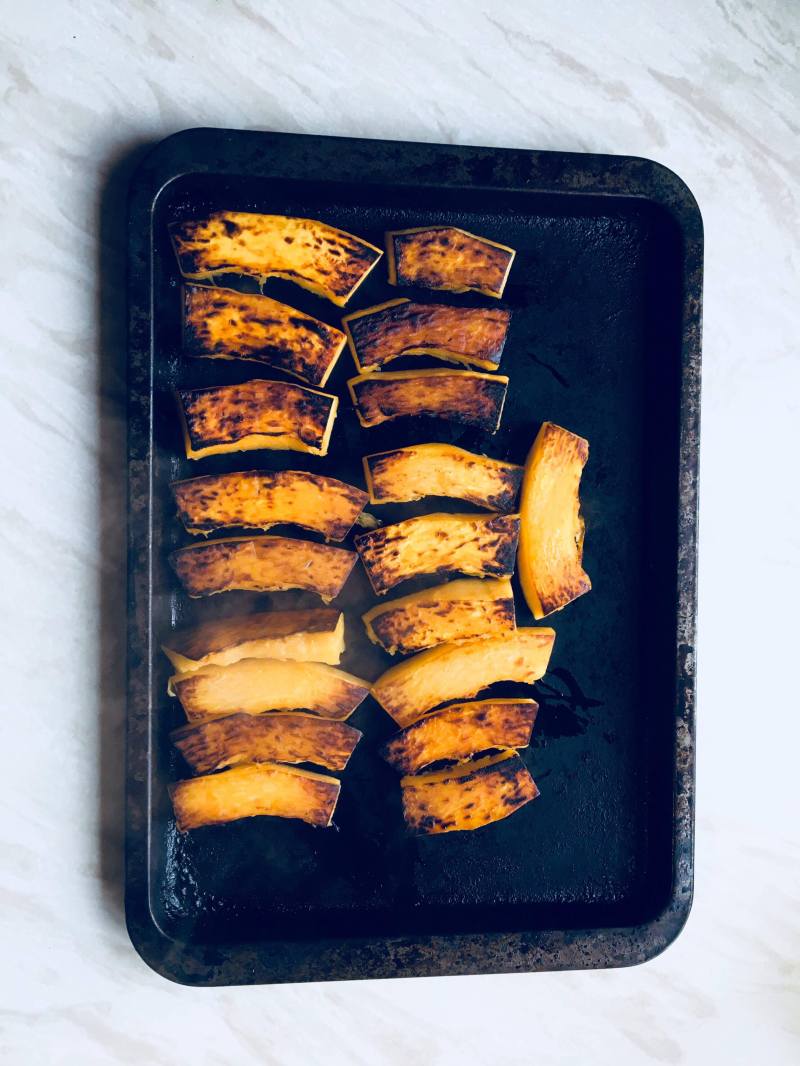
- Once the pumpkin has been cooking for 30 minutes, season with sea salt, pepper and add a drizzle of honey reduce the oven temperature to 150 degrees and cook for a further 30 minutes until the pumpkin is golden brown, sweet and tender.
- To check the pumpkin pieces are cooked grab a knife and if you can easily pierce them remove from the oven.
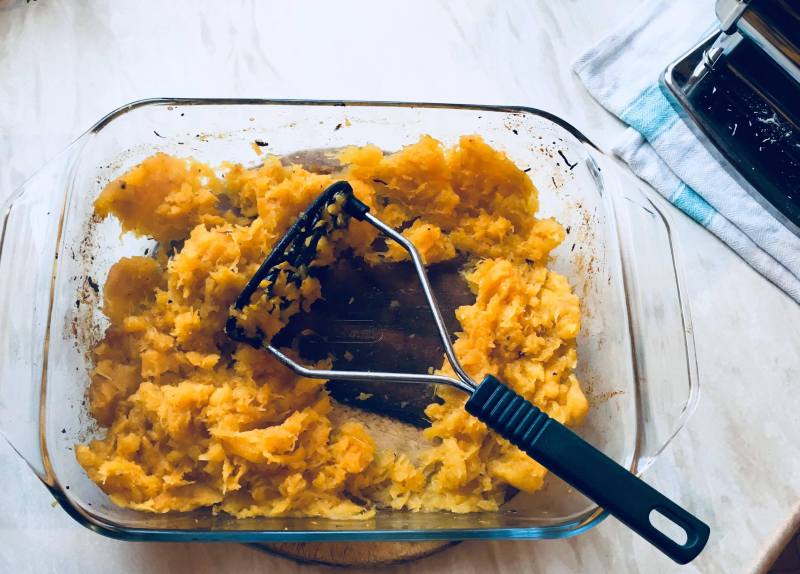
- Using a potato masher mash the pumpkin, allow to cool, once cooled add your ricotta cheese and mix to incorporate.
Honey roasted pumpkin pieces:
- 1/8 pumpkin which has been peeled, sliced and deseeded
- Olive oil
- To begin place a large frying pan onto a medium heat.
- Slice each pumpkin piece to the thickness of your thumb, as they cook they will reduce in size so want them to still have structure and offer a different texture dimension.
- Once the pan is up to temperature add a little olive oil and allow to heat, the secret to achieving the perfect roast is a very hot pan.
- Place each of the pumpkin slices into the pan and allow to cook on one side until they are a beautiful golden brown, this should take thoroughly around 10 minutes, but just keep checking.
- Once golden and beautiful place onto a large baking tray and drizzle with runny honey and reserve to one side until they are required later on in the process.
Time to fill:
- Remove your cut pasta pieces from the fridge.
- For this dish each person will have three portions of ravioli, place your pasta pieces out onto a pre-floured service.
- Using a small teaspoon fill each of pasta parcels, ensure that you don’t over fill them or otherwise they can break or explode once they hit the water.
- To seal pinch the centre of the pasta so that the filling stands proud, gently press the edges down with your finger to seal you may require a little cold water to do this.
- Once filled reserve in the fridge until later.
- For this dish you will need 20 individual ravioli portions.
Toasted walnut Halves:
- Walnuts
- Place a large frying onto a medium heat, allow to get hot.
- Once up to temperature add your walnuts keep them on the move as nuts and seeds catch very easily. By warming the walnuts you help to reseal their beautiful natural perfume and essential oils.
- Once roasted carefully decant into an artisan bowl until required later.
Action Stations – Multi tasking to the max:
Ingredients breakdown:
Wilted Spinach
- Washed baby spinach
- Softened Butter
- Sea salt
- Black pepper
- Grated nutmeg
Sage Beurre Noisette
- Picked sage leaves
- Knob of softened butter
Cooking of the Pasta
- Sea salt
- Boiling Water
Heating the pumpkin pieces.
- Runny Honey
Method:
- Place a heavy bottom range master pan onto a medium heat, once warm fill with cold water add a pinch of sea salt and allow to boil.
- Drizzle the pumpkin pieces with a little more honey, place into a pre-warmed oven of 150 until they are warm and caramelised.
- In a fine colander wash half a bag of baby spinach, place into a salad spinner to dry.
- Pick the leaves from the sage stalks.
- Place two large frying pans onto the heat allow to warm, once warm add your pasta to the pan of boiling water, cook for 10-15 minutes or until they float to the surface.
- In this time you can make your sage beurre noisette and wilt your spinach.
- Once the pans are warm add your butter allow to melt a little; add your spinach to it’s pan as the heat will wilt the spinach naturally.
- In the other pan now for the beurre noisette; allow the butter to colour a little until a light golden brown, add your sage leaves allow to fry and go crisp once at this stage remove from the heat.
- Season the spinach with sea salt, pepper and grated nutmeg.
- Pre-warm 8-10 artisan bowls.
- Remove the pumpkin pieces from the oven; along with the pasta ensure that the pasta is al dente and beautifully cooked reserve on a j-cloth until service.
SERVICE!!!!
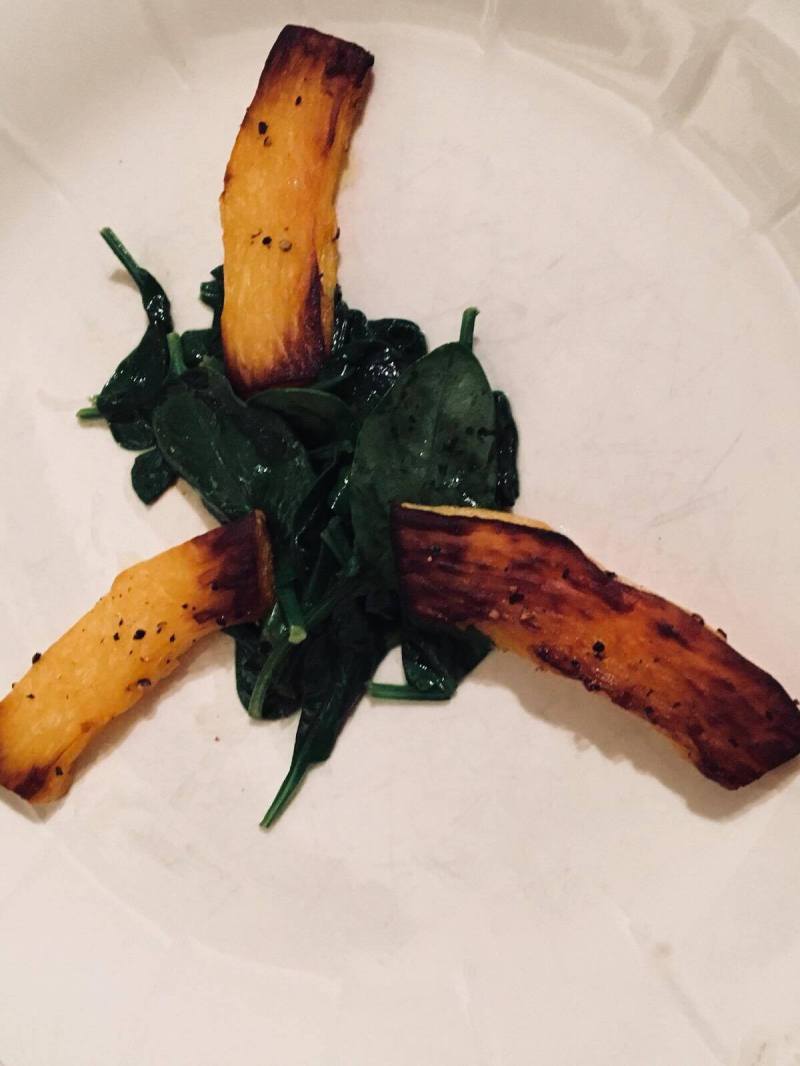
To plate lay out the artisan plates on each of the plates lay a bed of wilted spinach in the centre of the plate. Next lay on three pieces of roasted pumpkin so that it makes a star; and now lay three beautiful ravioli’s on top of the wilted spinach. In the gaps lay a roasted walnut. Pour over your sage beurre noisette and to finish drizzle over the white truffle oil along with some freshly grated Parmesan cheese.
The beautiful aspect of this dish is that each of elements compliments the next ensuring you receive a dish of varied textures which come together to create a picture of a fresh cold autumn day.
Wine Pairing: due to the rich complexity of this dish I would pair it with a red from Bordeaux as this is the home of the Truffle.
The Gent.
Beef Chuck Casserole

 The cut of meat which I chose for this winter warming dish, is the chuck, which is a primal cut from the forequarter of the cow and includes the shoulder, neck and upper arm muscles. As this is a piece of meat which requires a lot of slow cooking to release its goodness and become more tender.
The difference between a stew and casserole is easy to distinguish, a stew is cooked on the stove, whereas a casserole begins on the stove and finishes in the oven to complete its cooking.
The stock: For those of you who live busy lives and don’t have the time to make this stock you can alternatively use 1 litre of boiling water from the kettle and three OXO Cubes.
- Veal bones roasted in the oven for an hour
- Carrots roughly chopped
- White onions roughly chopped
- Celery roughly chopped
- Red wine
- Cold water
- Black pepper corns
- Bay leaves
- Thyme sprigs
- To begin the stock, place the veal bones into a large roasting tray and roast in a hot oven for one hour, as you want to make a dark stock in this case colour equals flavour.
- Whilst the bones roast, in a large range master pan heat a little olive oil once the pan is up to temperature add your roughly chopped vegetables and leave them to catch on the bottom of the pan. Ensure that you move them a little as you don’t want to burn them but caramelise and release their natural sweetness.
- Once the vegetables have reached a beautiful golden brown, deglaze the pan with one third of a bottle of red wine add this in gradually over the caramelising process, this way it means the alcohol burns off leaving a beautiful rich flavour begin.
- Remove the bones from the oven and carefully place into the pan, ensuring you don’t allow any of the fat to enter the stock. Give the bones and the vegetables a quick 15 minute blast on a high heat. Deglaze with a little more red wine. Add the bruised bay leaves along with the thyme sprigs and whole black pepper corns.
- Then add cold water to cover, then bring to the boil and leave for as long as you possibly can as this way you extract all of the goodness from both the bones and vegetables. As you will not be eating the vegetables afterwards.
- Once boiling reduce to a rolling boil for at least 2 hours.
- Remove from the heat and allow to cool.
- Once cool remove the bones and discard of them, then drain the stock once through a very fine sieve and then a second time through muslin as this ensures all of the impurities are removed leaving behind a beautiful rich stock.
- As for this recipe you only need one litre of stock, place the strained stock back onto the heat and allow to reduce. By completing this reduction you just increase the flavour.
- Once reduced remove from the heat decant into a glass pyrex jug, and reserve for later on in the process.
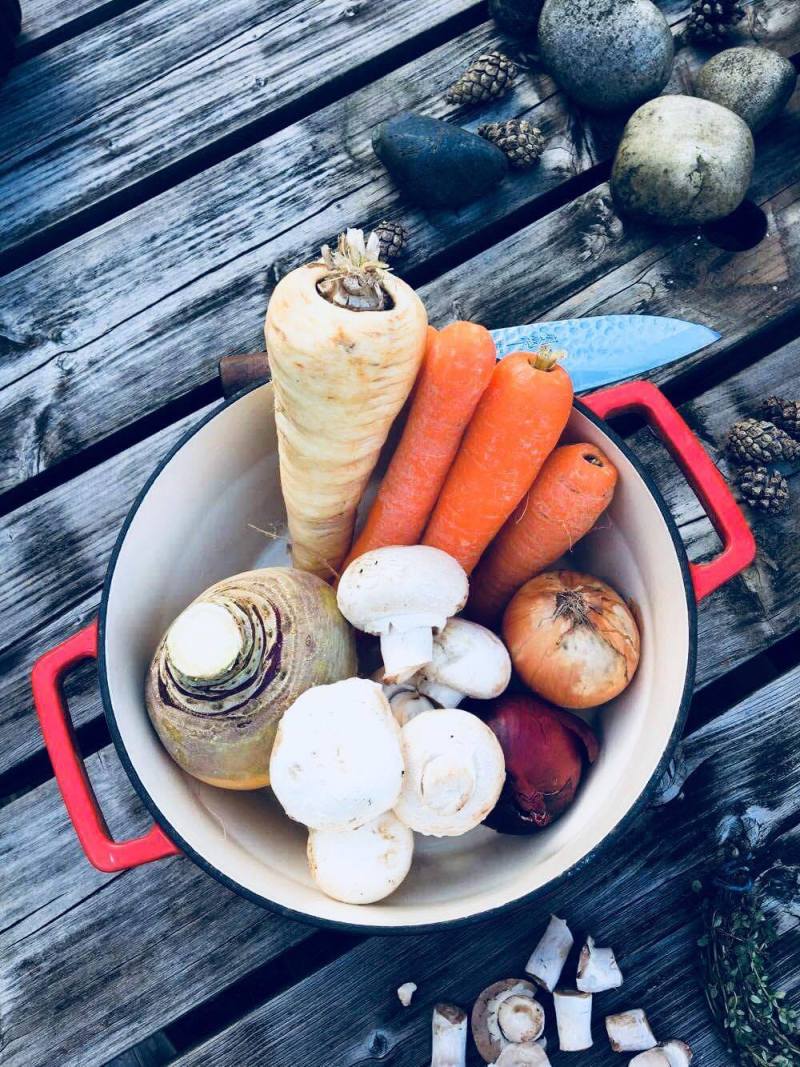
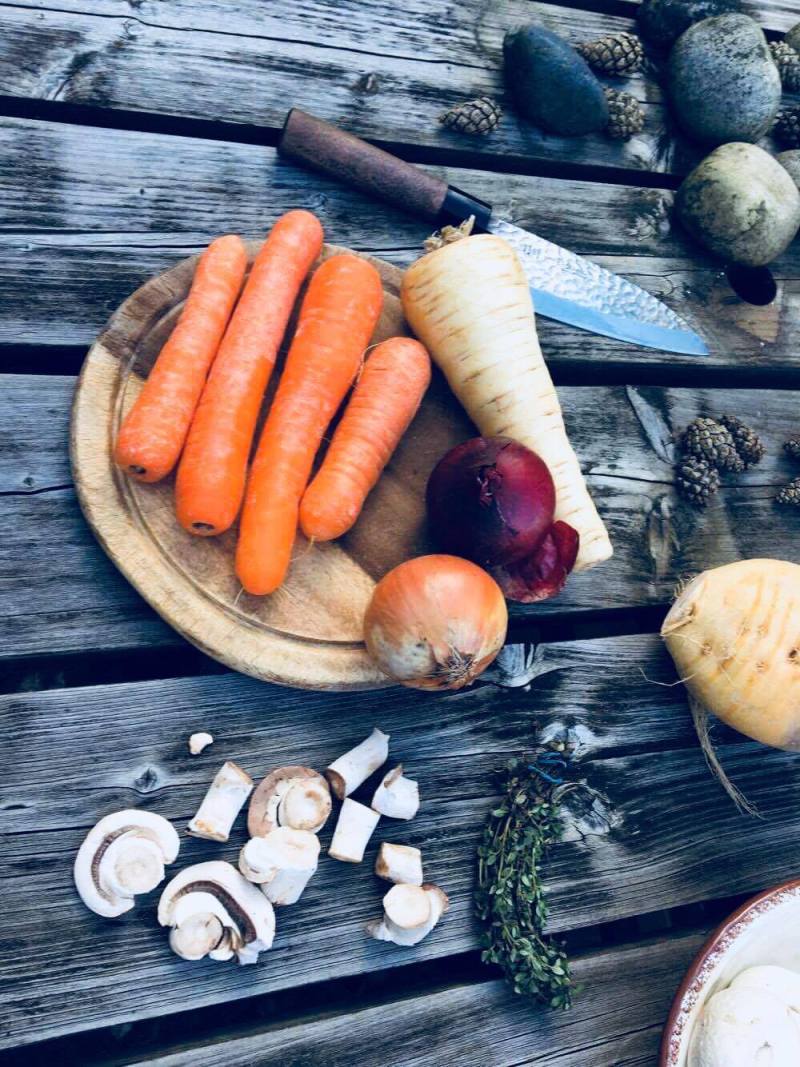
The Gents Classic Chuck beef casserole:
Ingredients:
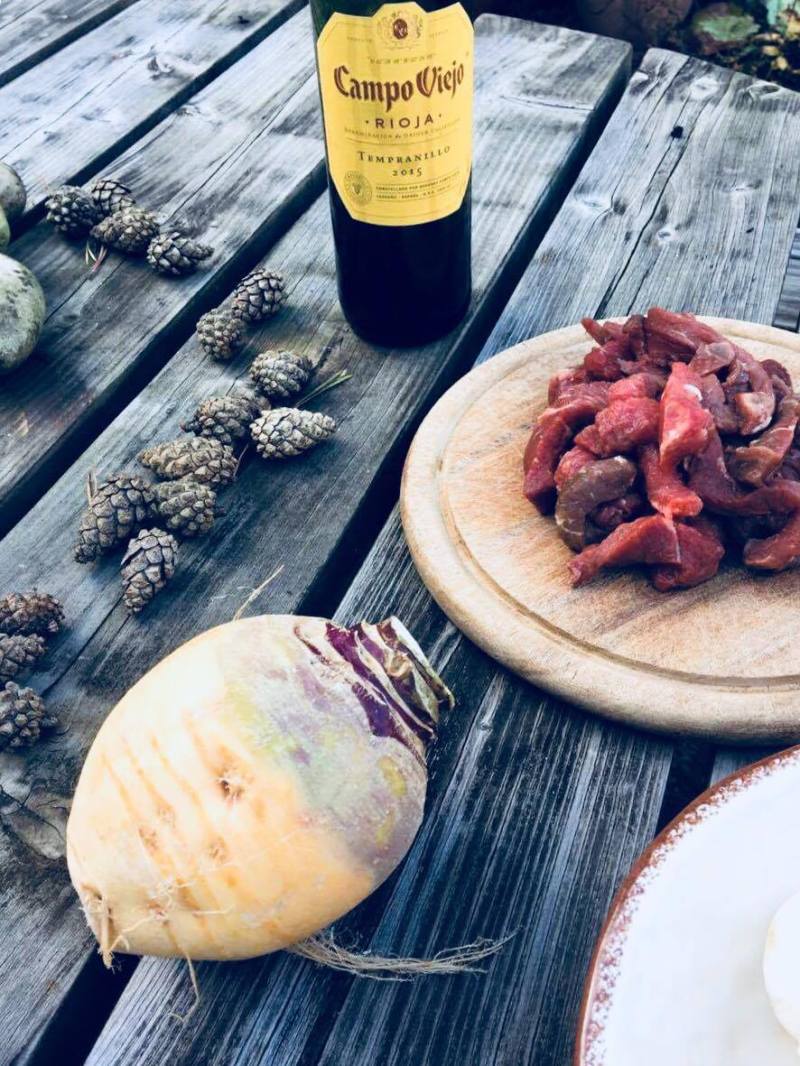
- Chuck beef Diced
- 1 large turnip – Washed , peeled and roughly chopped
- 1 large parsnip – Washed, peeled and roughly chopped
- 4 large carrots – Washed, peeled and roughly chopped
- 1 large white onion – peeled and roughly chopped
- 1 large red onion – peeled and roughly chopped
- 1 punnet of button mushrooms – stalks removed and halved
- 1/3 bottle of good quality drinking red wine
- 2 sticks of celery – washed, peeled and roughly chopped
- 2 leeks – washed peeled and roughly chopped
- Sea salt
- Freshly Cracked Black Pepper
- Tablespoon of plain flour
- 2-3 Bay leaves bruised
- Thyme sprig
- Dash of medium quality of olive oil
- 1 litre of the freshly made stock.
For this dish it is tricky to portion control but roughly it should feed 4 – 6 people but it can feed one man for a week! To begin this winter warmer of a dish prepare all of the ingredients as outlined…
- Place a large cast iron pryex casserole pan onto a medium heat with a little olive oil, whilst the oil warms in a clean bowl place your diced chuck beef along with one tablespoon of plain flour, freshly ground black pepper and sea salt use your hands to combine ensure that all of the meat is covered as this acts as a natural thickener along with the gelatine from the bones.
- Pre- heat your oven to 150 degrees, as you want it to be piping hot when the casserole enters.
- Once the all of the meat is covered place it into the casserole dish and allow to cook until coloured and caramelised once at this point remove from the pan and place into a clean artisan bowl until required later.
- Deglaze with a little of the red wine, to remove all of the cooked on goodness as this theatrically forms the base for your rich intense gravy.
- Now add all of the vegetables along with the bruised bay leaves apart from the button mushrooms as you will add these just before it goes into the oven. Allow them to colour a little and release their natural sweetness. Once again deglaze with a little more red wine and allow the alcohol to cook off.
- At this point add the seared chuck back into the casserole dish and cook for a further 5 minutes. Then add your bad boy stock so that it just covers the contents of the casserole pan, add your mushrooms and allow the content of the pan to come up to the boil before placing it into the oven.
- Season with freshly cracked black pepper, a little sea salt and lastly add your fresh thyme sprigs place on a tight fitting lid.
- Place into a pre-heated oven at 150 degrees for roughly 1 hour and a half. To test if the casserole is ready test each piece of vegetable along with a piece of chuck to make sure that it is beautiful and tender.
To serve: Ladle into pre-warmed artisan bowls, serve with sea-salted butter and a fresh loaf of bread. Enjoy in front of an open fire with a good quality glass of red wine.
The Gents Recommendation: Go for a bottle of red Burgundy wine from Bordeaux.
