


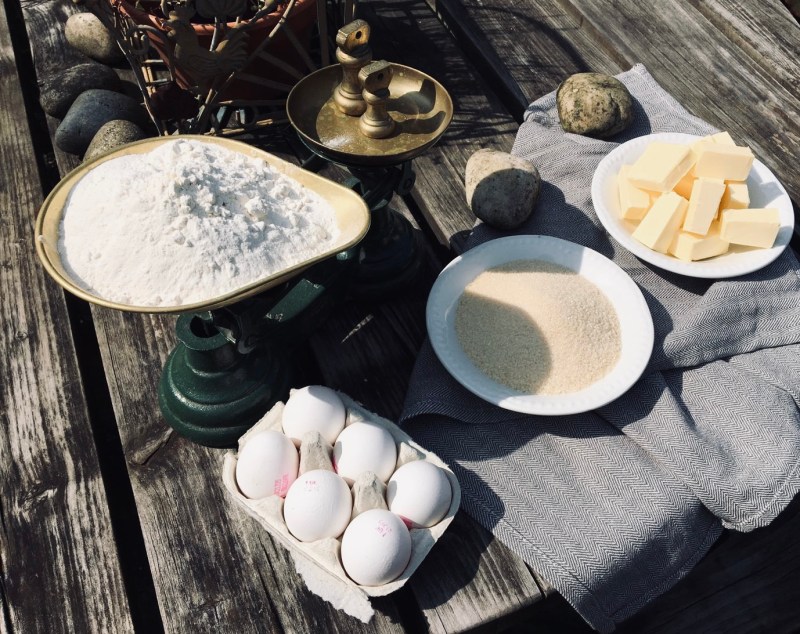
 Sweet Paste Ingredients:
Pinch of golden caster sugar
8 oz. of diced cold butter
16 oz. of plain sieved flour
3 tbsp. of cold milk to bind
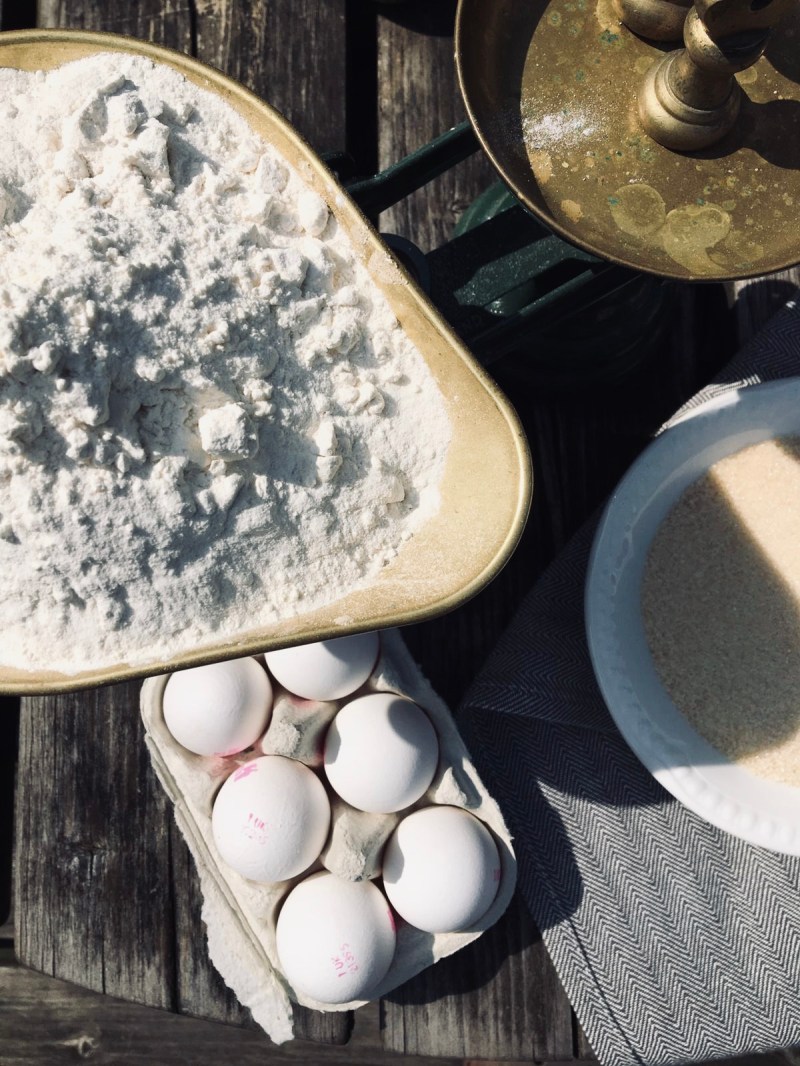
- To begin this paste in a large bowl, sieve your flour and add your golden caster.
- Add your diced butter to the flour and rub together to combine this is key step to making short pastry as you want the flour and butter to be blended evenly.
- Once blended add your touch of milk to bind.
- Once ready and the bowl is clean wrap your sweet paste in some cling film to relax, by allowing the dough to relax you are allowing the gluten in the flour to relax which you work when making a Tarte case.
- Lay out your pop bottom tarte cases and line with butter as this helps to form a non-stick surface.
- Allow your dough to room a little portion into four and roll on either a floured surface or between two sheets of non-stick greaseproof paper if you don’t want to make a mess.
- Roll your dough out to the thickness of a one-pound coin, for me I prefer to have a thin crisp base to my tarte au citron.
- Using a blunt knife cut your pastry and push into the tarte cases for even pushing use a little of the dough from the trim to ensure that you have all of the dough pushed into the edges of the tarte case.
- Blind bake with some grease proof paper and baking beans as this helps to ensure for an even bake.
- By blind baking a tarte case you help to ensure that the case is waterproof and will be able to hold the filling.
- Blind bake from 15-20 minutes until lightly golden allow to cool completely in the tarte case before pushing out.
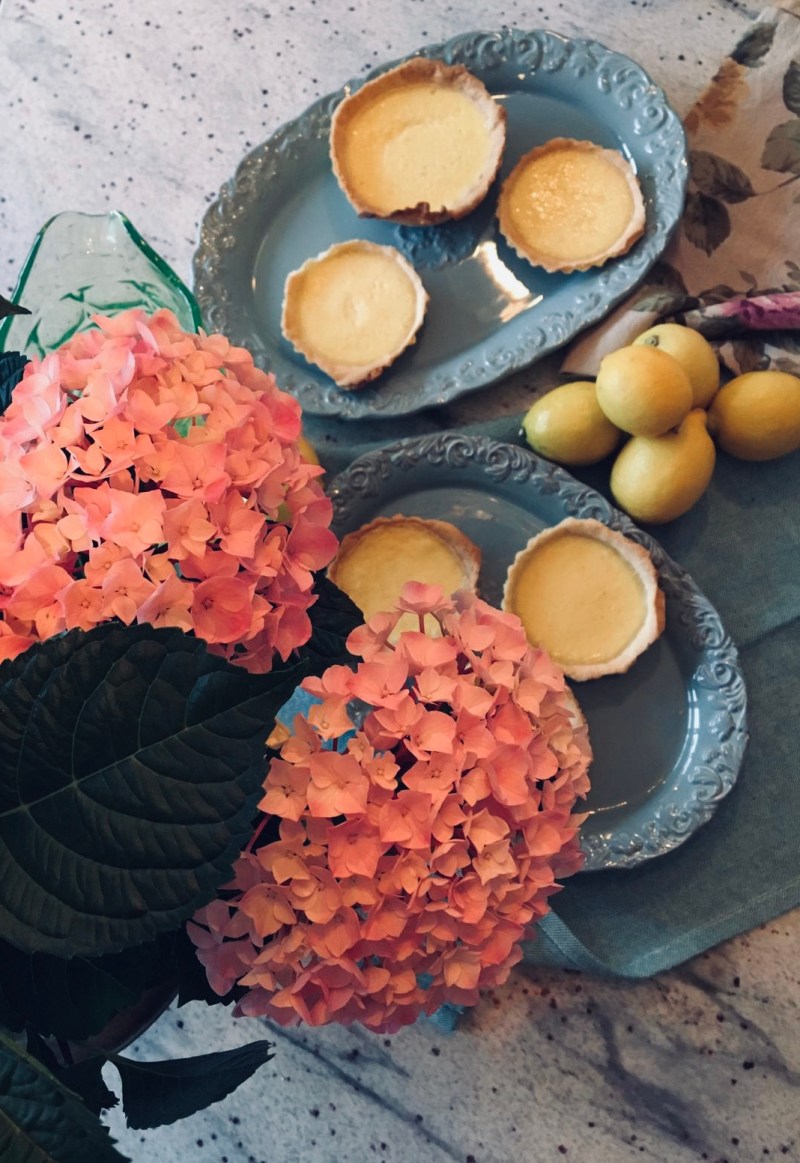
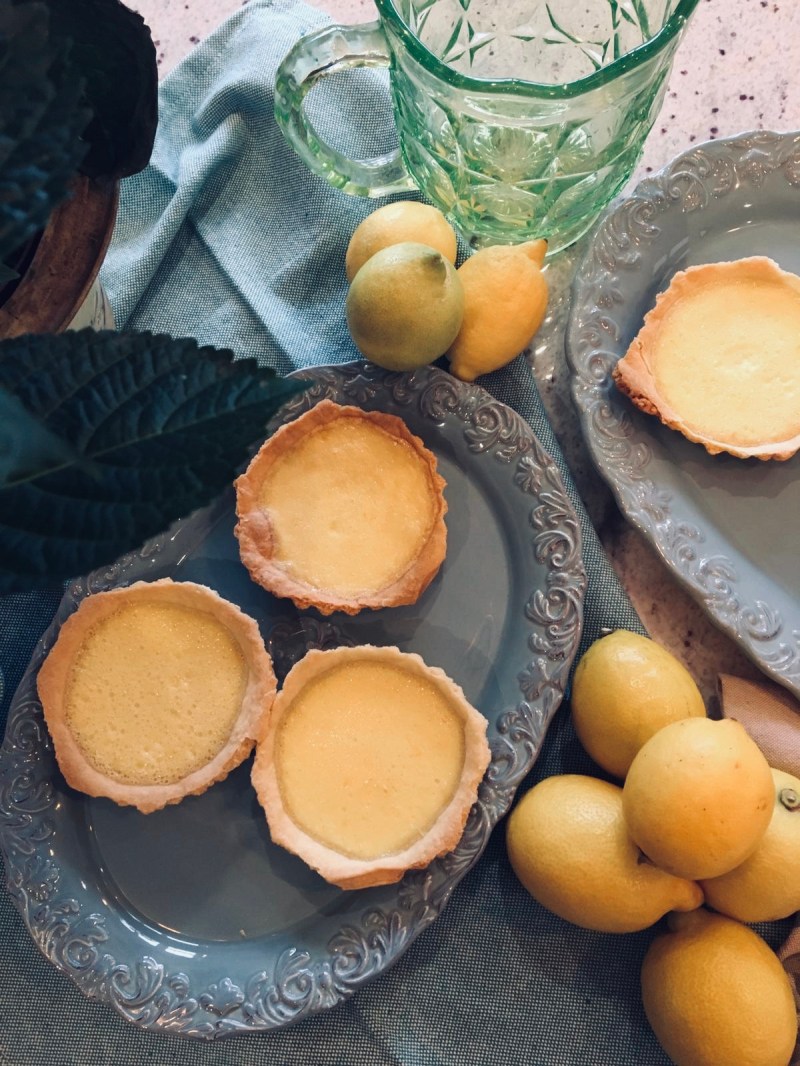
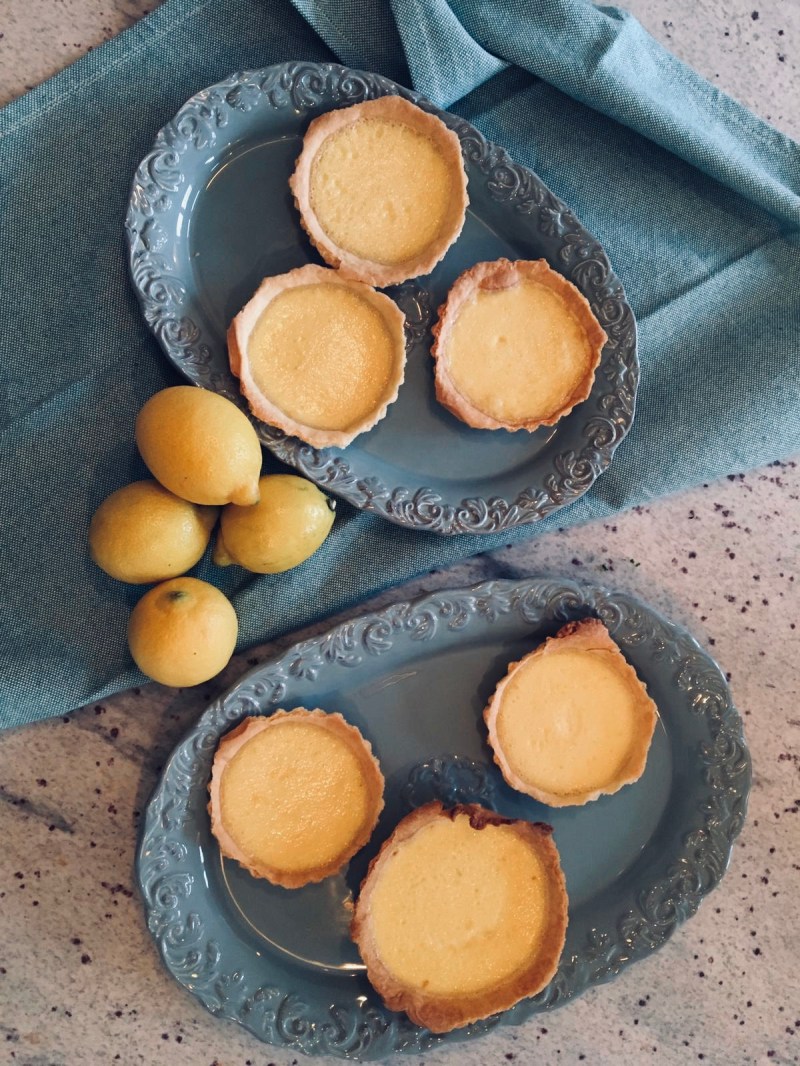
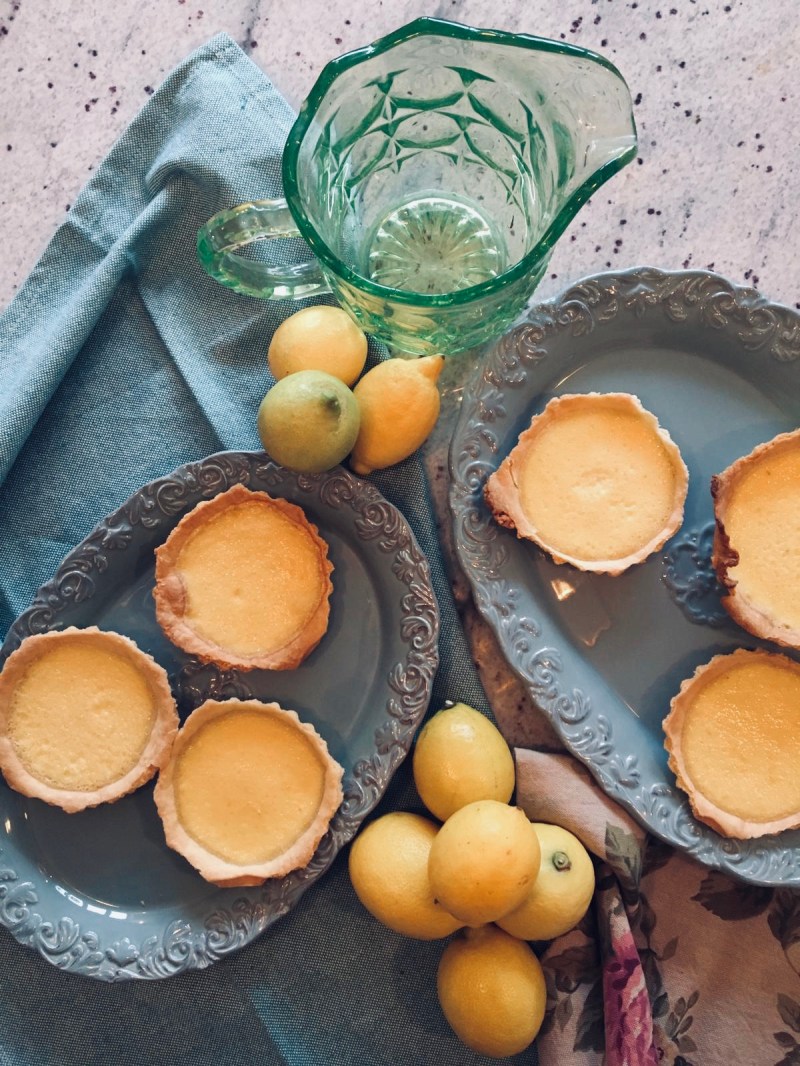
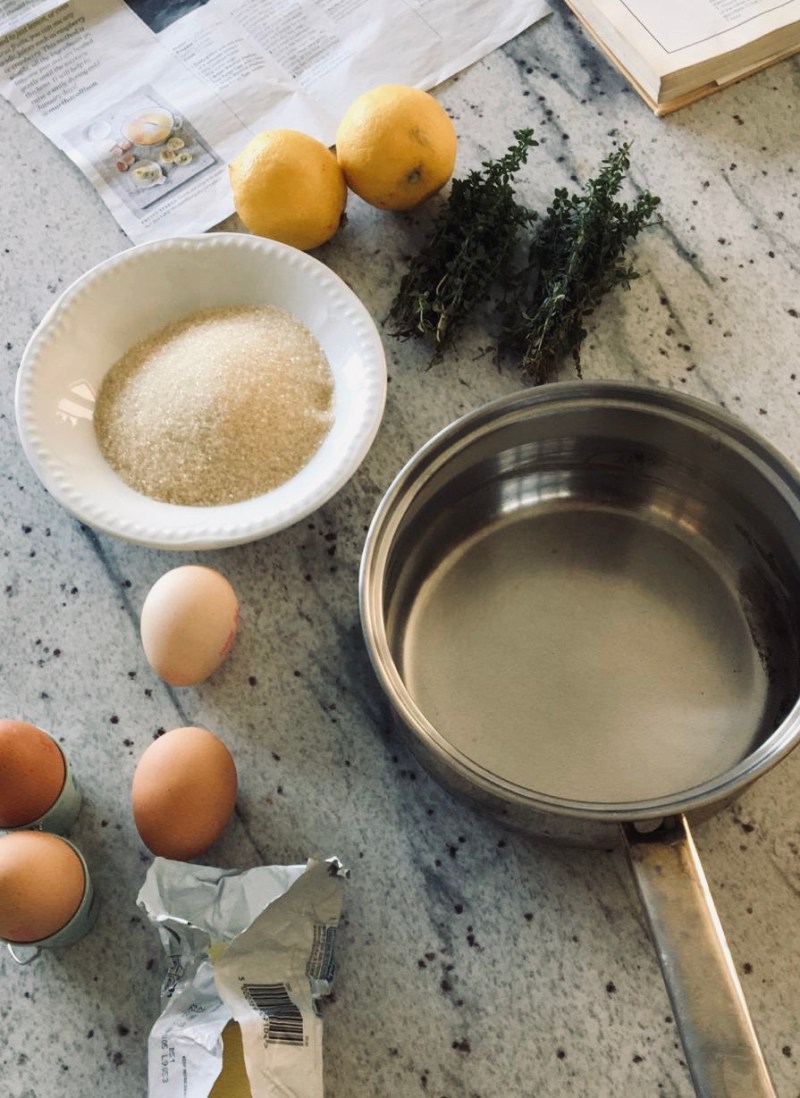
Citron Filling Ingredients:
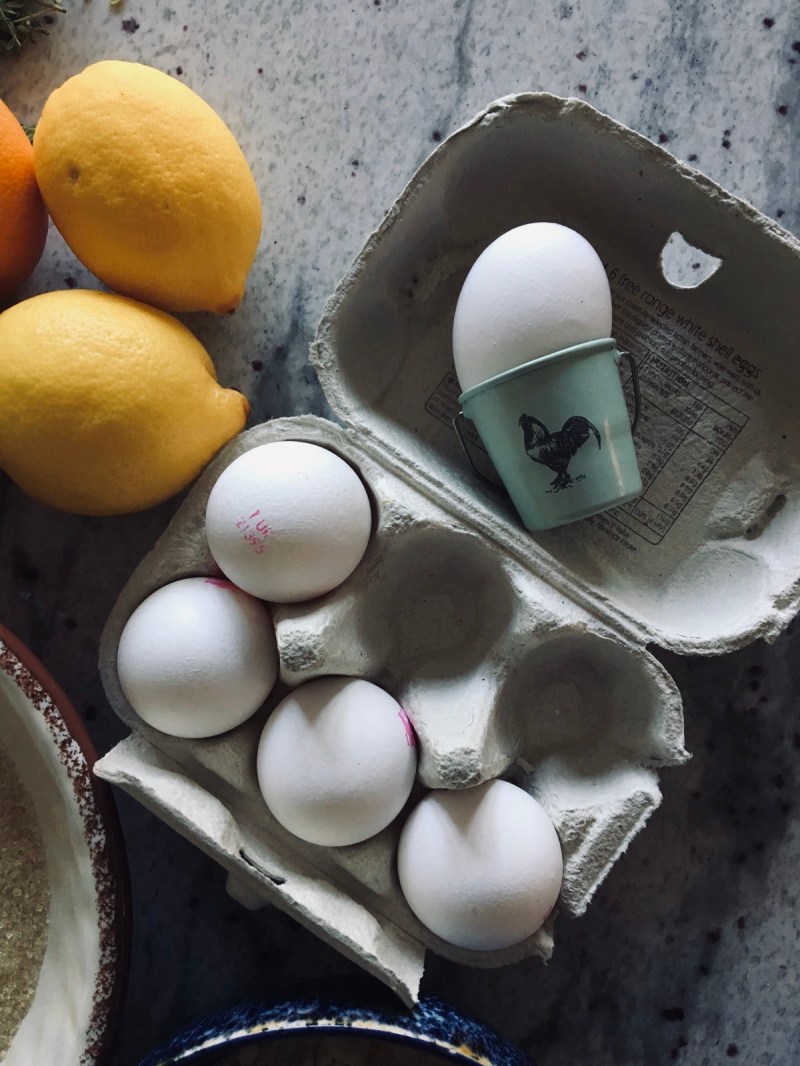
2 whole free range eggs
2 oz of golden caster sugar
250 ml of double cream
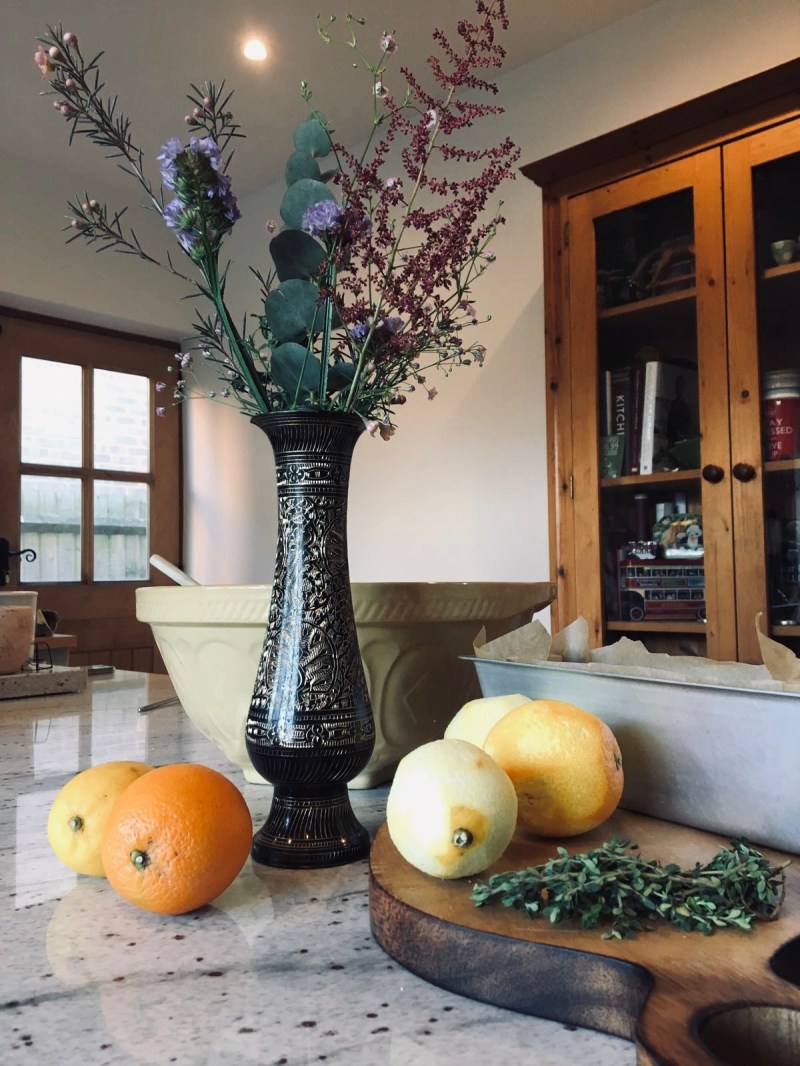
Zest of 3 lemons
Juice of 3 lemons
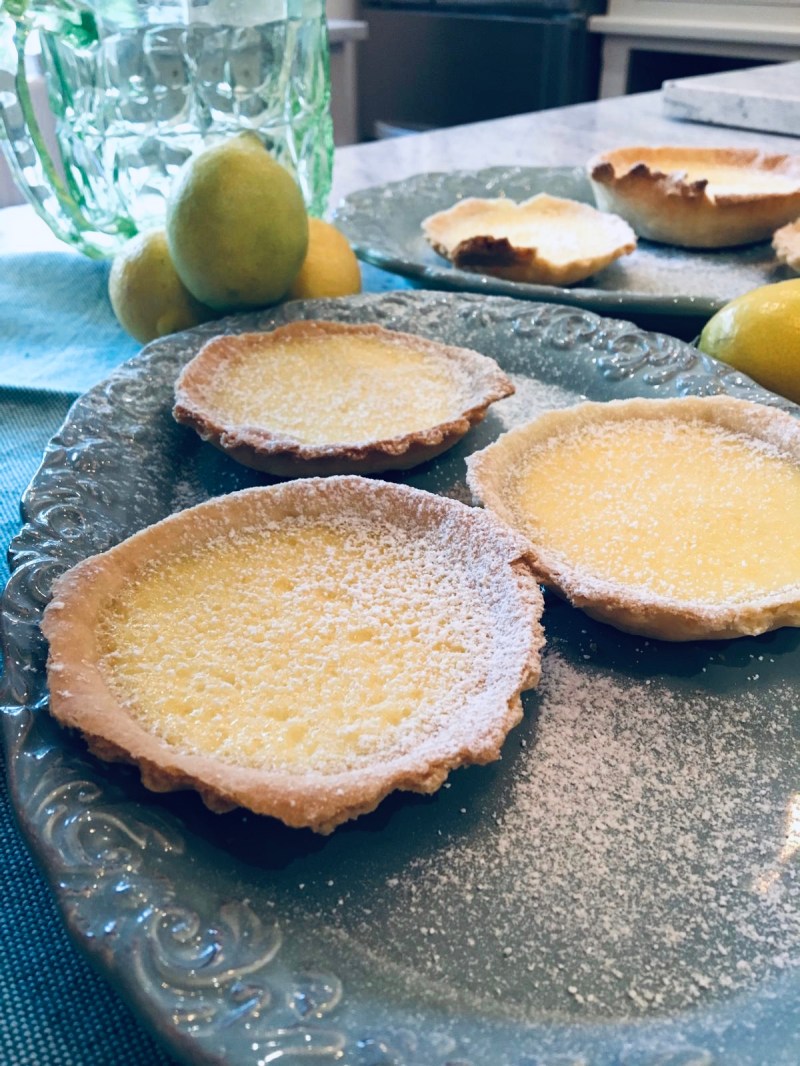
- In a glass bowl crack two eggs into the bowl then add your golden caster sugar and whisk to combine.
- Next add your double cream along with your lemon juice and zest, remove the excess from your tarte cases and add your mixture don’t over feel the cases as they expand in the oven.
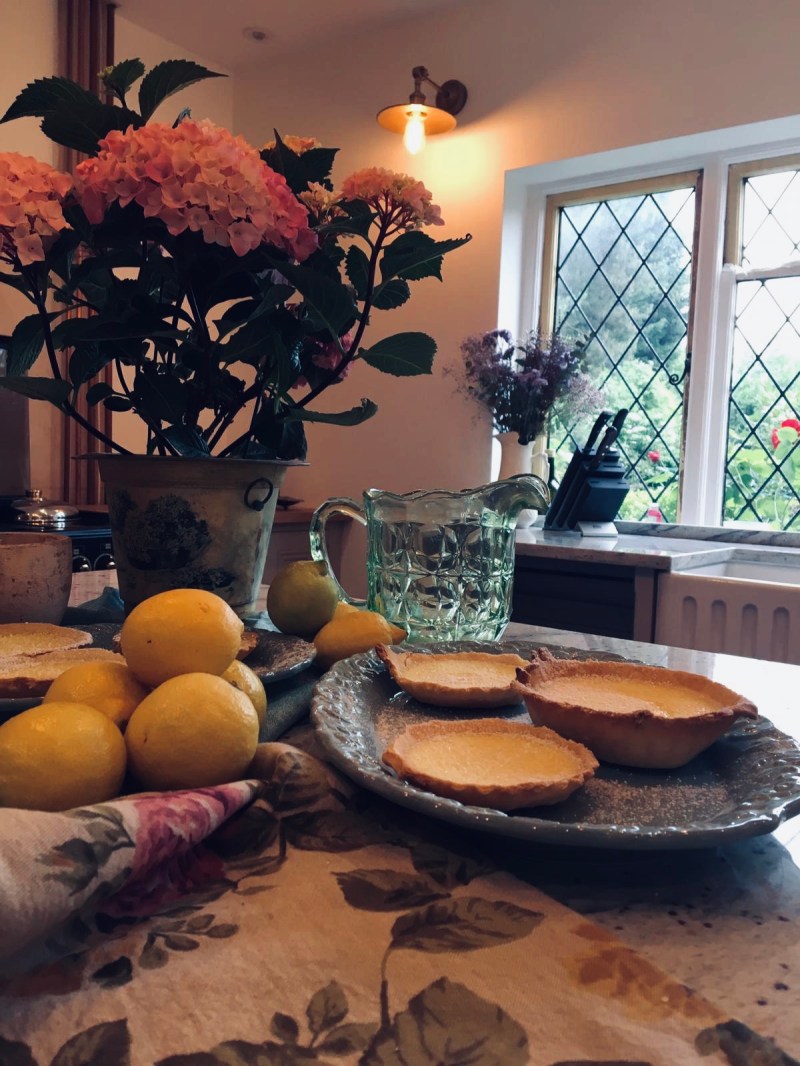
- Cook on gas mark 4 for 15-20 minutes until you have a soft wobble.
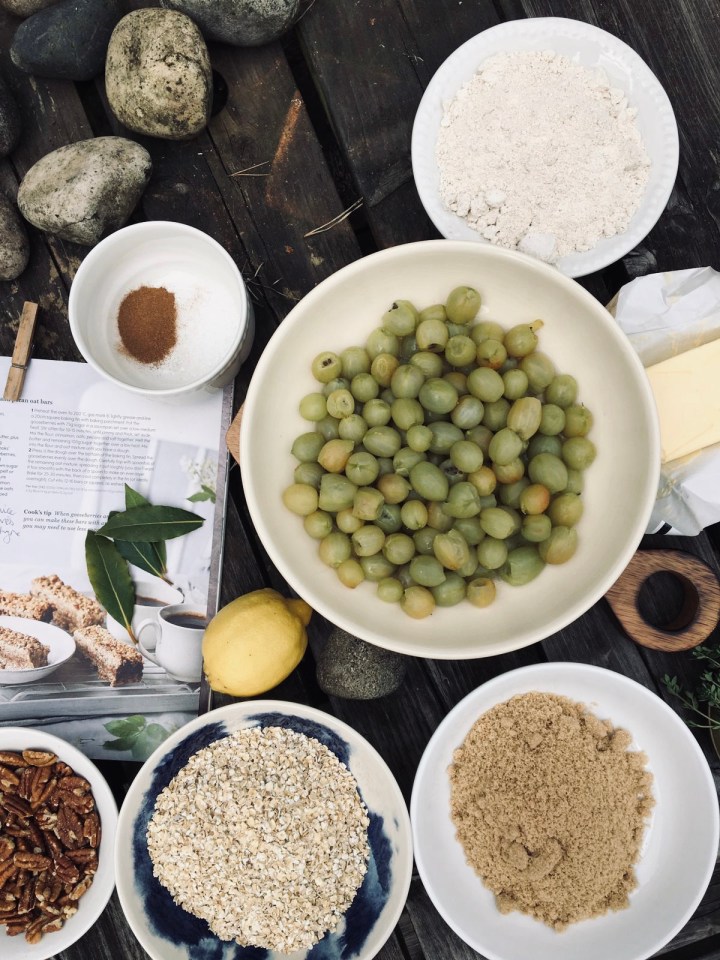


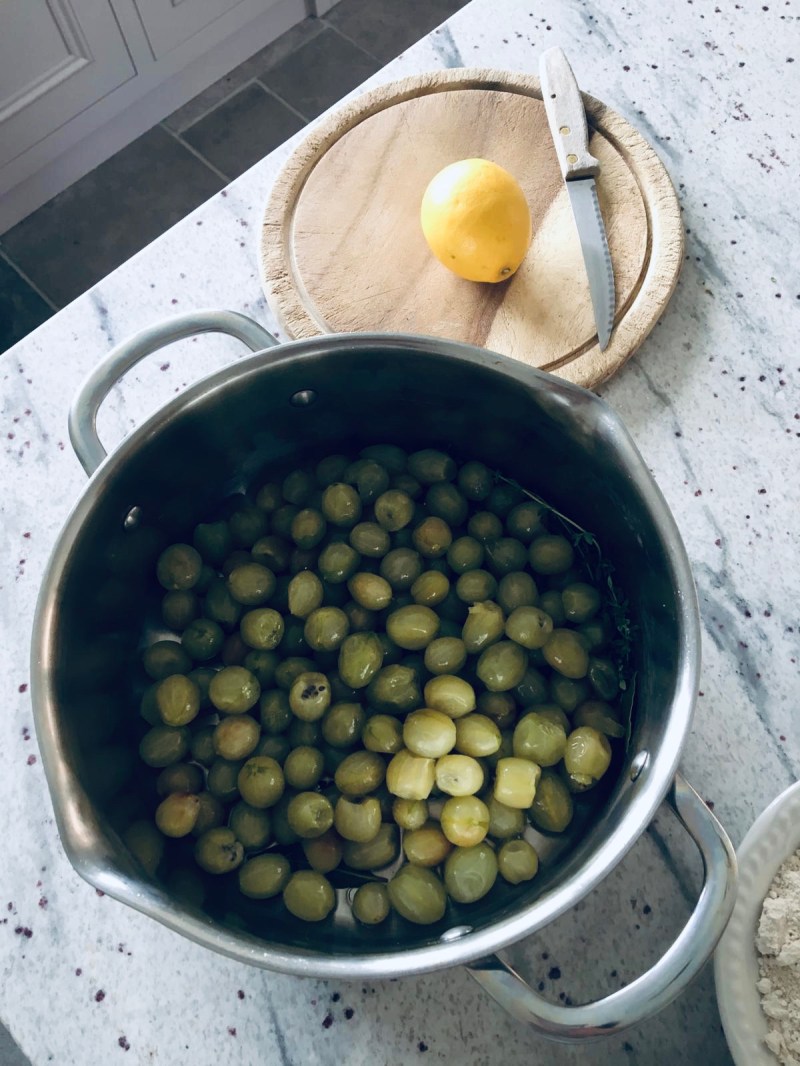


 For your compote:


 For your base:

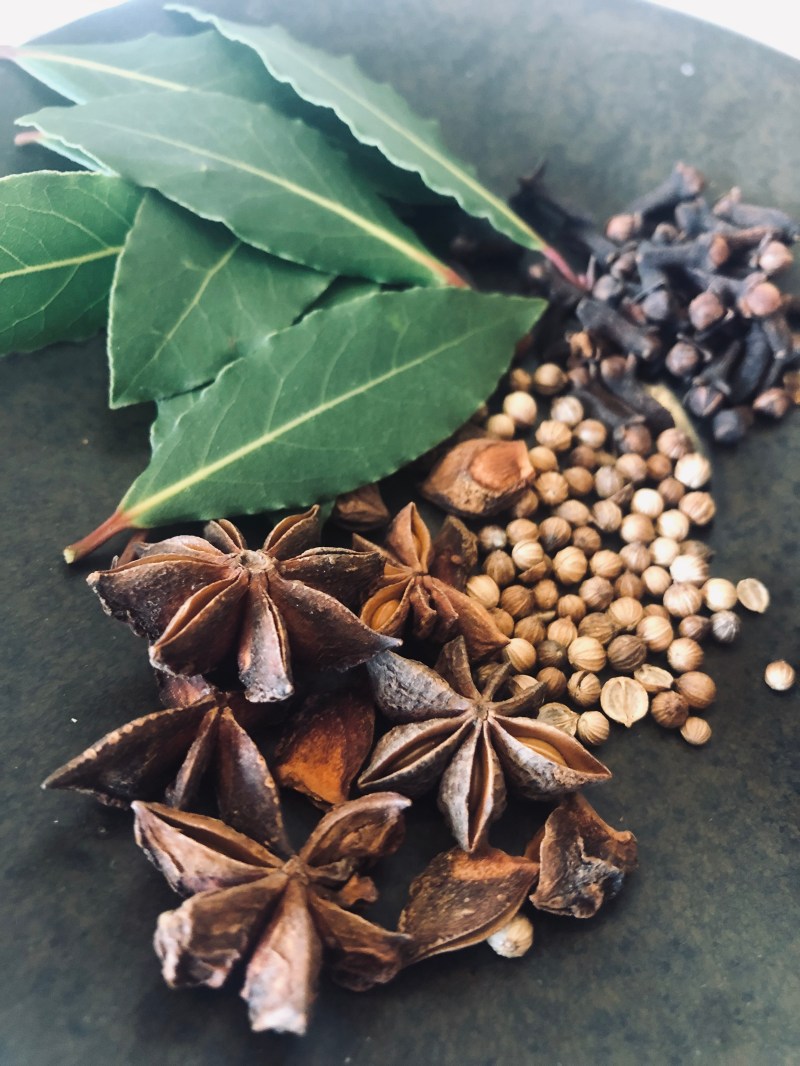
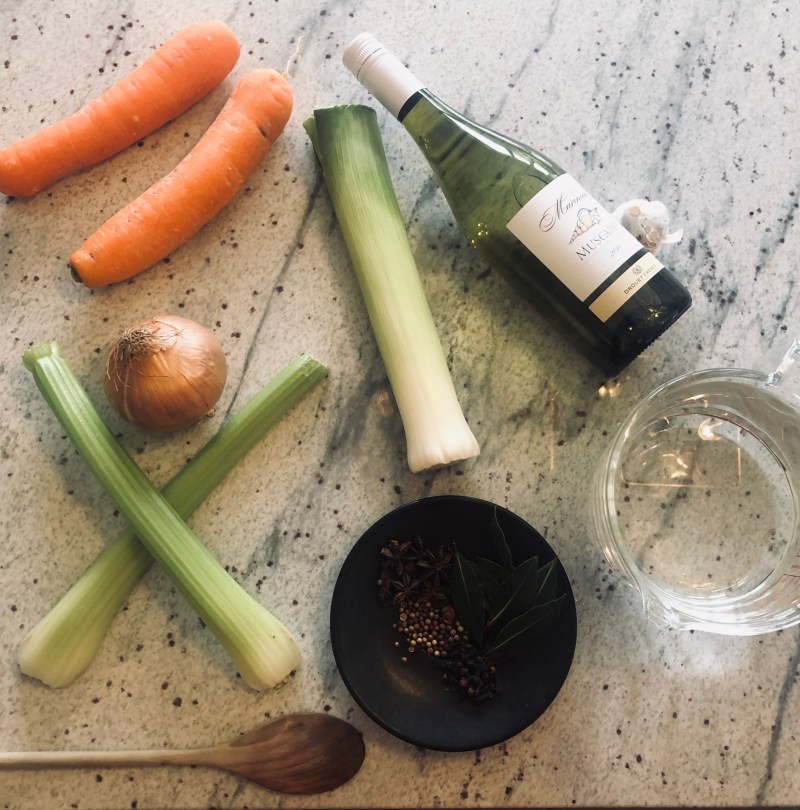


 Vegetable Stock:


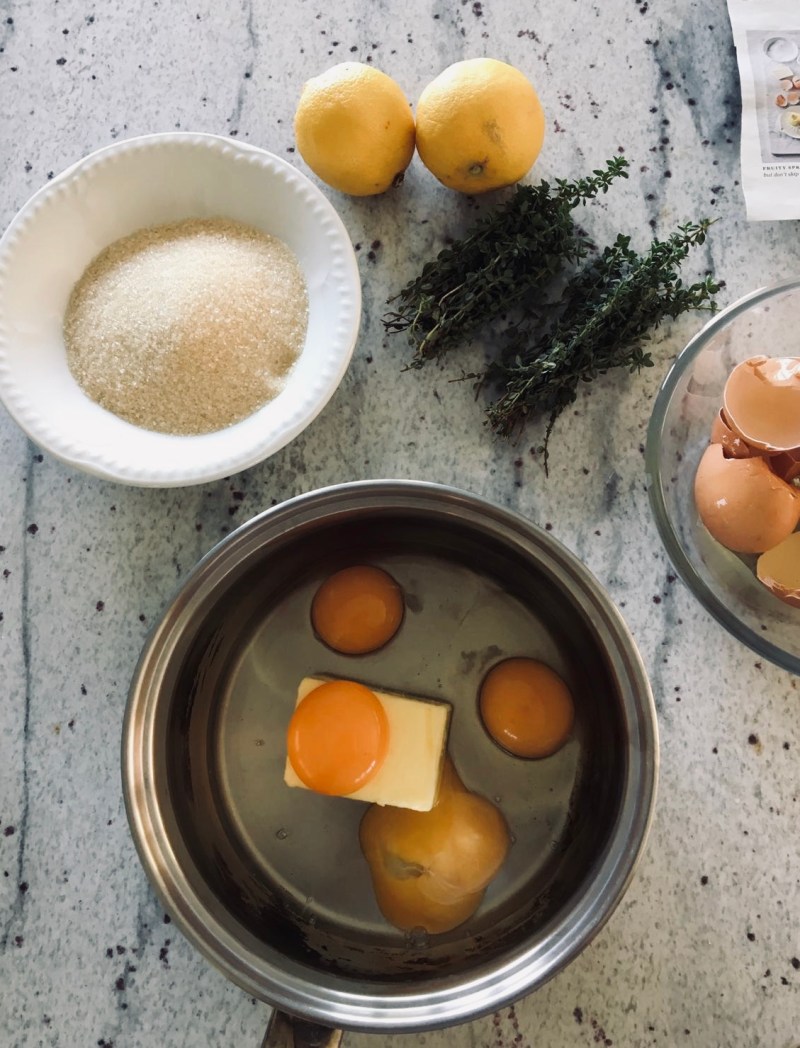
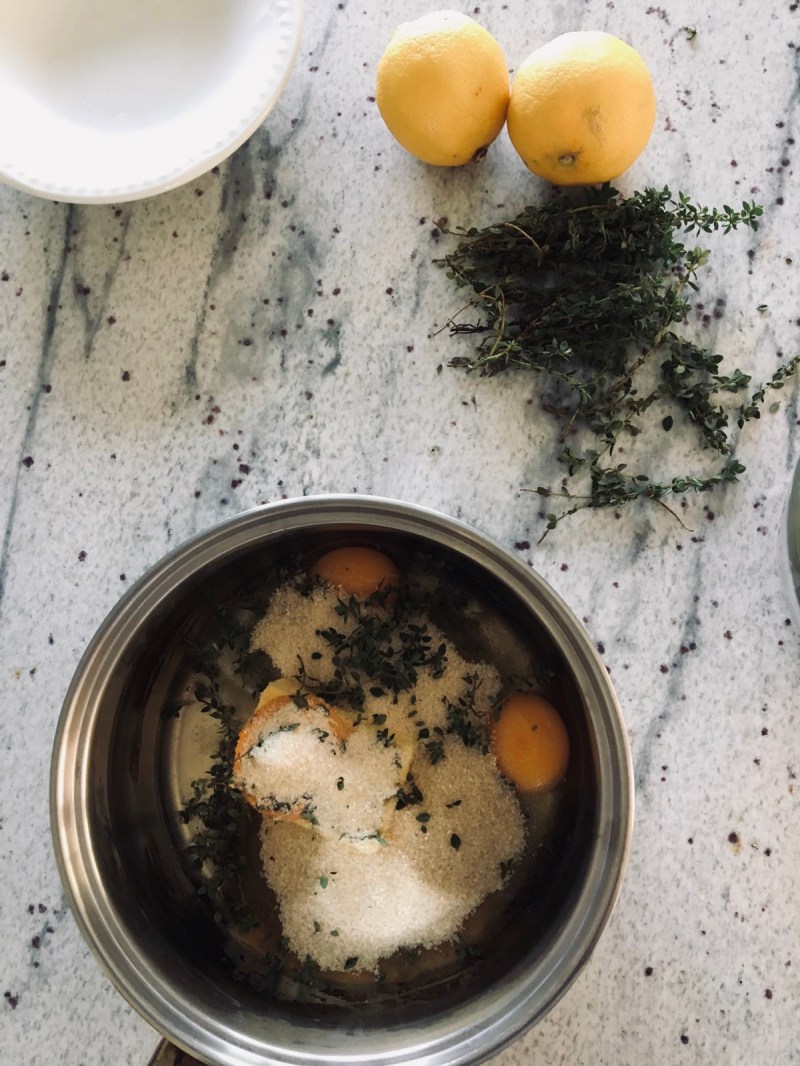

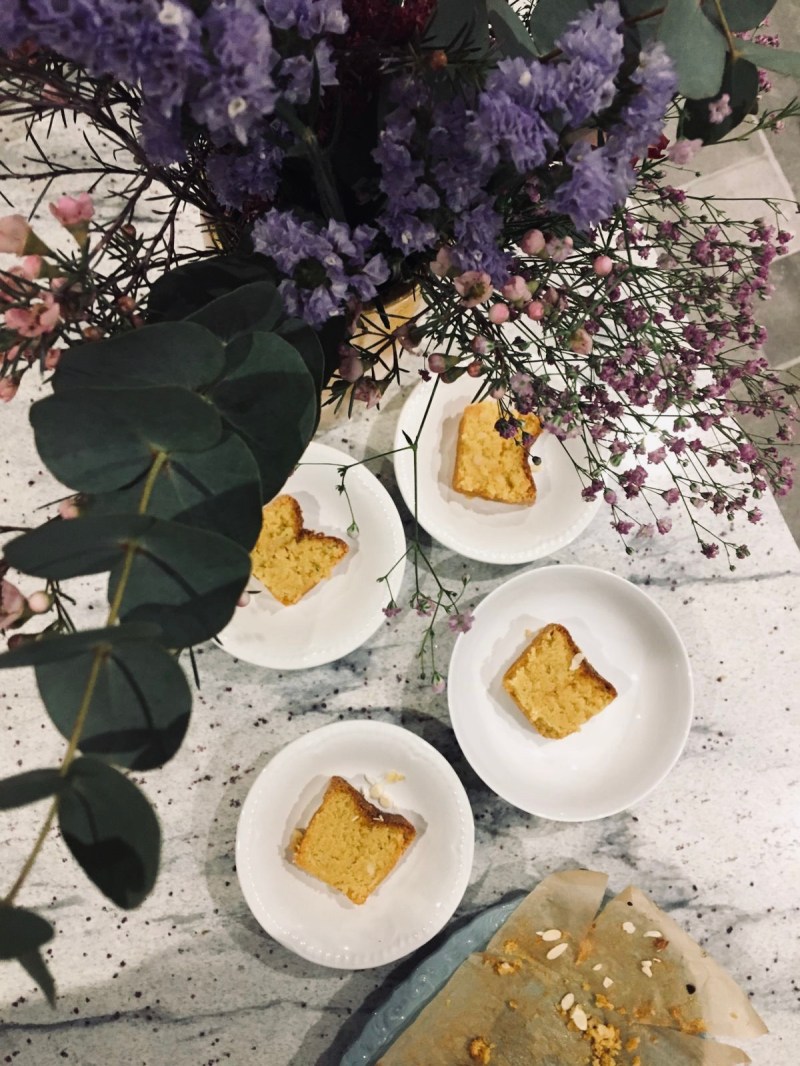
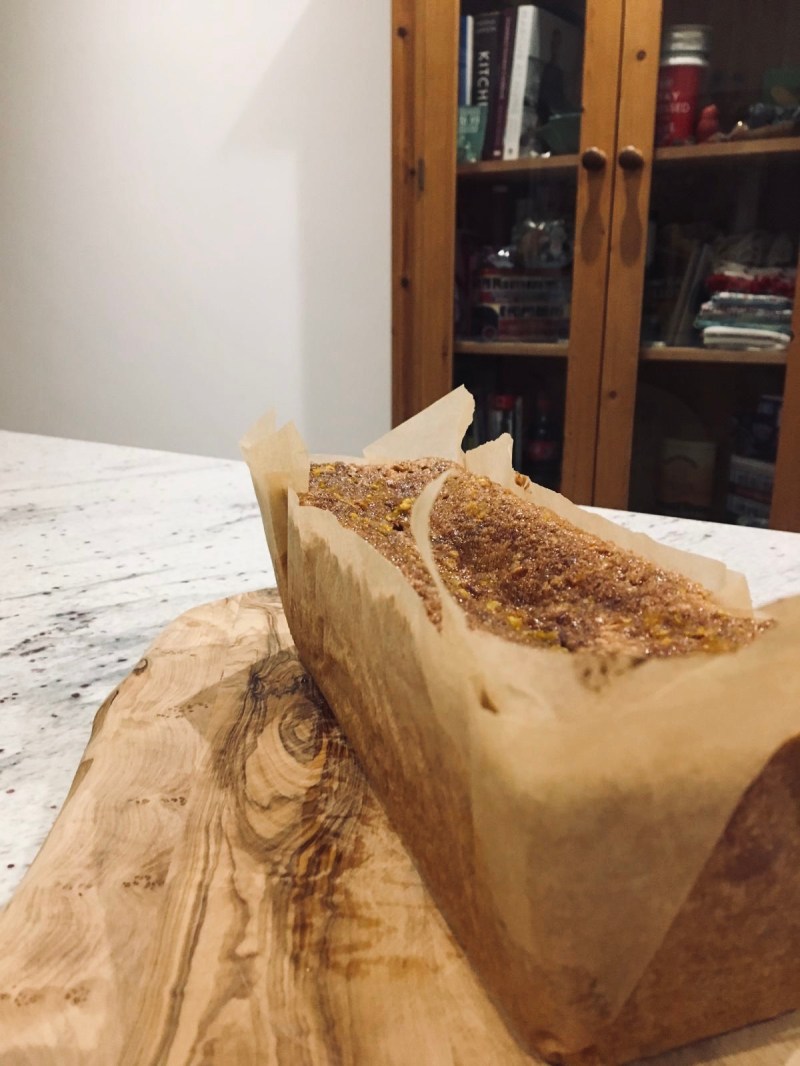
 Lemon thyme and lemon curd:


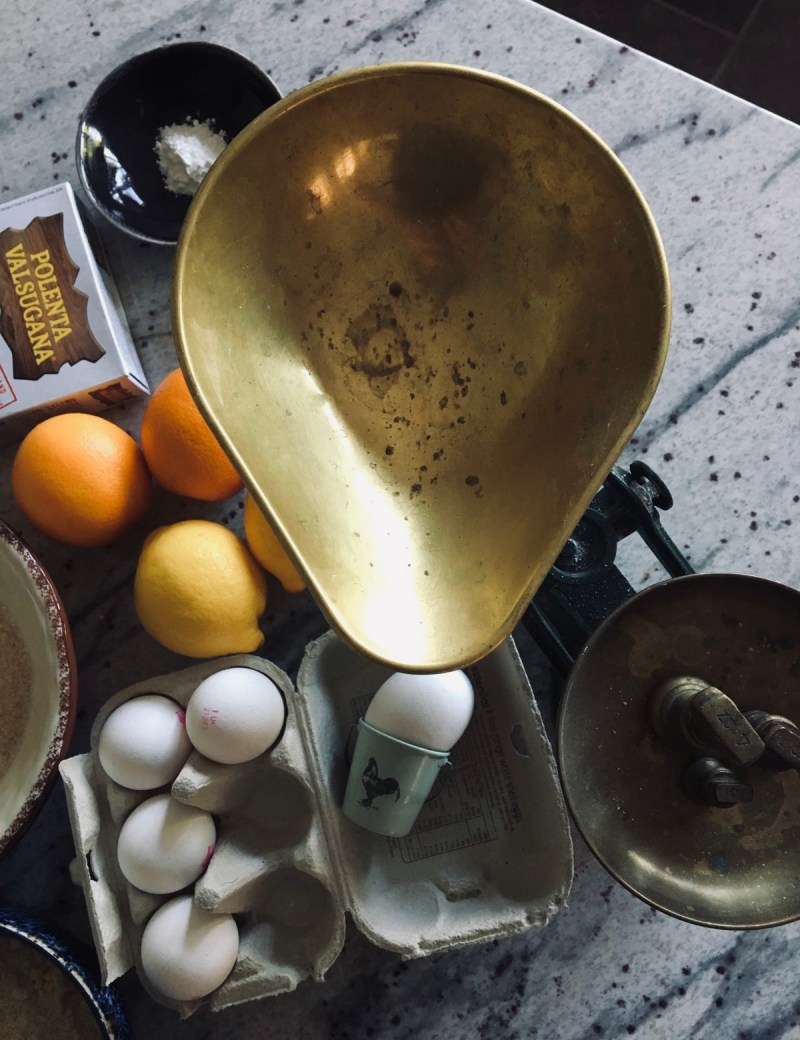

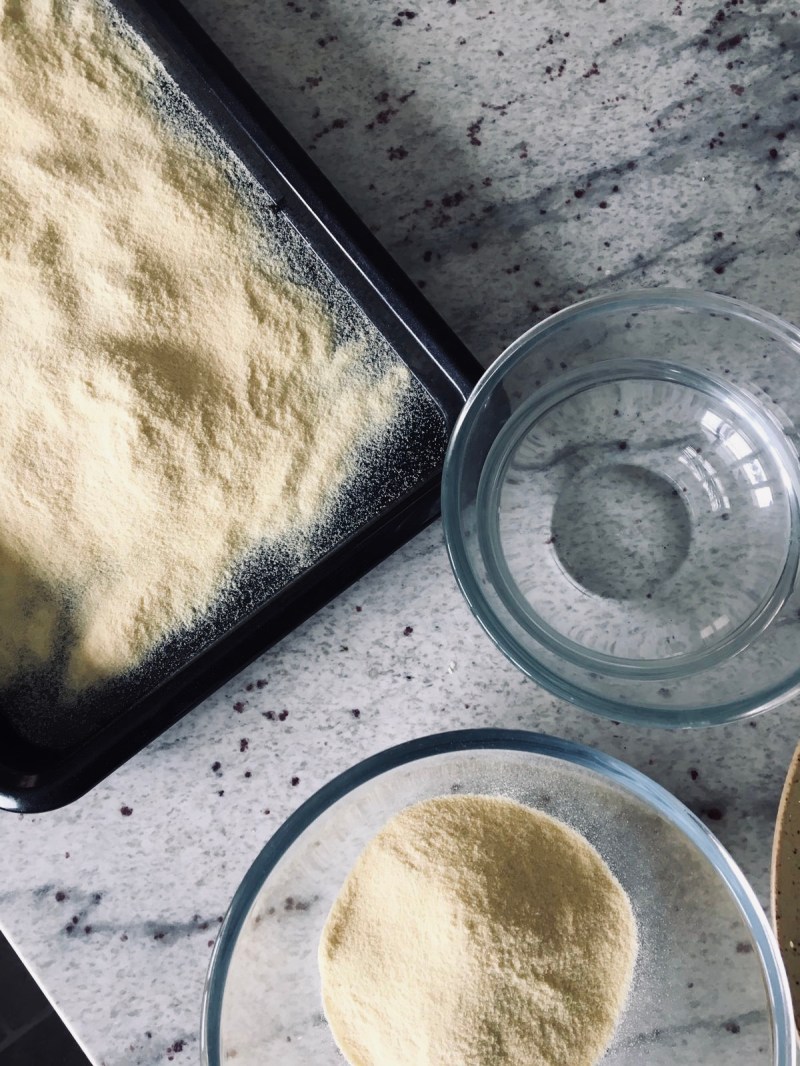
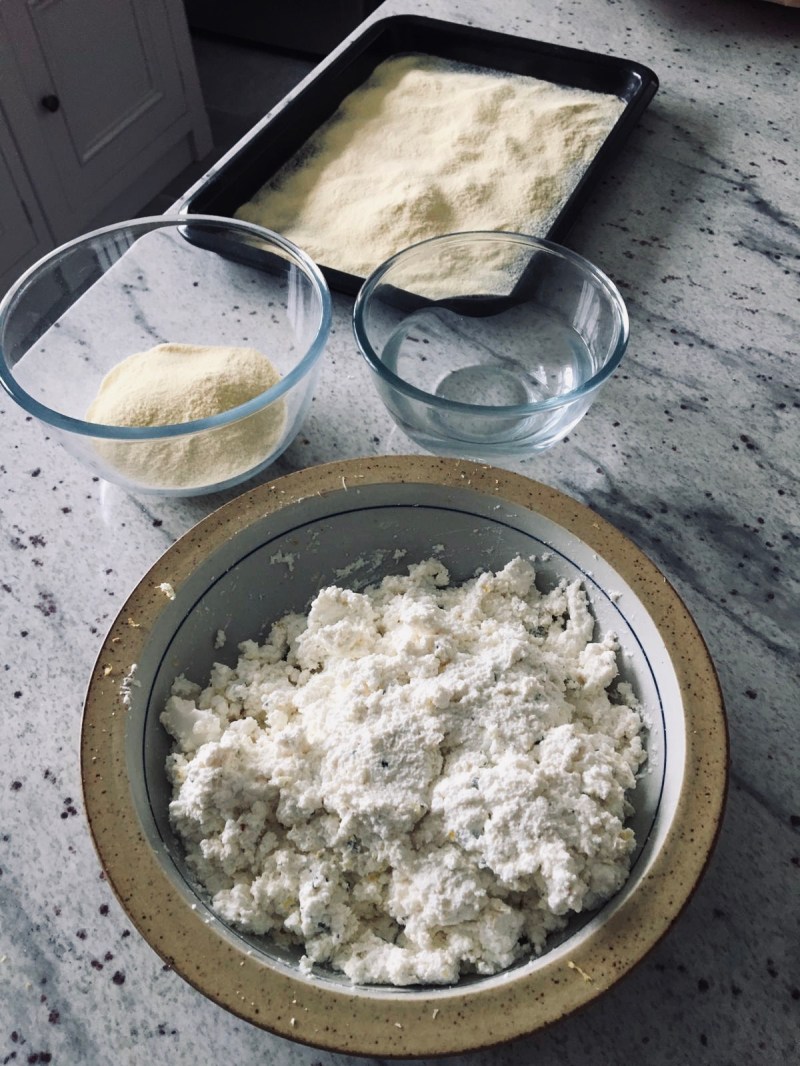
 Since my sister is dairy free, I’m trying out alternatives – for this recipe, instead of using butter, I used cold pressed olive oil.
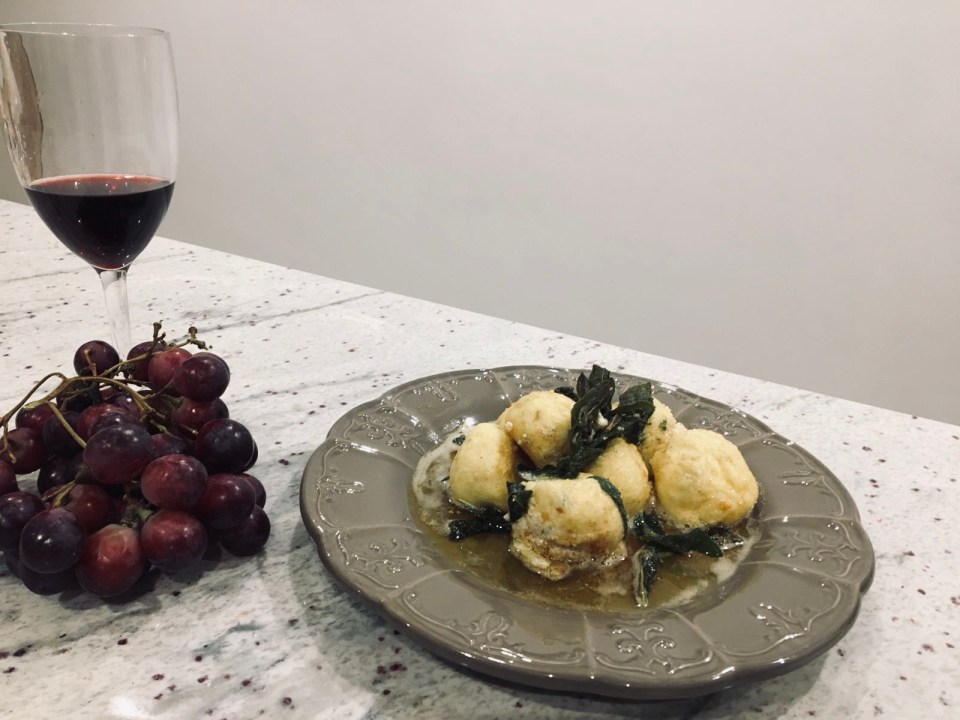
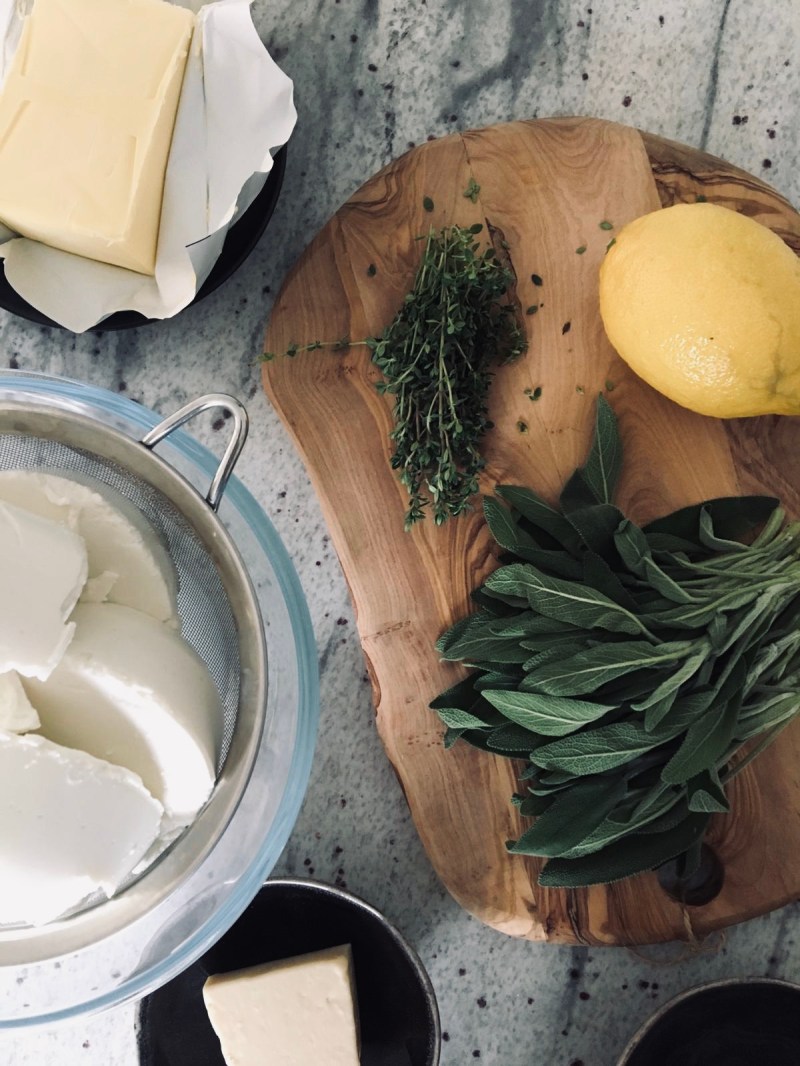


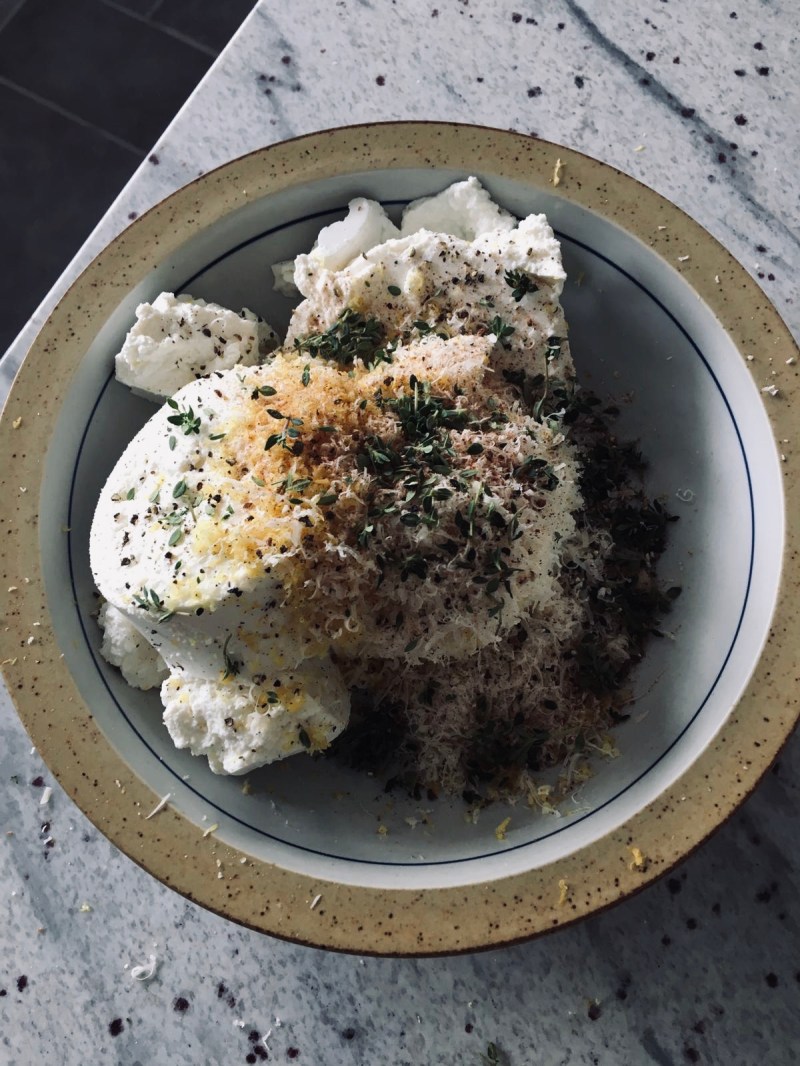

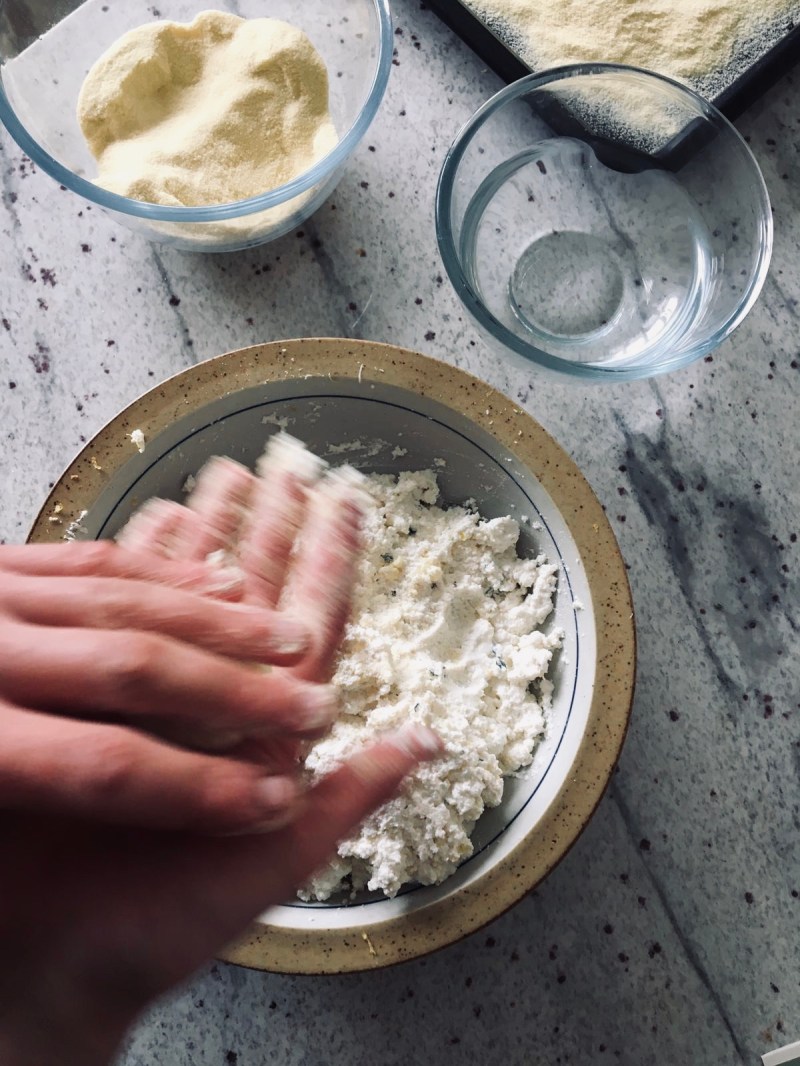
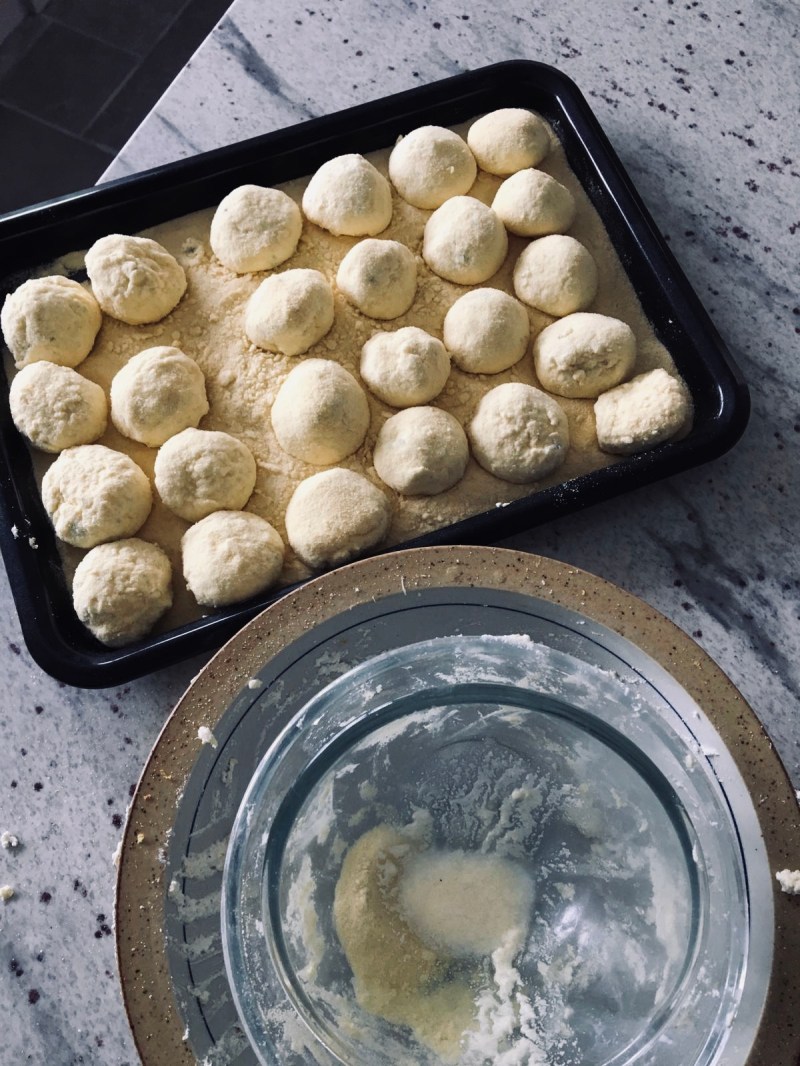

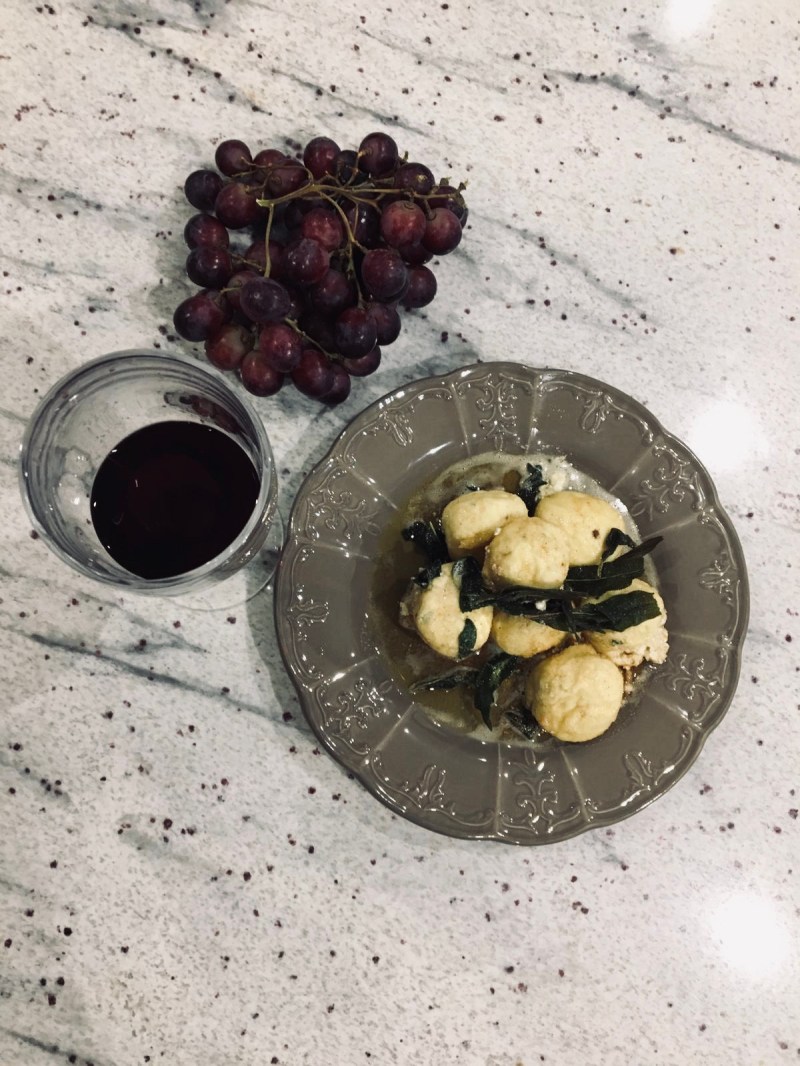
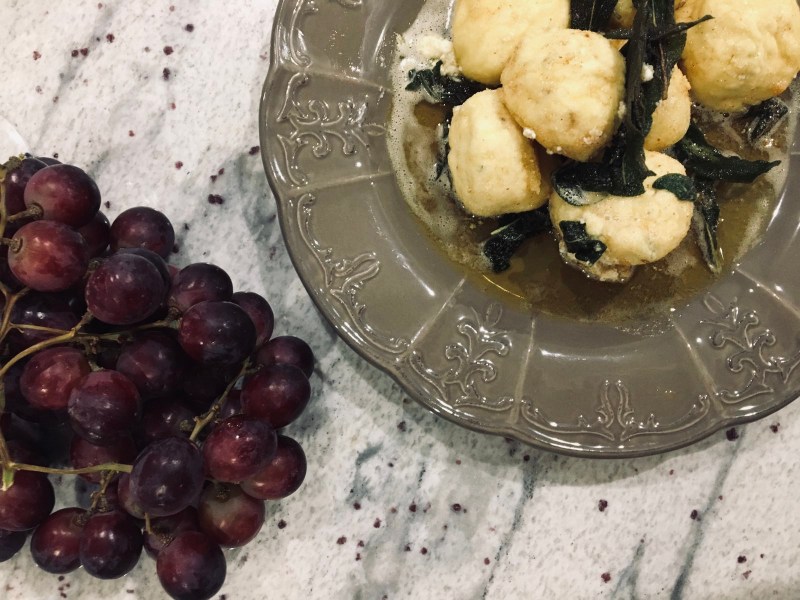
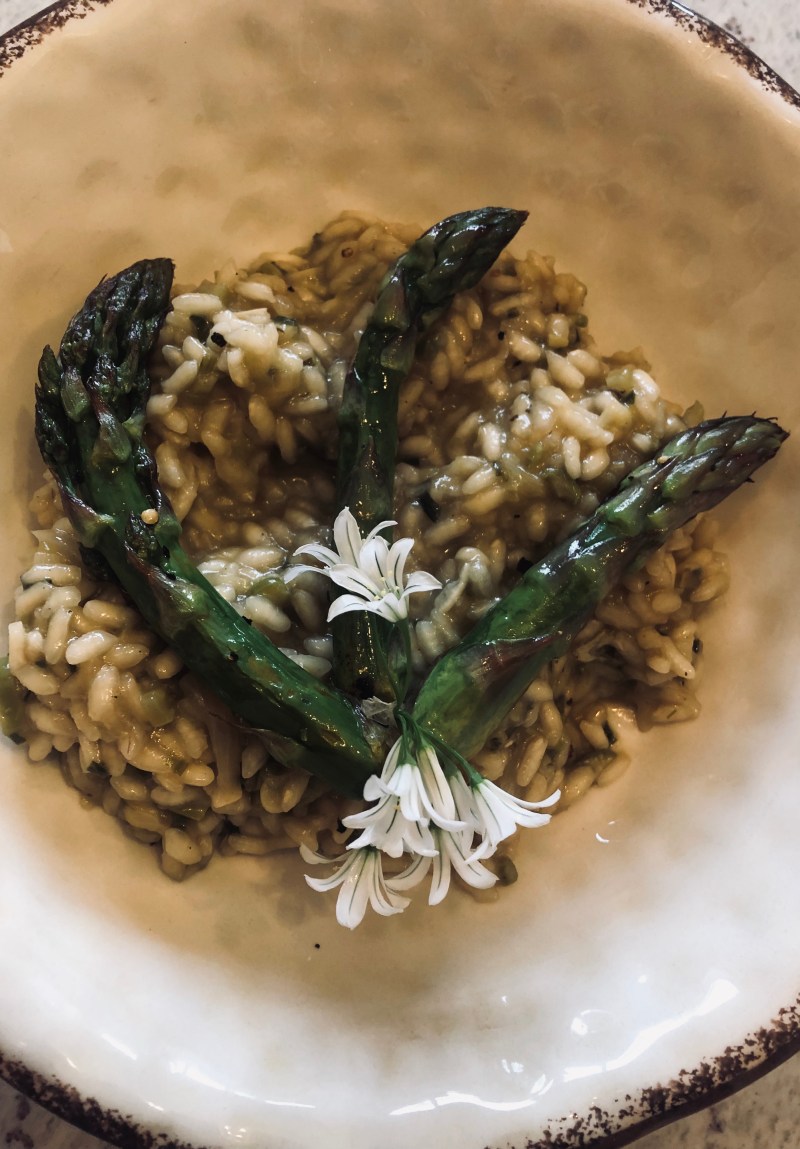
 Nudi is a traditional Italian dish, which is taken from Northern Italy, Tuscany they are sometimes referred to as naked ravioli.