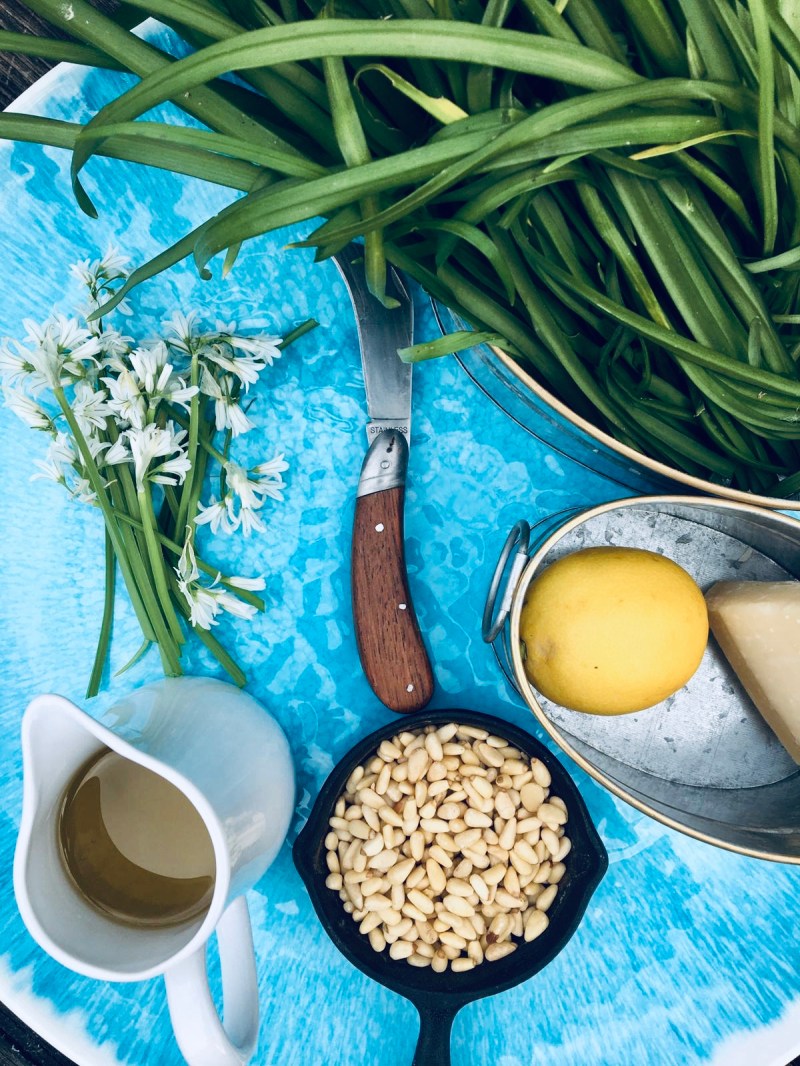

Béchamel:
• 200 grams of plain flour
• 200 grams of softened butter
• 1 litre of infused milk
1. To begin place a medium saucepan onto the heat with your one litre of cold milk along with one sliced shallot, 2 crushed garlic cloves, 2 bruised bay leaves, white peppercorns toasted.
2. Allow your milk to come to a boil, allow to infuse for around 1 hour.
3. Once your milk has infused, pass through a sieve and a decant into a Pyrex jug.
4. To begin your roux in a medium saucepan melt your butter once the butter has melted add in your plain flour and allow to cook out a little begin to whisk with a balloon whisk and ensure that you cook out the flour otherwise the béchamel will just taste of flour.
5. Once the roux looks like dry sand add in your milk in a steady stream and allow to create your béchamel.
6. Carry on adding your milk till you have a thick a beautiful béchamel, season with a pinch of sea salt and white pepper and to test that the béchamel is ready, using a teaspoon draw a line using your finger if the line holds then your béchamel is ready.
7. Allow to cool in the pan till the béchamel is required later on in the process.
Fresh Pasta:
• 300 grams of 00 pasta flour
• 3 medium whole eggs
• A pinch of Maldon sea salt
1. To start the pasta dough place the OO flour and Maldon sea salt into a large mixing bowl.
2. Create a volcano shape in the middle of the flour, as this is where you will crack your eggs into.
3. One by one crack your eggs into the centre of the flour, discarding of the shells using a metal fork whisk the eggs (you can do this before in a Pyrex jug) using a clean wooden spoon begin to drag the 00 flour in from the edges and begin to incorporate the eggs and flour.
4. Once the dough has reached a beautiful crumbly consistence start using your hands to pull the dough together, using your palms. Once the dough is ready and all of the flour and eggs incorporated tip out onto a floured service.
5. Begin to knead the dough as this builds the glutens up, after 10 minutes of kneading your dough it should be smooth and silky.
6. Once at this stage wrap your dough in cling film and leave to rest in the fridge for 30 minutes as this allows the dough to relax.
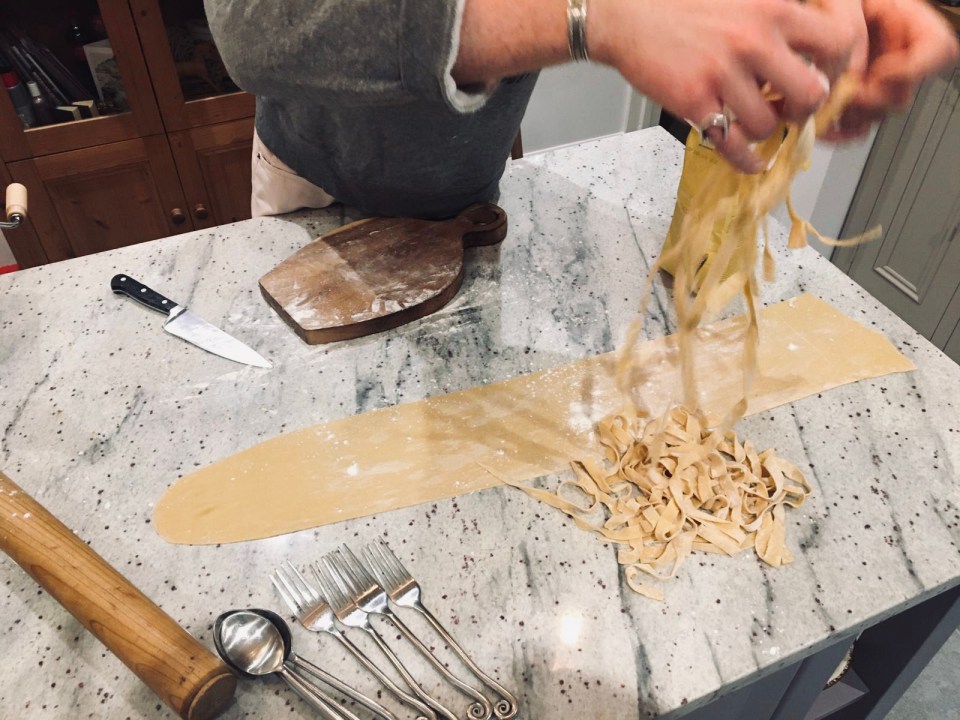
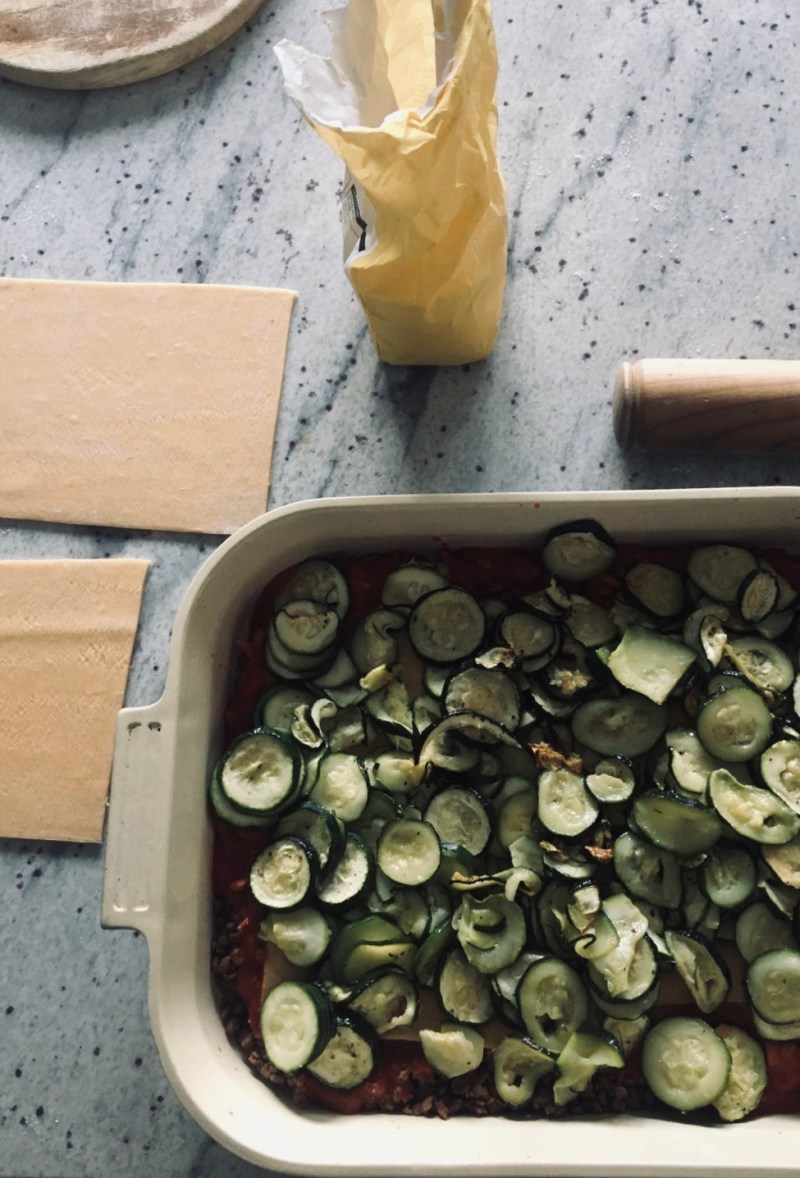
7. Having rested the pasta dough it is now time to shape your dough you can either do this by using a rolling pin or using a pasta machine, as this will ensure that all of the pasta is even once it has reached your desired thickness. (On a pasta machine you have three settings as these enables you to work the dough down to the desired thickness)
8. After rolling the dough to fit to the machine, run the dough through the thickest setting, fold in half and then drop the thickness as this helps to ensure the dough is silky and glossy. The thickness you want to achieve is that of a pound coin (Run two)
Veggie Mince:
1. Sauté your mince off in a frying pan till they go golden and crispy as this allows them to carry the sauce better, as they want to absorb the flavours from the sauce and béchamel.
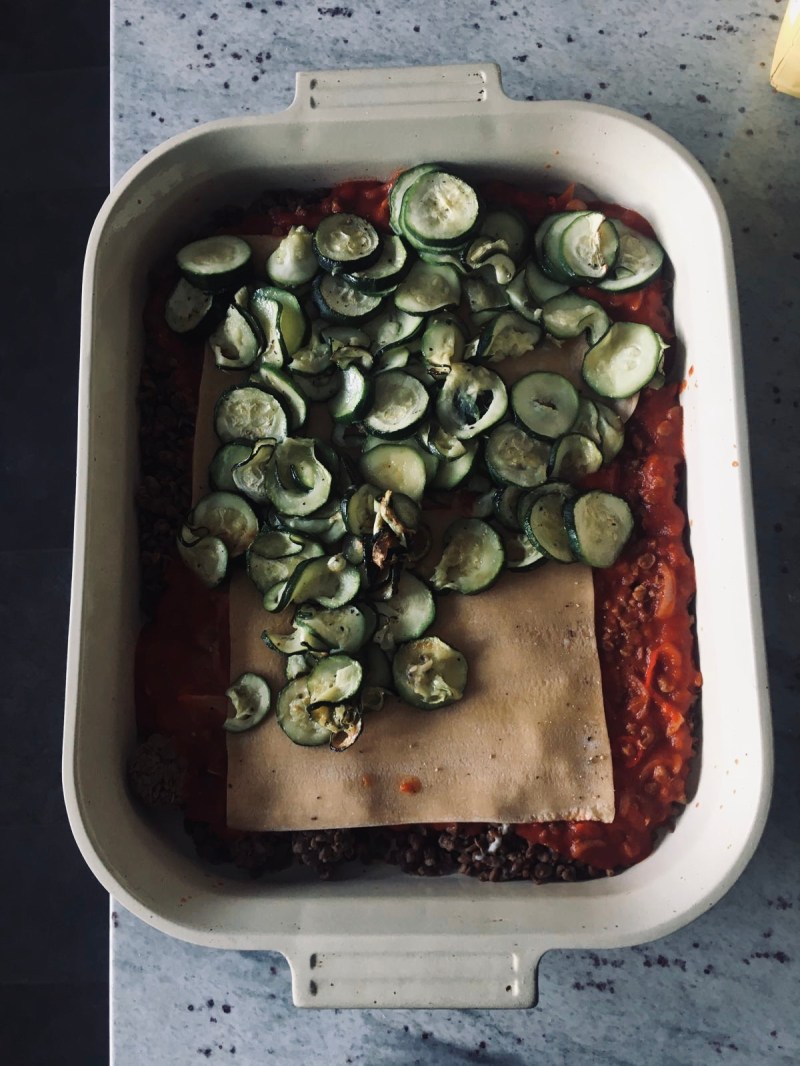
Roasted Courgettes:
1. To begin wash your courgettes under cold running water, once you have washed them top and tall your courgettes.
2. Next using a very sharp knife slice your courgettes very finely and place onto a baking tray and drizzle with a little olive oil
3. Roast in the oven at 180 or gas mark 6 until your courgettes are al dente and cooked through, by cooking your courgettes before they go into your lasagne you can ensure that they don’t loose their shape or go loose and sloppy.
4. Once they are cooked hit your roasted courgettes with a little sea salt and black pepper before you place them into the your lasagne as this forms a base of seasoning.
5. By salting your courgettes after they are cooked, this helps to ensure that they don’t steam or go wet in the oven as salt has a natural drawing elements which helps to remove moisture from the items let it be vegetables or meat.
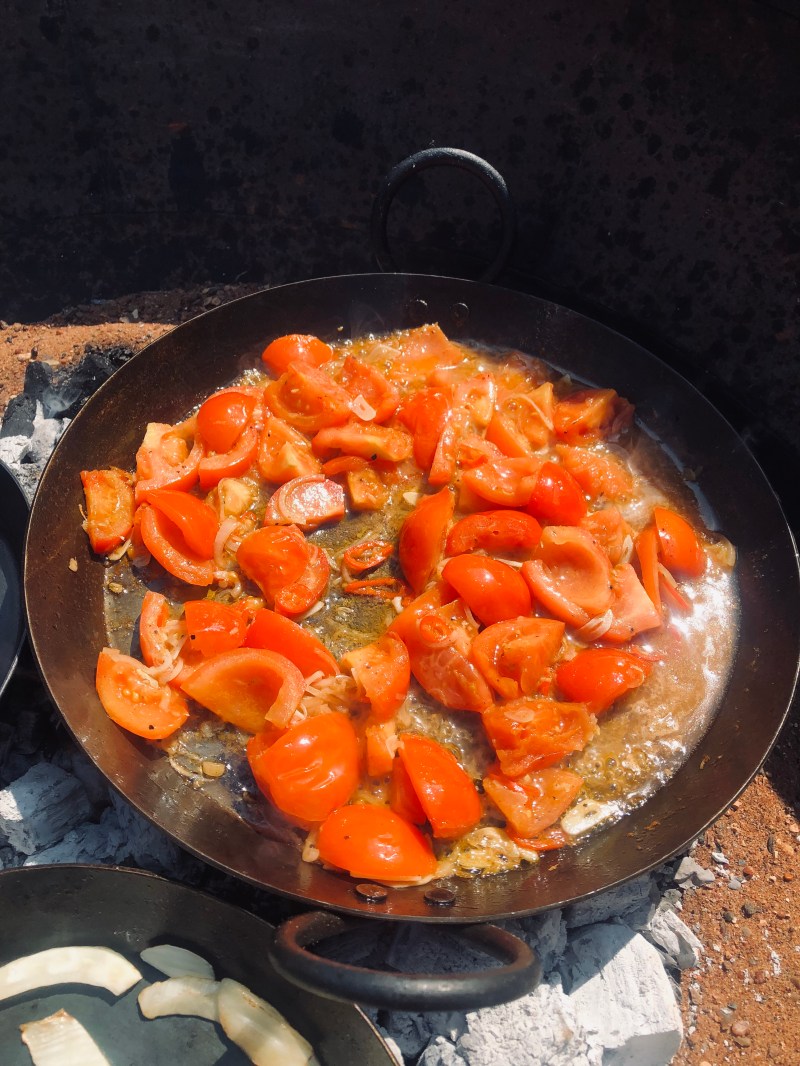
Tomato Sauce:
• 1 large shallot peeled and finely sliced
• 4 garlic cloves peeled crushed and finely sliced
• 2 large red chillies finely sliced
• 1 Pasatta container
• Touch of water to wash out your container.
• Cold press olive oil
1. To begin add your finely sliced base into the your medium saucepan along with a pinch of sea salt and black pepper, a drizzle of olive oil.
2. As this helps to form a base seasoning for your pasta sauce base, allow your base to season and perfume the oil, ensuring that you don’t colour the base as this will make the oil taste bitter and you cant hide burnt garlic.
3. Next add your pasatta along with your touch of water, a twist of black pepper and black pepper and a little olive oil.
4. Allow to cook on a low heat for around as this enables the sauce to sit and marinate a little.
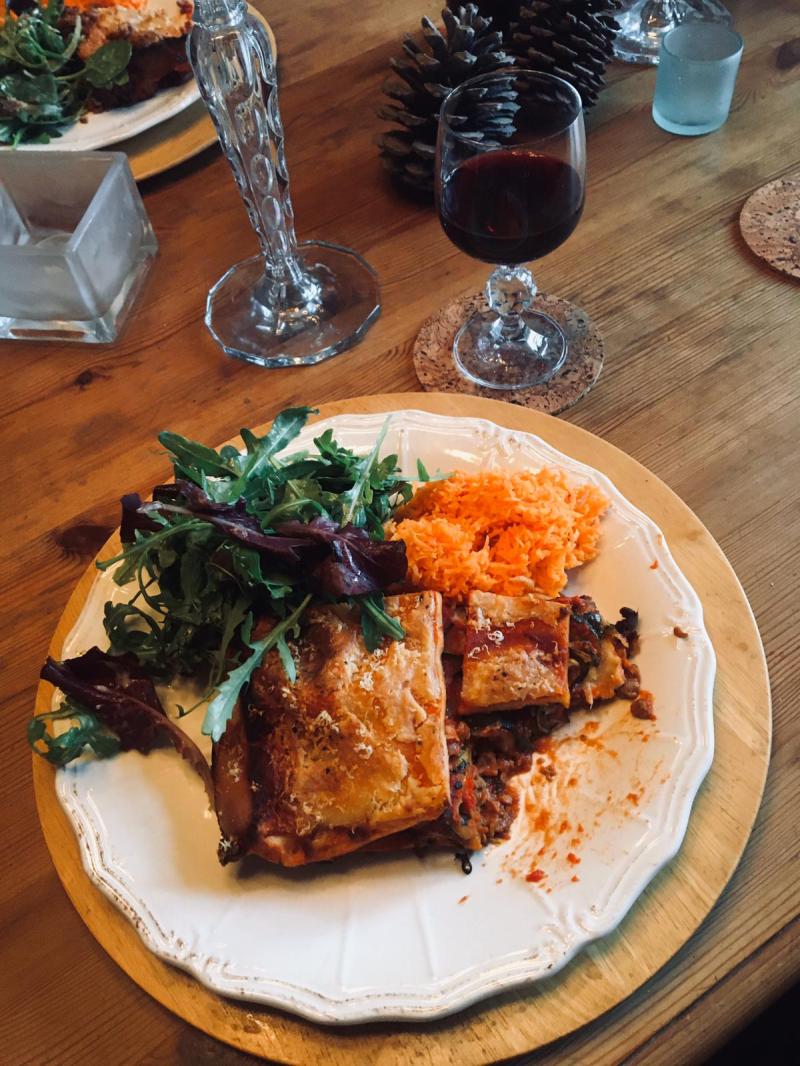
To assemble…
1. Add in your veggie mince to the base of fired earth dish, top with a couple of spoonfulS of your béchamel, then marble with your tomato sauce and top with your lasagne sheets.
2. Next top with your roasted courgette slices and season with a pinch of sea salt and black pepper.
3. Then add more béchamel and tomato sauce, ensure you leave some béchamel to go on top as this forms the best part of lasagne, the crispy top.
4. Pace into a pre-heated oven at 180 degrees and bake till golden and bubbly, as each of the elements are cooked and the fresh pasta will take seconds to cook.


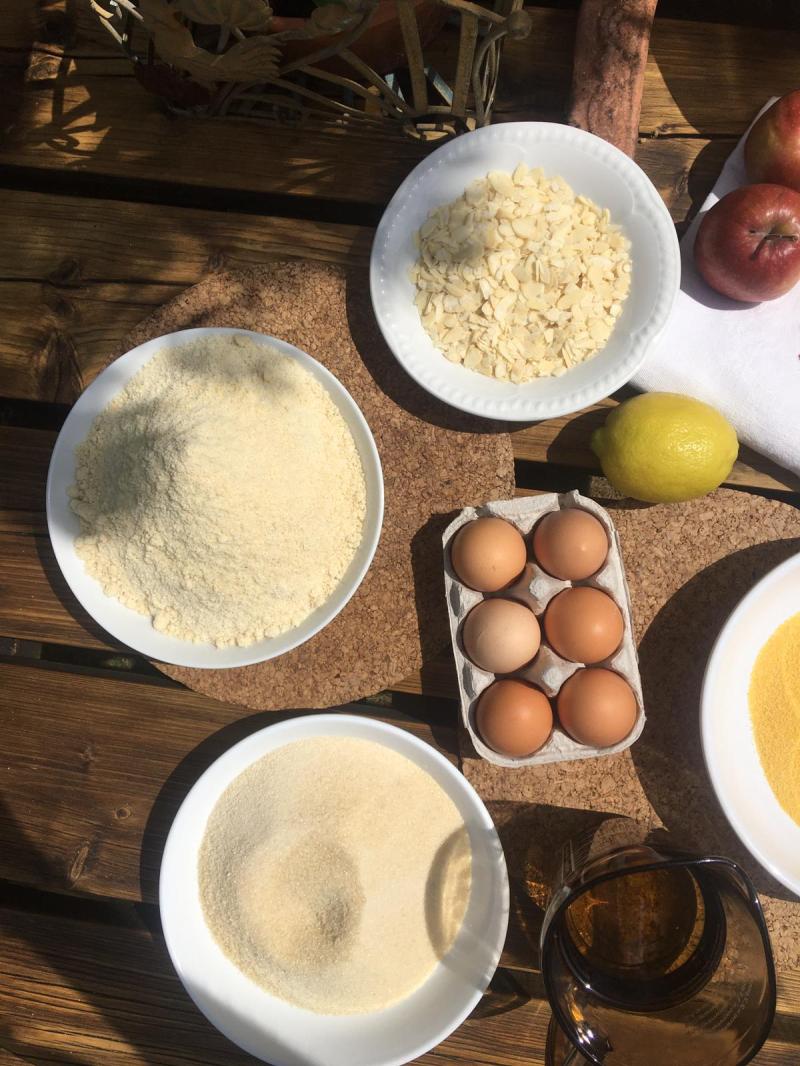
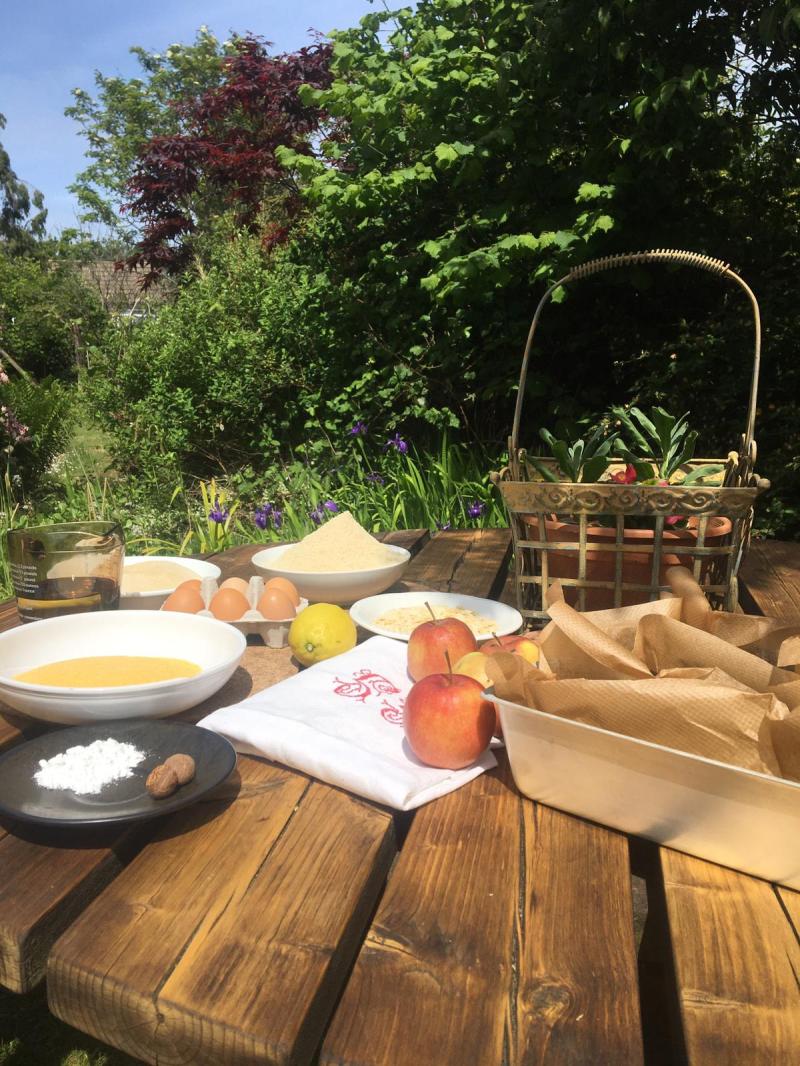
 Ingredients:
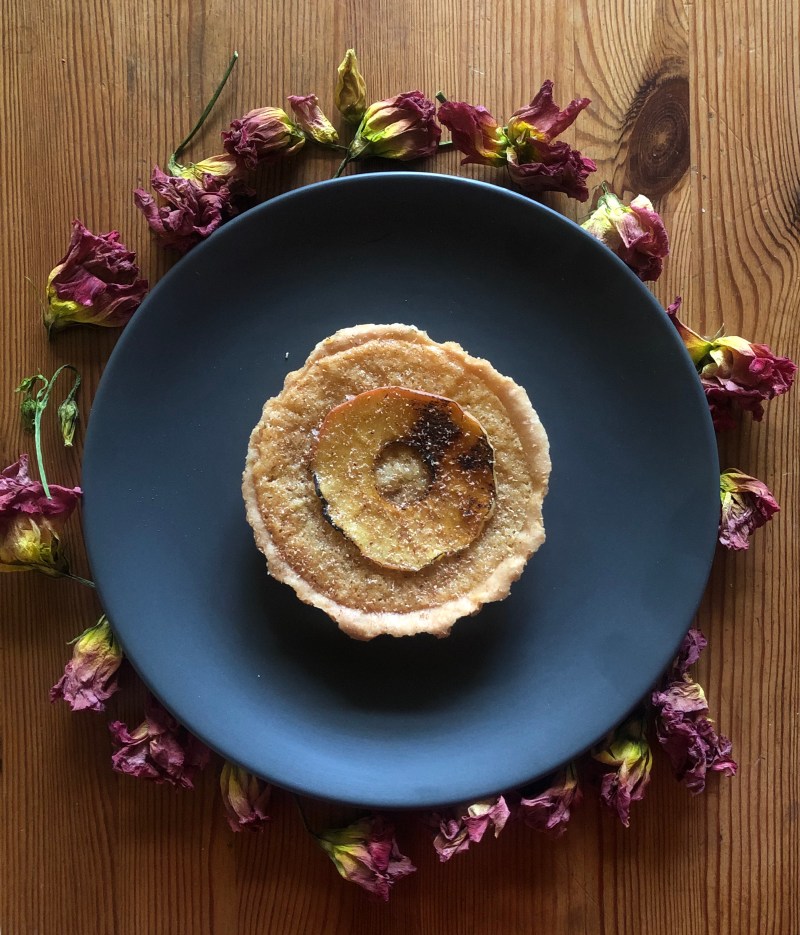
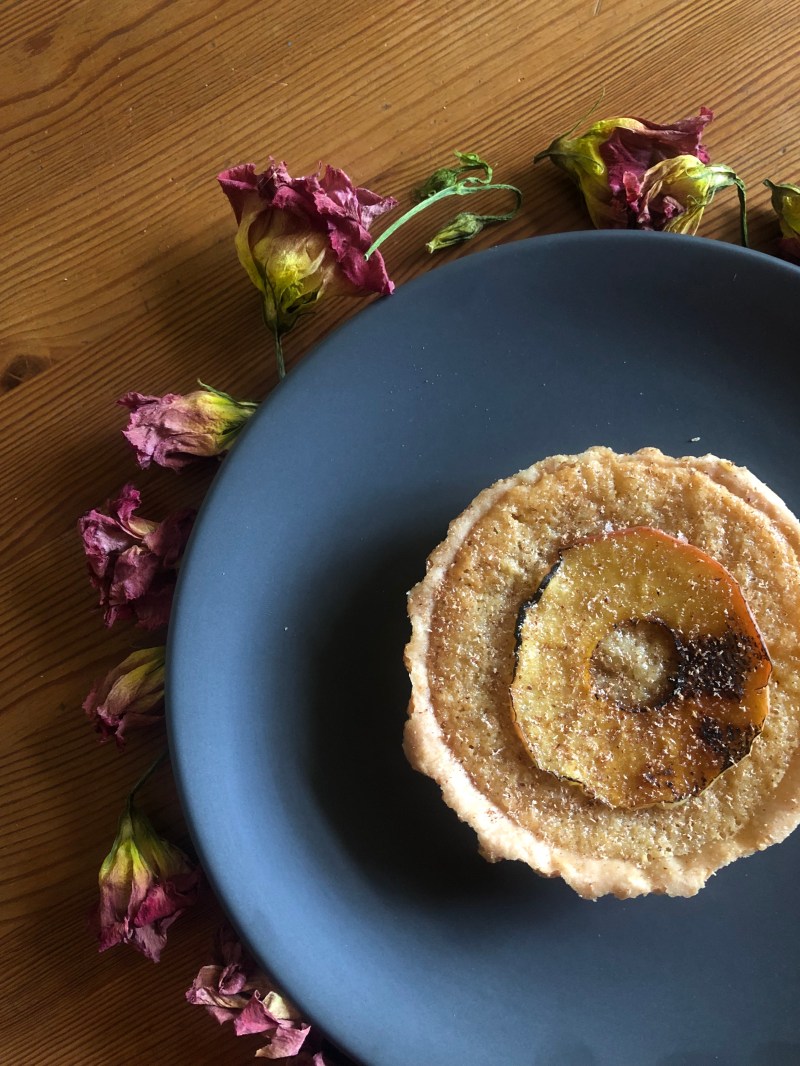
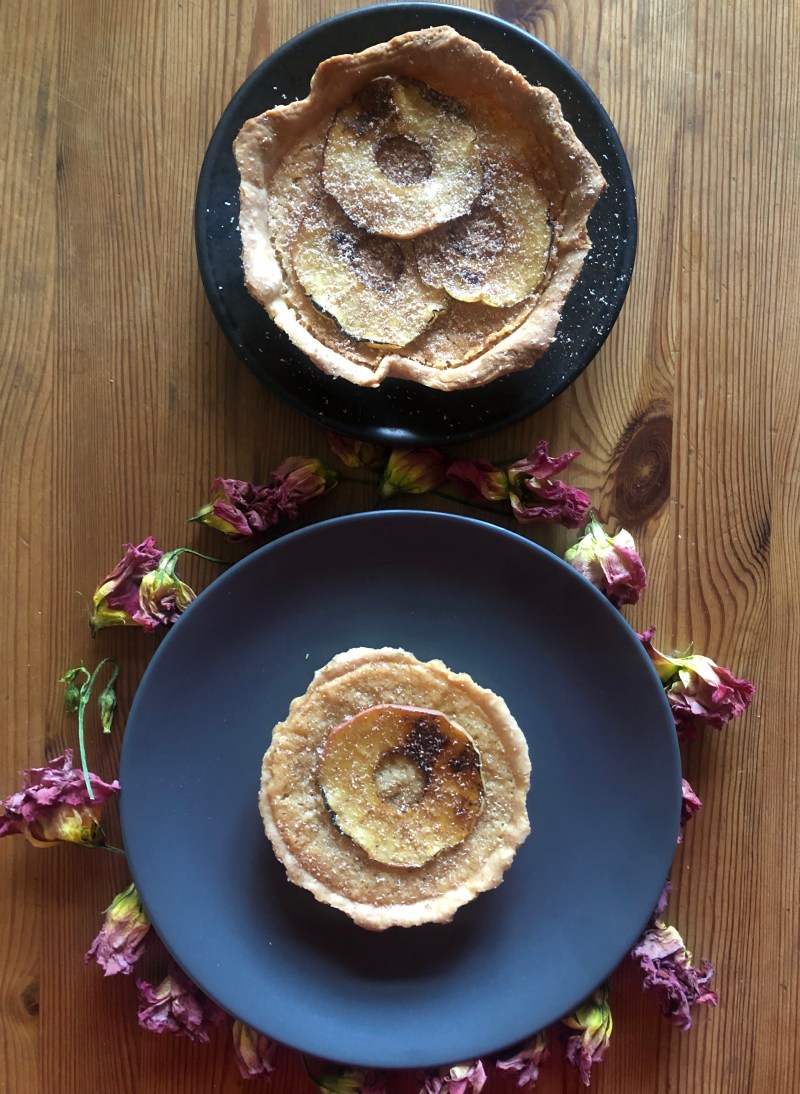
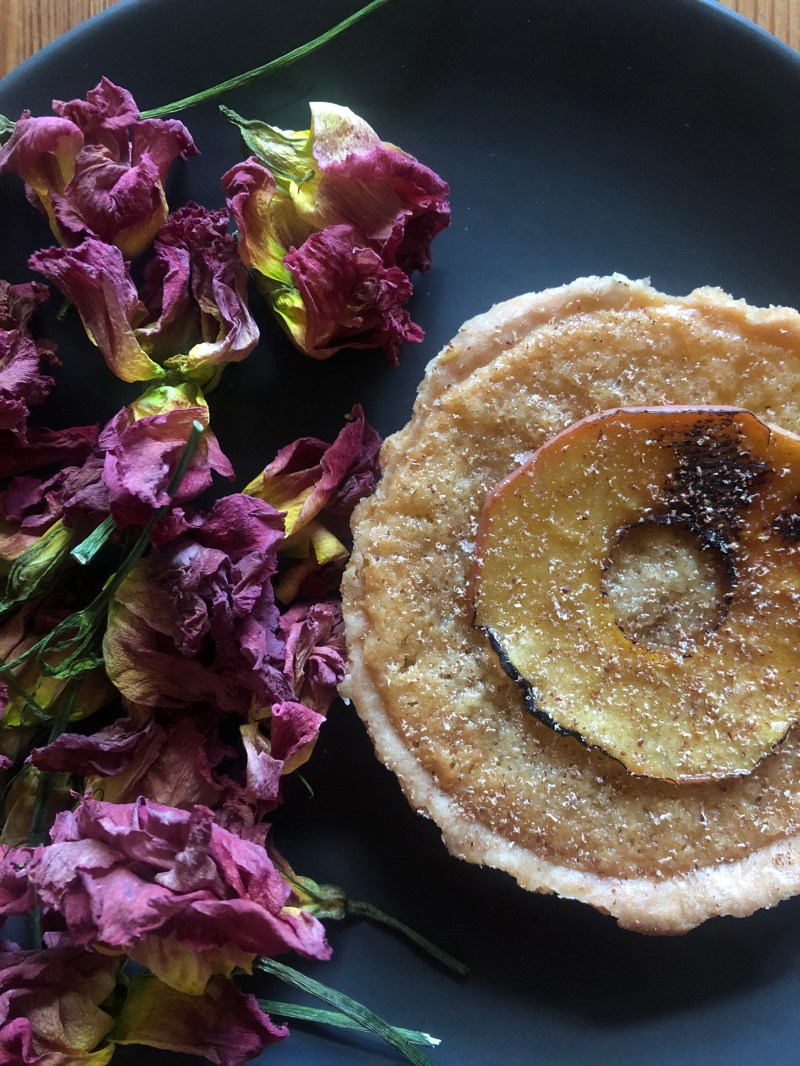
 For the sweet Pastry you will need:
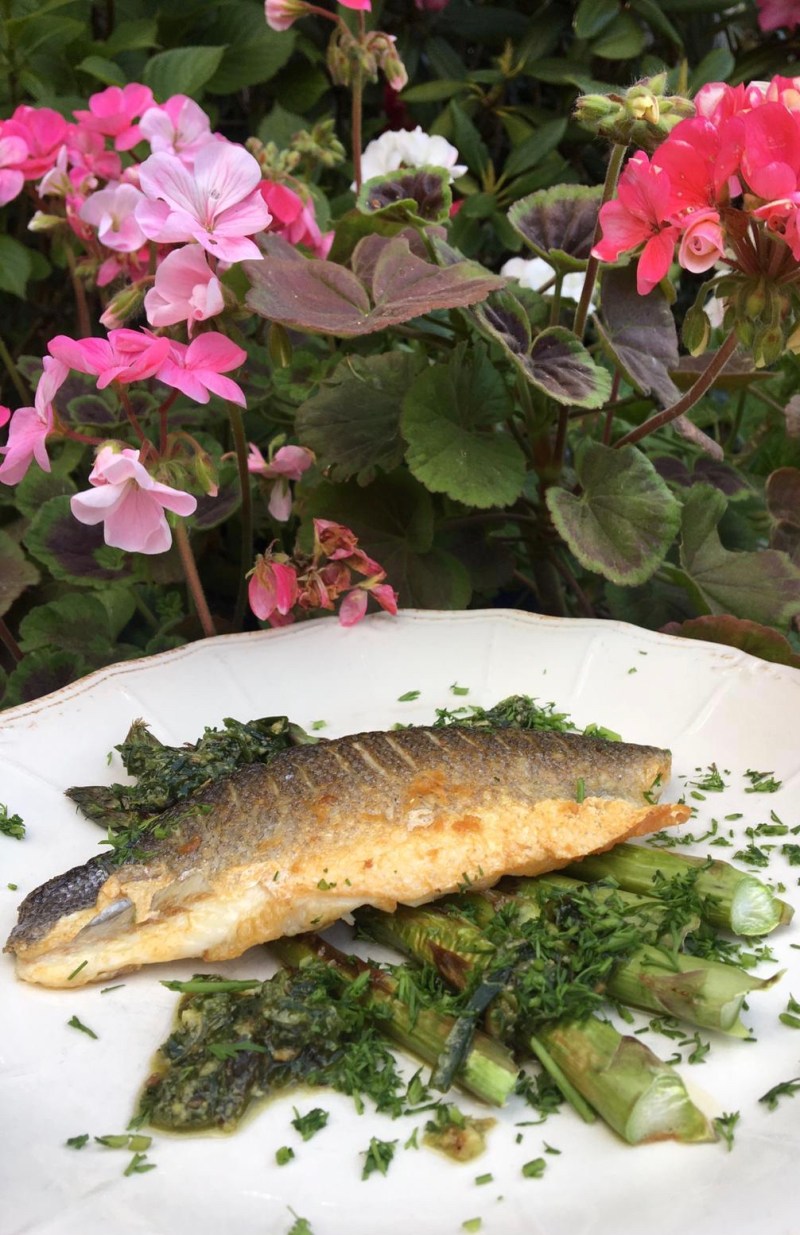


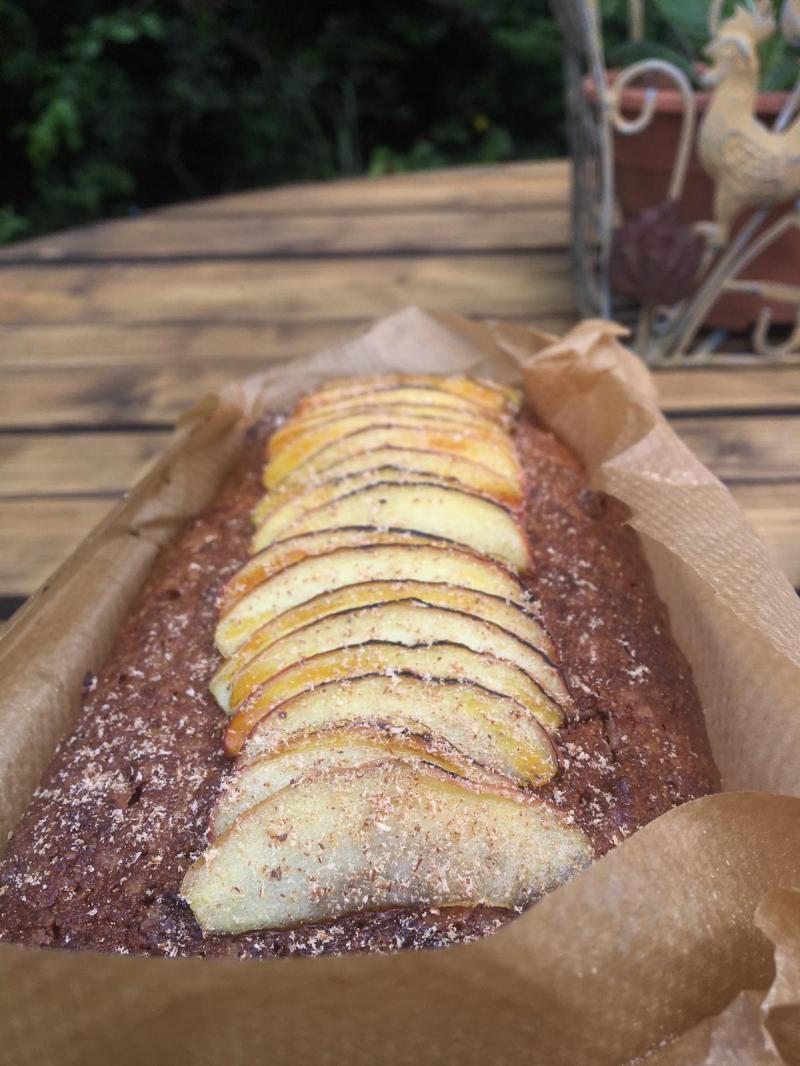
 Thick set lemon and b
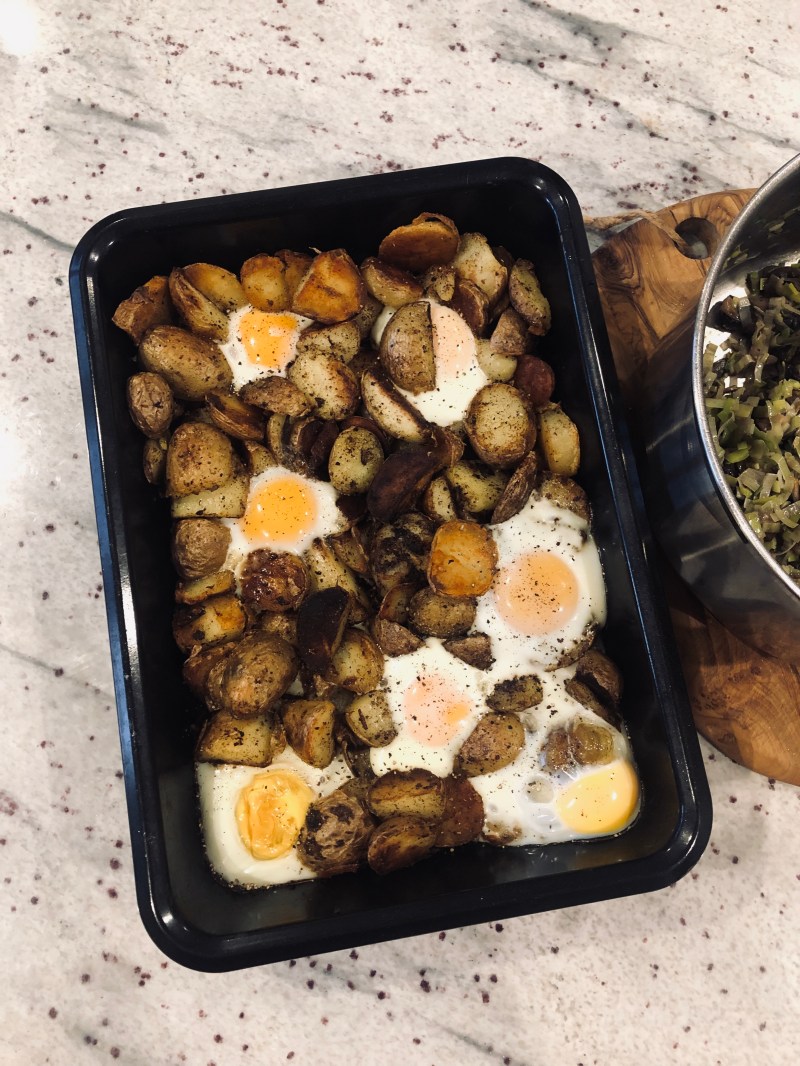

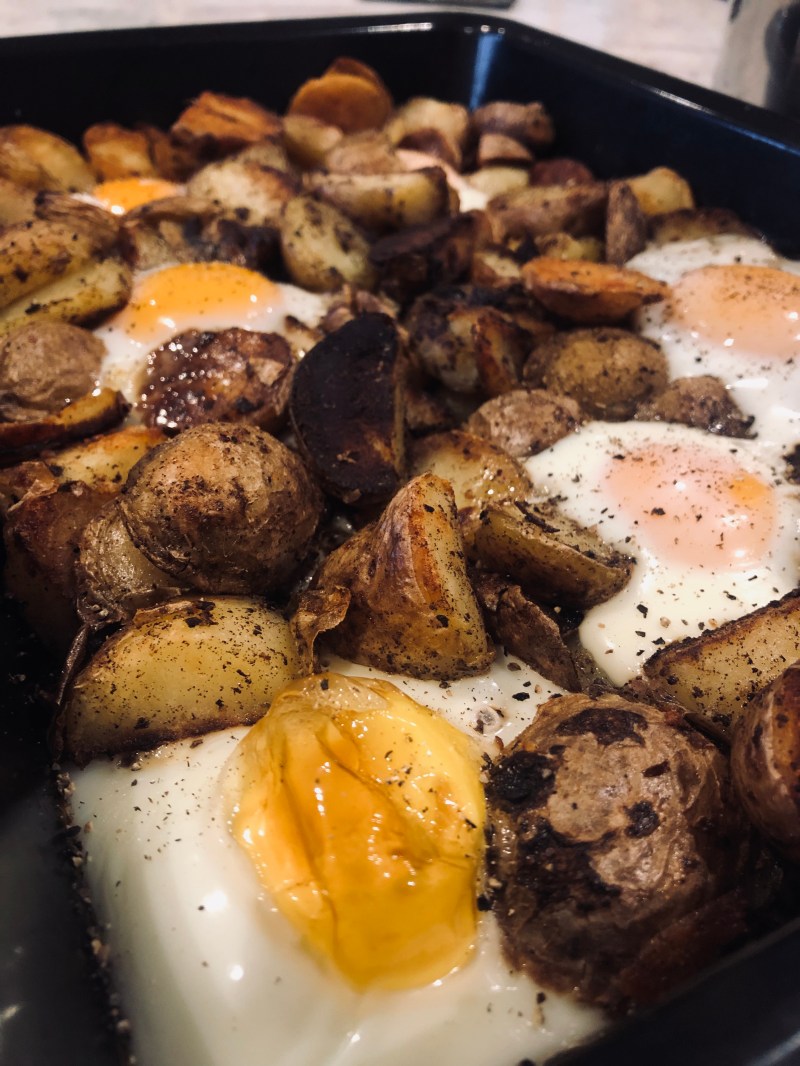
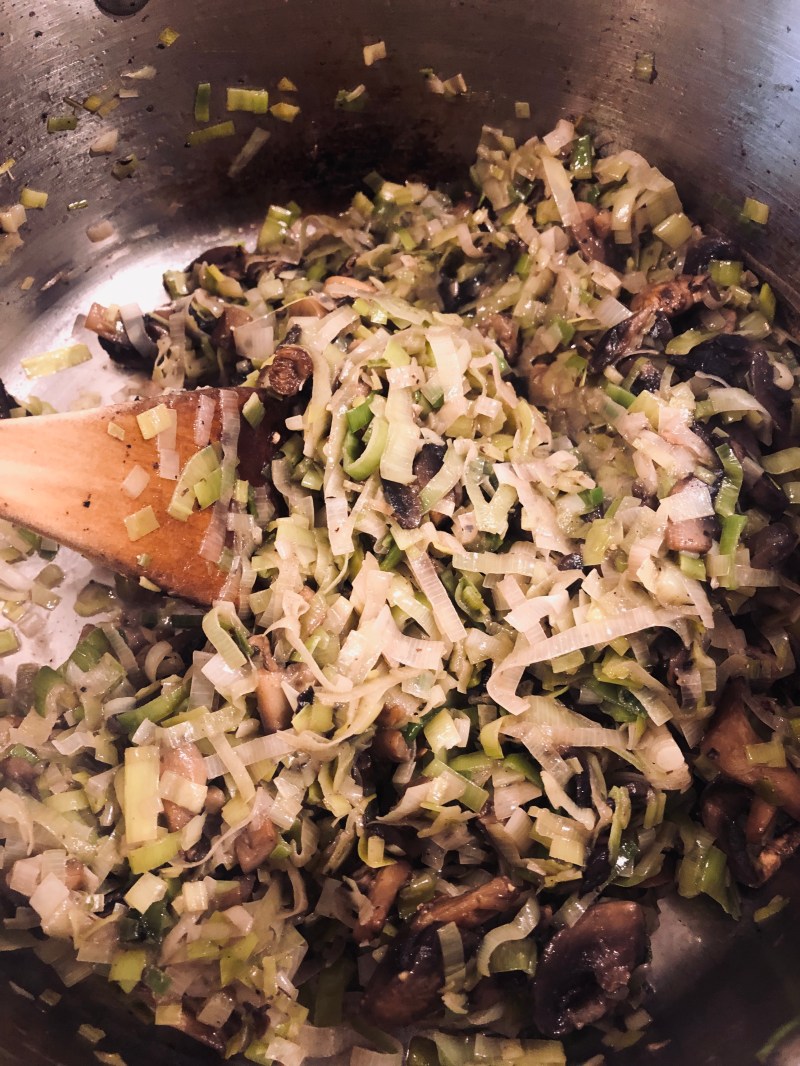
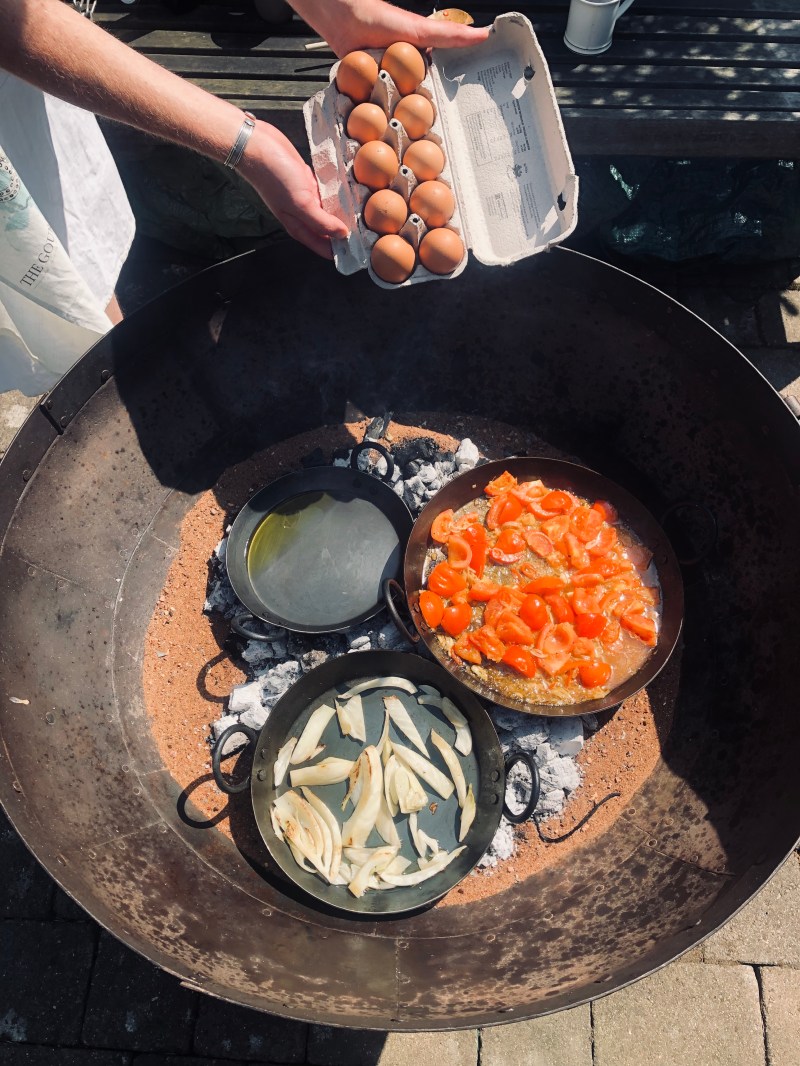
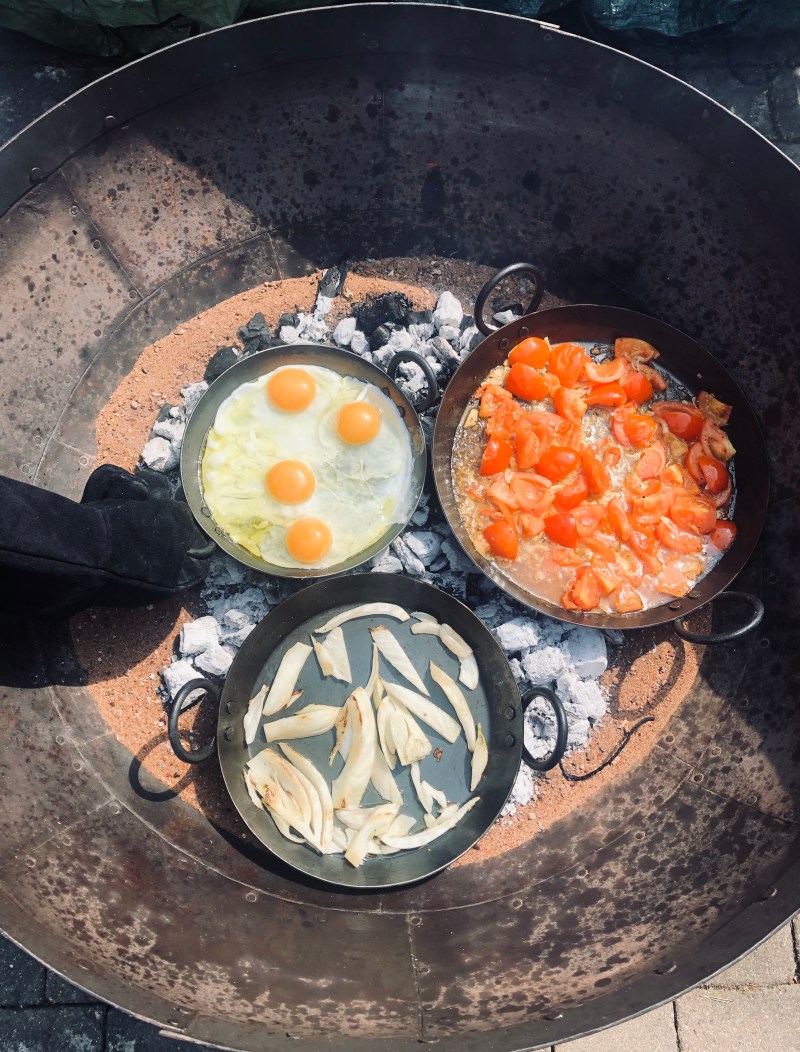
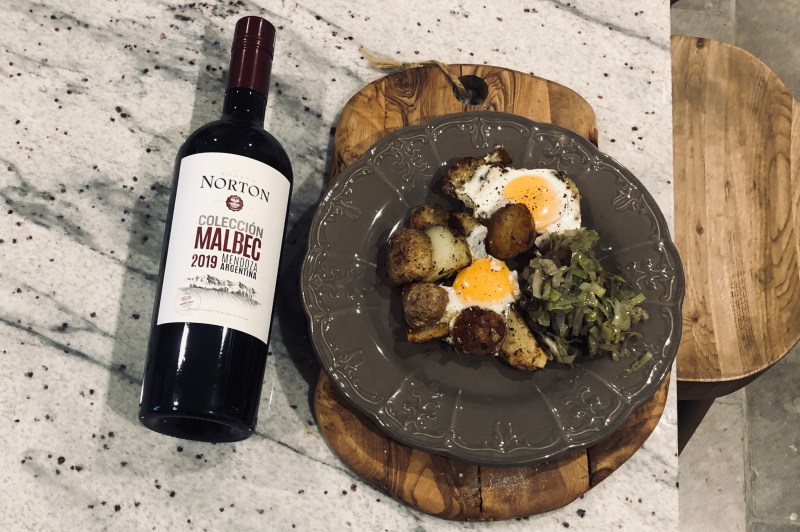 Baked free range eggs and sautéed charlotte potatoes, served alongside