


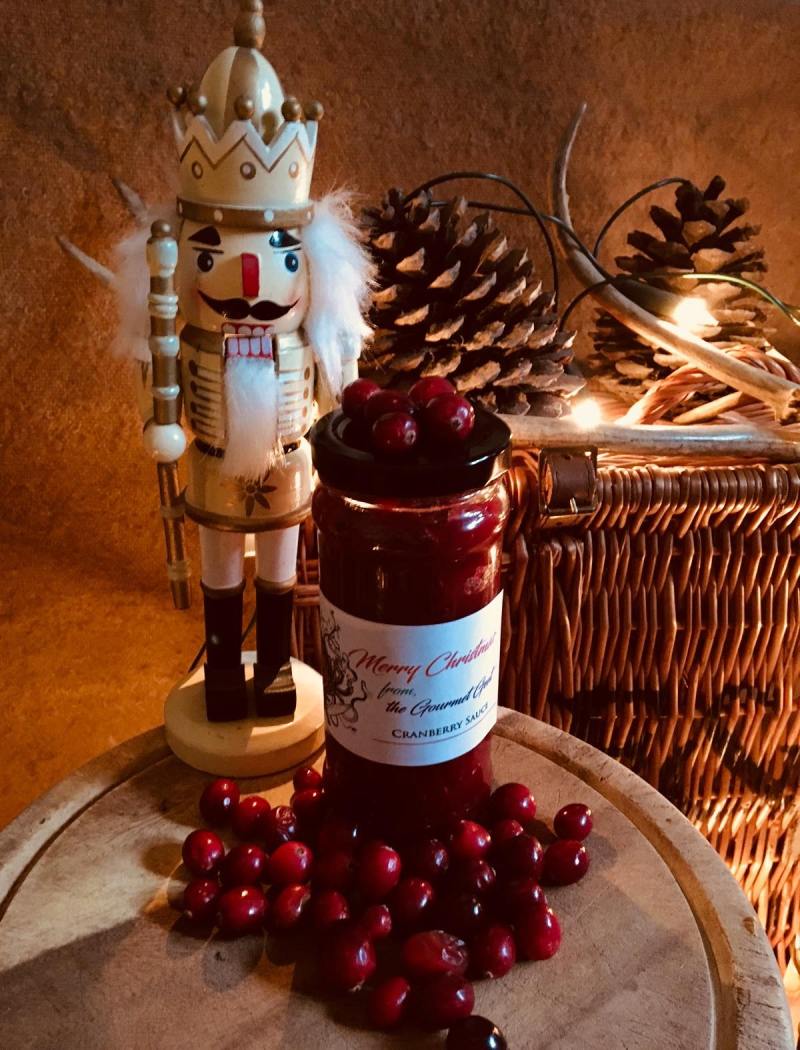
 Ingredients:
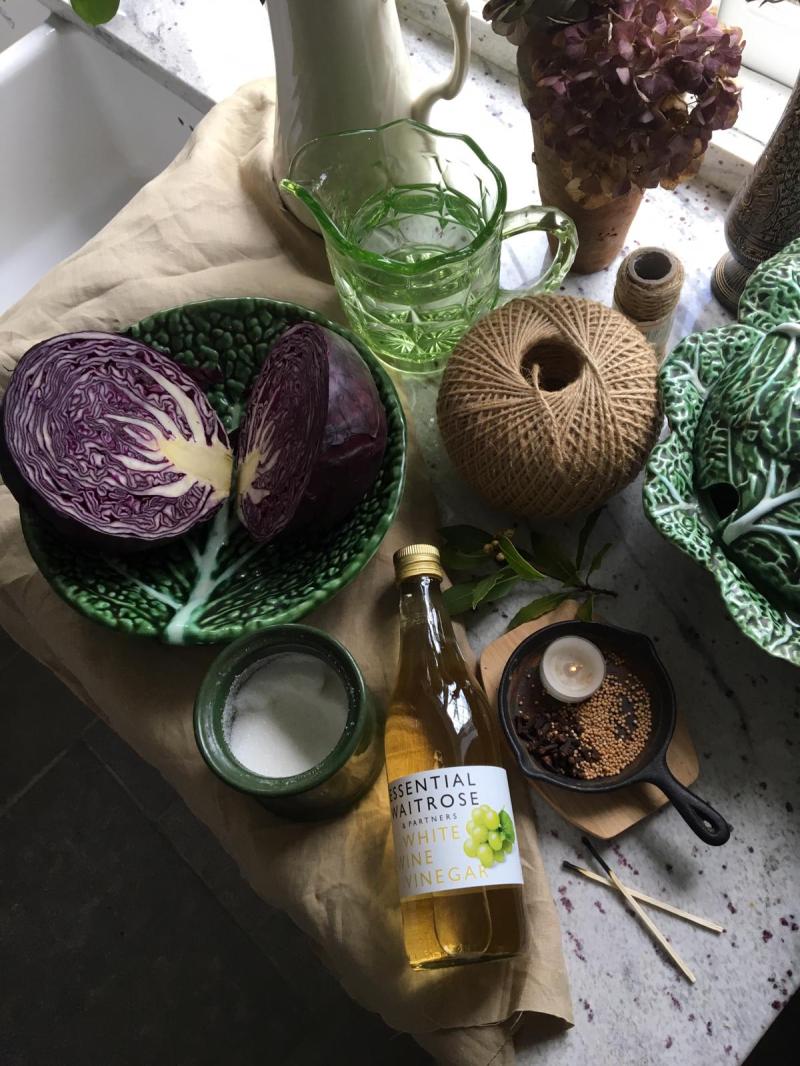
6 bruised bay leaves
8 toasted cloves
1 toasted heaped tablespoon of yellow mustard seeds
2 tablespoon of granulated sugar
1 tablespoon of table salt
200 ml of white wine vinegar
700 ml of cold water
(This will fill 5 sterilised jam jars)
- To begin, toast your cloves and yellow mustard seeds in a small saucepan, as this helps to warm the spices and get their essential oils flowing.
- Next add your sugar and salt along with your white wine vinegar and cold water, bring this to a light boil / high simmer to dissolve the sugar and salt.
- Next add your bruised bay leaves to the solution and allow to stand until cool as this can make your cabbage discolour and bleed.
- You want to keep all of the aromats in the solution as these will perfume the cabbage over the three months of which it will take to pickle.
For your red Cabbage:
- Ensure that you wash your red cabbage before using, ensure to peel back the layer’s as this is where the mud, dirt and insects usually hide.
- As the cabbage I was using was very large I removed the core, then chiffonade the red cabbage.
- Next place the cut cabbage into your sterilised jars, ensure to pack in the cabbage as you want there to be no air inside as this can lead to infections and mould spores.
- Cover your cabbage with your pickling liquor and leave to stand for around three months.
N.B. – The pickling solution which I used on this was very light as I don’t like the taste of the pickle to overpower the cabbage.


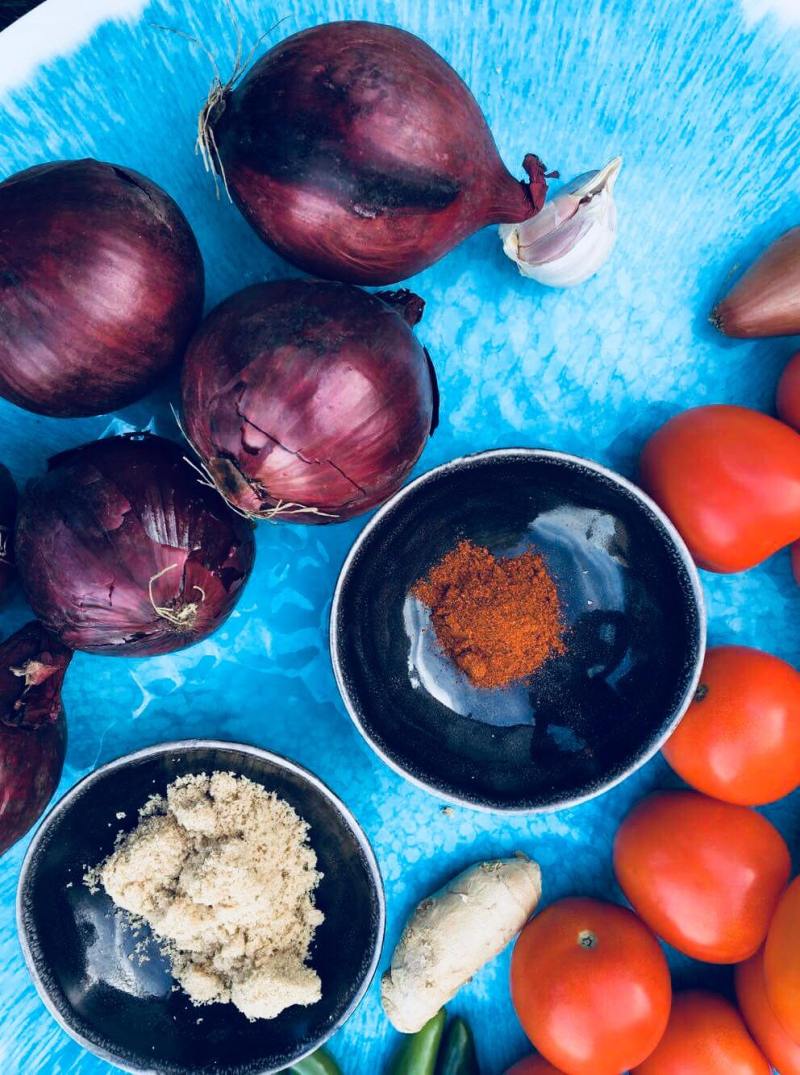
 Ingredients:
 Ingredients:
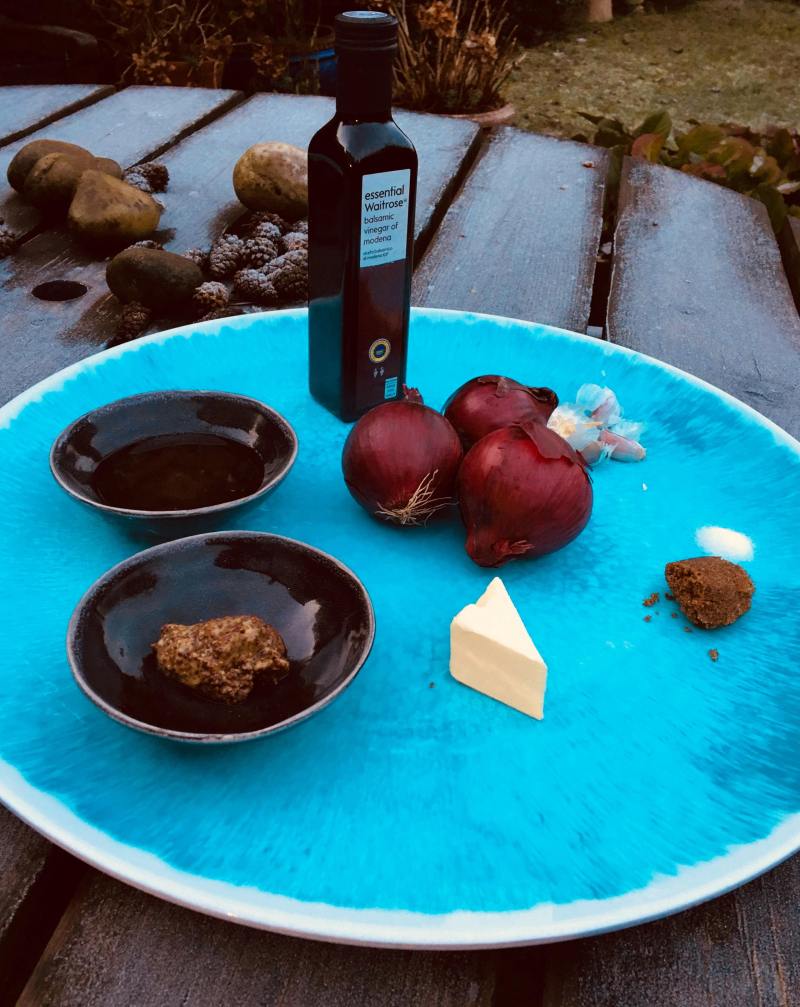 Ingredients:
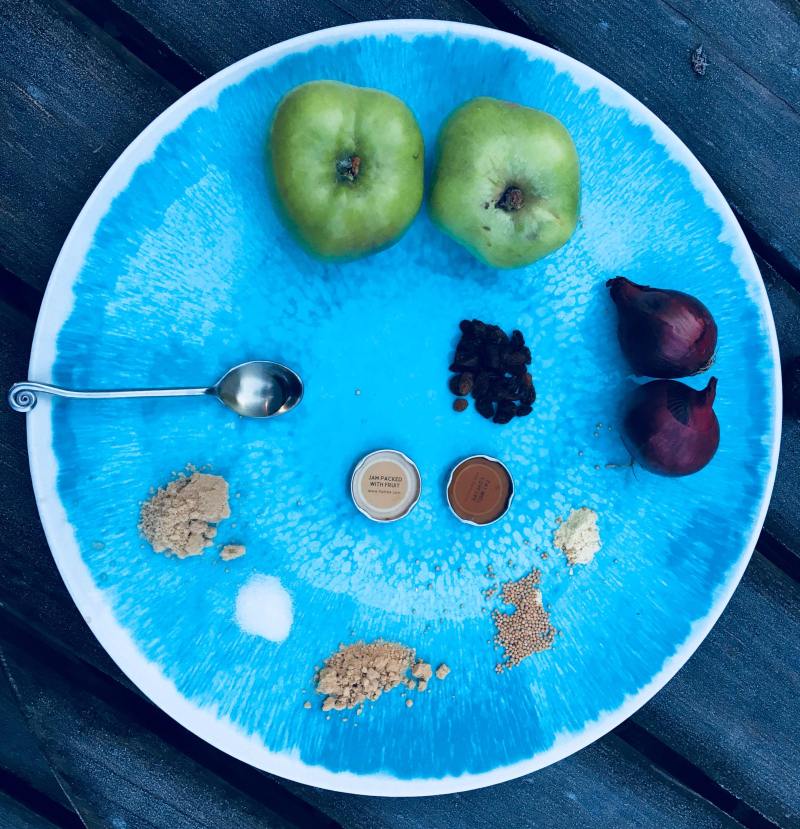 Ingredients: