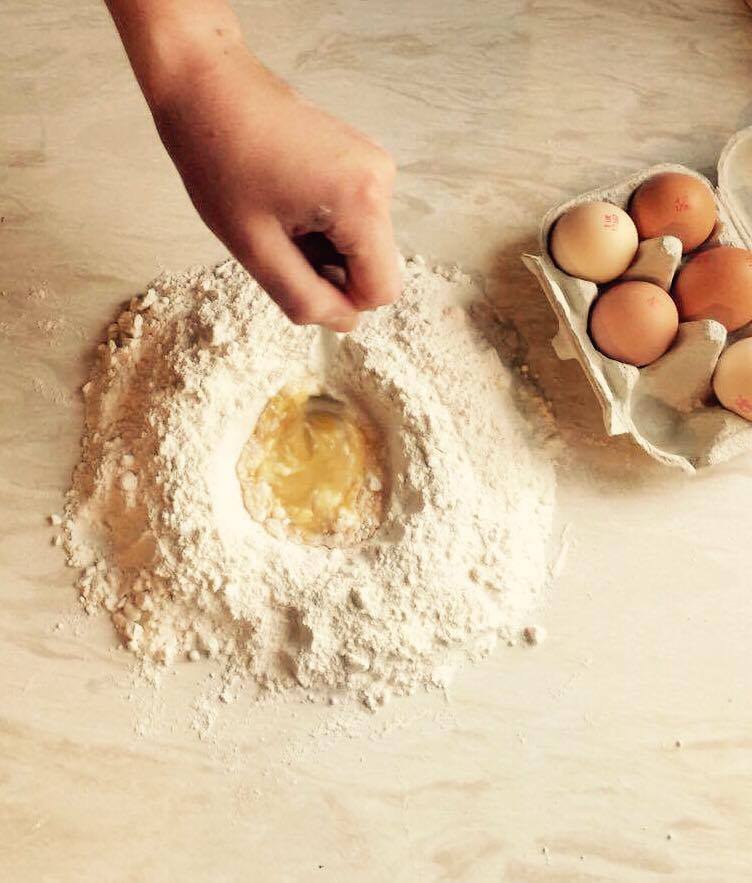
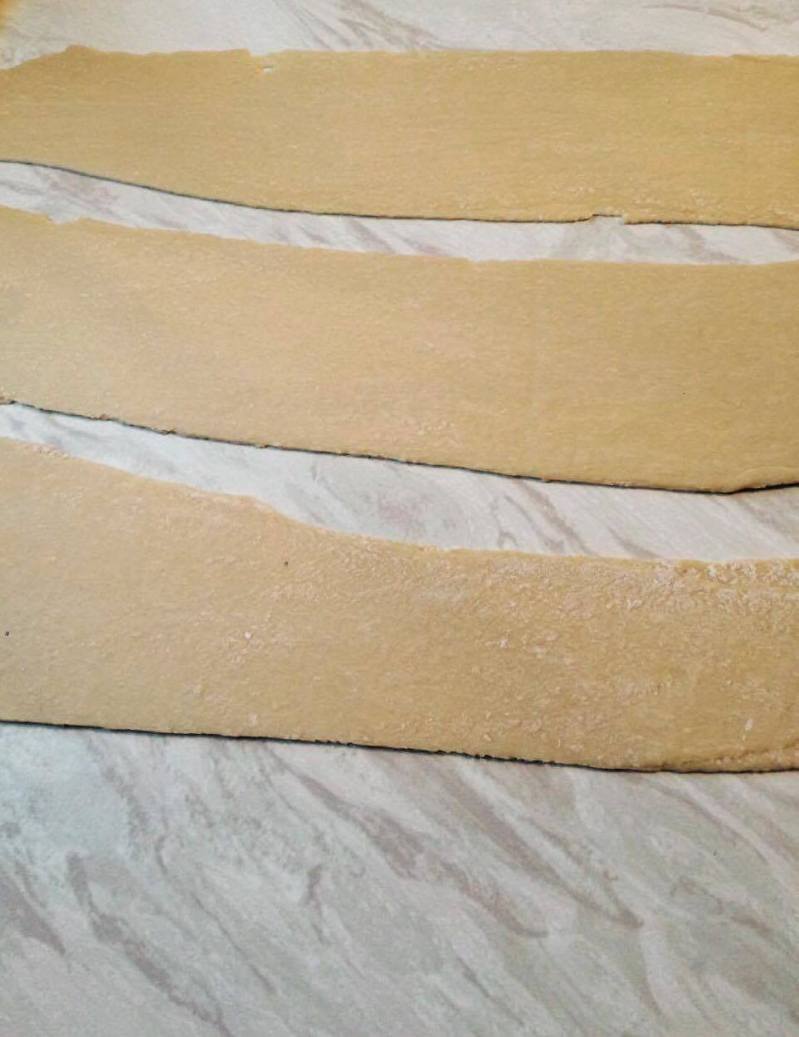
Mackerel and dill pâté with pickled cucumber balls

22345375_1977979499112635_514519352_oIngredients:

  • Two fresh whole mackerel
  • 1 diced shallots
  • lemon zest
  • ½ lemon juice
  • 30 capers diced
  • freshly cracked black pepper
  • 2 tablespoons of crème fraîche
  • fresh brushed dill


  1. To begin the mackerel pâté, de-scale, gut and fillet two whole mackerel and season the fillets with sea salt and black pepper and place into a piece of tin foil and cook with a little olive oil. The key to this mackerel pate is to keep everything clean and fresh.
  2. Cook the mackerel until they have reached 48 degrees and the flesh is just flaking, allow to cool in a blast chiller on a 90-minute cycle.
  3. Whilst you are waiting for your mackerel fillets to cool in a large glass bowl, grate the zest of one unwaxed lemon as well as the juice of one half. Into the same bowl add 30 finely diced capers, as well as 1 finely diced shallots and some brushed dill.
  4. Now add the cooled mackerel and flake into large chunks as you want to see the mackerel in the pâté.
  5. For a smoother finish you can always put the mackerel pâté mixture into a food processor and blitz but I prefer to leave it flakey adding a bit more texture.
  6. To finish add 2 heaped tablespoons of crème fraîche to bind and season with a little freshly cracked black pepper.


To serve…

Toast off rings of fresh sourdough until golden brown and crisp, once toasted drizzle with a little olive oil and plate onto your artisan plate.

To garnish…

Pick fresh dill shoots to remind your friends and family of the star herb. For me I love to pair this dish with beautifully pickled cucumber balls.
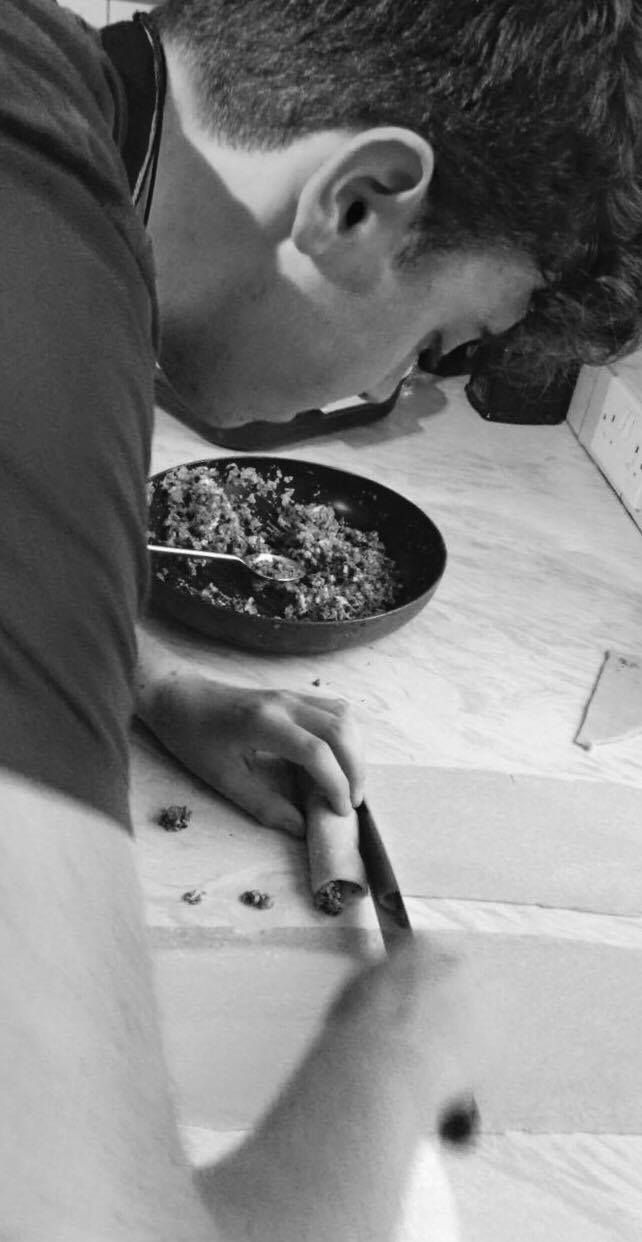
The Gent’s Curry

22092605_1974176522826266_1203858611_o21362369_1974176529492932_2105182486_o22139739_1974176532826265_1406980548_o22095538_1974176536159598_2003906837_o22119464_1974176539492931_123011436_o22095303_1974176542826264_2091911794_oIngredients:

  • 150 grams of dried green lentils
  • 150 grams of dried chickpeas
  • 3 large white onions finely sliced
  • 1 orange chilli finely sliced with the SEEDS STILL IN
  • 1 teaspoon of tomato puree
  • 2 tins of chopped toms
  • One large cauliflower cut into florets and then charred in a dry pan
  • Siffonde of coriander and stalks finely chopped
  • Dash of olive oil

For the curry paste:

  • Thumb sized piece of ginger peeled and julienned
  • 3 garlic cloves peeled and sliced
  • Dash of olive oil
  • 2 teaspoons of curry powder
  • 2 teaspoons of toasted Gara Masala
  • 2 teaspoons of ground cumin

For the best results allow both your lentils and chickpeas to soak over night, as this helps to softened them, the next day cook for half an hour until they were tender. GENT TIP – don’t cook the pulses all of the way through, as they will carry on cooking in the curry and therefore result in them being over cooked.

For the Rice:

  • 1 cup and half of Brown Rice
  • Equal quantity of water

The Good Bit…

  1. In a heavy based frying pan on a medium heat, gently toast the cumin, gara masala and the curry powder as this helps to release the natural oils in the aromats. Once the spices are ready tip them into one of the old trusty Motar and Pestle to crush and then incorporate a little olive oil.
  2. In another heavy based pan add a dash of olive oil once the pan is up to temperature, add your onions the secret to a bad boy curry is firstly the caramilsation of the white onions and of course the curry paste. Once the onions are golden brown add your curry paste from step 1 to the pan. Reduce the heat or otherwise you will just burn the paste and turn it bitter.
  3. Once the curry paste has been cooked out add the julienne of ginger along with chopped garlic and cook again but not to colour, as this will it help it release its natural aroma.
  4. Add the tomato puree at this point and ensure that you cook this out once again otherwise it will send the curry really bitter, to reduce the heat in the pan add a little cold water.
  5. To finish the basic sauce add two tins of chopped tomatoes and allow to simmer gently.
  6. For the cauliflower florets, heat a medium sized pan over a medium heat with no oil, once the pan is up to temperature add your cauliflower florets and allow them to burn and char as this helps to give an authentic smokey taste. Once ready tip into the curry along with the pulses and cook for a further 30 minutes until the florets are tender and cooked through.

The Gents Top Tip: If your curry goes thick add a little cold water, by filling one can of the chopped toms with water as the remnants help to further enrich the sauce with the tomatoey goodness.

Rice Time:

For the rice use the absorption method – meaning equal quantities of both rice and cold water, for this dish I like to use brown rice as it less refined and better for you. For this dish I used 1 cup and a half of rice as I prefer more curry to rice.

Porcini, button and chestnut mushroom risotto finished with white Italian truffle oil

21458335_1965337957043456_431668046_o21533942_1965337953710123_1363402666_o21533908_1965337950376790_200603542_o21533690_1965337960376789_1746430588_o21533614_1965337963710122_935965381_o21533555_1965337967043455_495585446_o

Ingredients:

  • 2 garlic cloves finely chopped
  • 2 banana shallots finely chopped
  • 1 litre of cold water
  • additional water to loosen
  • 250 grams of risotto rice
  • knob of softened butter
  • dash of olive oil
  • Button Mushroom duxelle
  • Chestnut mushrooms finely sliced
  • White truffle oil
  • Freshly cracked black pepper
  • Sea Salt

The Stock

When it comes to vegetable stock you can either go two ways, making your own or using instant with a vegetable OXO cube and some instant powder.

To make your very own bad boy vegetable stock, you will need:

  • White onion roughly chopped as well as trimmings
  • Carrots roughly chopped as well as trimmings
  • Celery stick roughly chopped as well as trimmings
  • Rosemary
  • Bay leaves
  • 2 litres of cold water
  • good quality White Wine

1. Begin in a heavy based pan add a dash of vegetable oil as well as a little butter, by adding the vegetable oil this helps to increase the burning point. Once the pan is up to temperature add your white onions and allow them to catch a little as colour = flavour.

2. Repeat this process with the other veggies, once they have all reached a beautiful golden brown releasing that cooked on goodness, de glaze the pan with a little white wine as this helps to flavour the stock. To finish add your cold water along with the herbs.

3. leave for around 2 hours or as long as you can, if the water boils away just add more as this helps to intensify the flavour even further as this theatrically creates a Jus.

4. To finish pass through a metal sieve and discard the veggies because at this point they have done their job.

To make the risotto follow the debut dish recipe, with the addition of button mushroom duxelle, finely chopped chestnut mushrooms and a brunoise of the rehydrated porcini mushrooms, with a finishing touch beautiful white Italian truffle oil.

Regards the Gent

Pan seared fillet of Sea Bass served on a mushroom reduction ketchup, finished with sautéed shiitake mushrooms and hints of white truffle oil.

20727265_487689834916745_1818163102_o20684357_487689824916746_296405959_o20706998_1951688495075069_1658106692_o
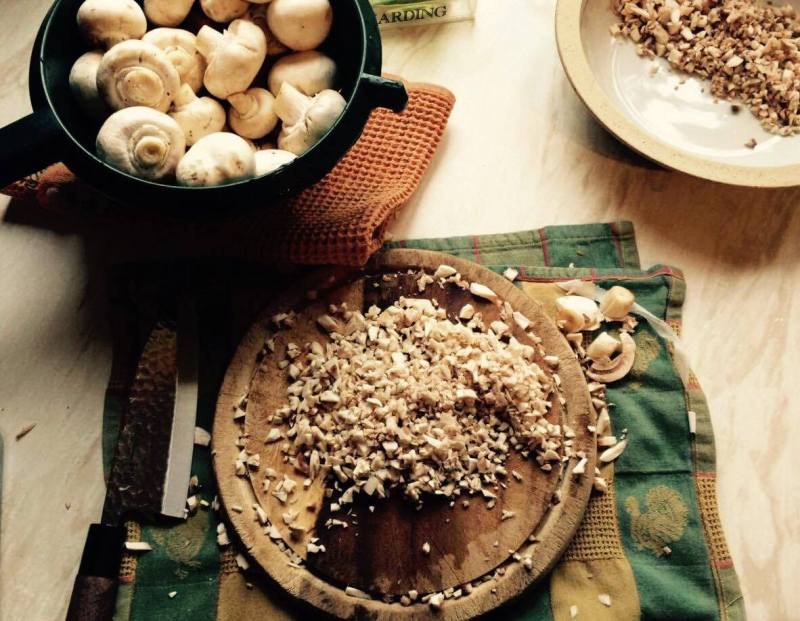
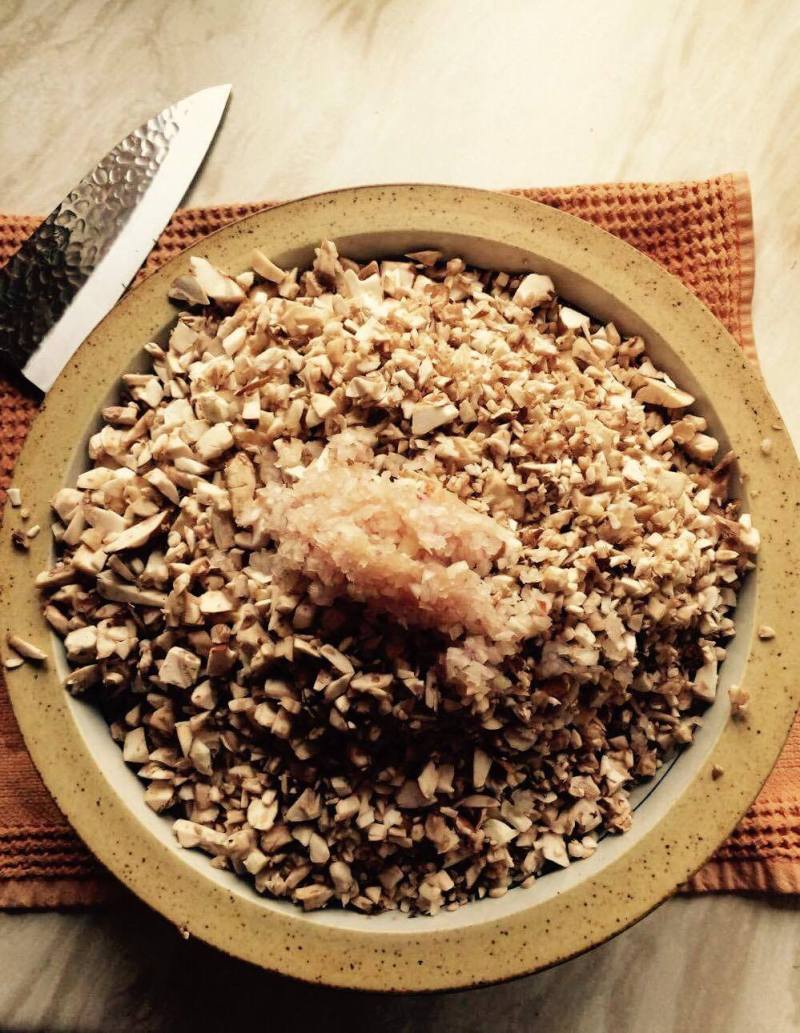
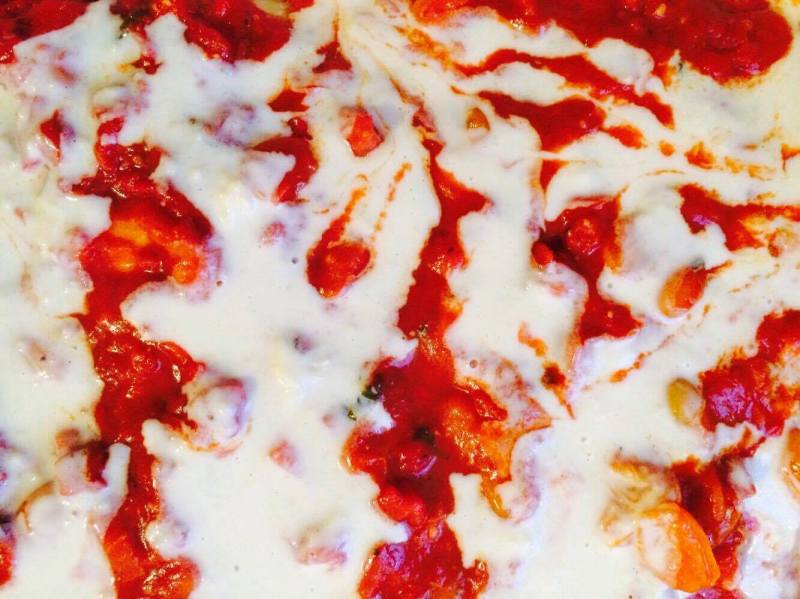
For the mushroom reduction ketchup you will need:

1 banana shallot (thinly sliced)

1 punnet of closed button mushrooms (thinly sliced)

a dash of olive oil

150ml of double cream

sea  & white pepper to taste

cap full of red wine vinegar

  1. In a heavy based pan add a dash of olive oil, once up to temperature add your thinly sliced banana shallots, and cook until soft and tender with no colour.
  2. To deglaze the bottom of the pan add a cap full of red wine vinegar, as this helps to remove the cooked on goodness.
  3. Next add your thinly sliced button mushrooms, to the same pan and cook until tender and all of the moisture has been evaporated, as this will lead to a watery and loose sauce.
  4. Once the mushrooms are ready, add your double cream, and season to taste with sea salt and freshly cracked white pepper.
  5. To finish, decant into a food blender and blitz until smooth and lump free.
  6. Decant into a clean sauce pan until, required later on in the cooking process.

Now for the star of the show:

  1. Heat a medium sized pan, once the pan is up to temperature add a dash of Olive Oil.
  2. On a clean dinner plate place the freshly filleted and descaled sea bass fillets and season with salt and pepper. Now add the sea bass fillet into the sauce pan, ensure that you lay this in away from you.
  3. When cooking the fish ensure that you complete 80% of the cooking on the skin side, as this helps with even cooking and a crispy skin.
  4. Once cooked remove from the pan and rest on clean plate and reserve in a warm place until required later on in the process.

Finishing touches:

  1. Warm an artisan plate
  2. For the shiitake mushrooms, heat a small frying pan once up to temperature add a knob of softened butter and melt until foaming a lightly coloured. Add the freshly washed shiitake mushrooms into the pan cook until soft and tender season to taste, add some freshly cooked flat leaf parsley

Lets Plate:

Onto the pre-warmed artisan plate, place a spoonful of mushroom reduction ketchup and spread across the plate with the back of the spoon. Next place the fillet of sea bass on top of the ketchup to finish add the shiitake mushrooms and a couple of drops of white truffle oil.


Mushroom Duxelles Cannelloni with white truffle hints, béchamel, roasted red pepper and tomato sauce

20399396_1945582445685674_1742710776_o20427117_1945582479019004_4380489_o20354170_1945582459019006_888193682_o20354137_1945582475685671_402350033_o20394863_1945582452352340_442879986_o20292566_1945582435685675_515956790_n20446289_1945582385685680_1510430287_o20354208_1945582409019011_1241202239_o20399396_1945582399019012_1388256112_o20354122_1945582389019013_1871749373_o20426912_1945582392352346_644078874_o

Q:What is a Duxelle?

A: It’s a culinary name for finely chopped products or veg

 Ingredients

1 punnet of chestnut mushrooms

4 sprigs of thyme

4 drops of truffle oil

1 bay leaf

1 cap of red wine vinegar

1 shallot (finely diced)

1 table spoon of ricotta cheese

100 grams of parmesan or any hard Italian Vegan cheese

Knives at the ready…

  1. First wash your chestnut mushroom and patch with kitchen towel, ready to chop; the two knife skills we shall be using are the rock chop and cross chop
  2. Add your duxelles mushrooms to a large frying pan with NO OIL, as you want to draw out a little moisture.
  3. Next add your thyme, bay leaf and cook for a further 2 minutes
  4. To finish add a cap of red wine vinegar and your drops of truffle oil.
  5. Once off the heat add your tablespoon of ricotta (otherwise you will curdle the mixture)

Pasta time…

Ingredients:

300 grams of 00 pasta flour

3 medium egg yolks

a pinch of sea salt

  1. To start to make the pasta dough tip the flour and sea salt onto a cold surface, make a volcano shape in the middle.
  2. Crack your eggs into a bowl and separate the egg whites from the yolks
  3. Add your yolks to your flour volcano on your kitchen side, fork whisk and then gradually drag the flour into the centre. (Do not worry if it is starting to look crumbly and unworkable – this is normal)
  4. Start using your hands to pull the dough together, work it with your palms, pushing with alternate hands, using your body weight to press down moving away from you.
  5. After kneading for 10 minutes, your dough should be smooth and silky, wrap in cling film and rest in the fridge for 30 minutes, (if not for immediate use)
  6. Having rested, its time to shape up your dough, you can use a rolling pin but a pasta machine is preferable, as the desired thickness can be achieved. (On pasta machines you tend to have three stages, begin on the widest, working it through 8 times)
  7. Once you are happy that it is as thick as a £1 coin, drape it and leave it to air a little.
  8. Now, cut your rolled pasta sheets to measure 15cm x 21cm rectangles.

N.B. flour the rollers with 00 flour and rope someone in to help you

Now lets fill!

  1. Lay you pasta rectangles out flat on a clean work service
  2. Start to lay generous portions of your Duxelle mix, in tablespoon measures along your rectangular sheets, leaving an 1 and a half inch spaces between.
  3. Score cut lines between portions, and slice.
  4. Roll each portion into cigar like shapes
  5. Seal with a touch of water
  6. Place a thin layer of your roasted red pepper and tomato sauce onto the base of your oven proof dish (as this stops the pasta drying out and sticking)
  7. Start placing your Cannelloni pieces into the dish, allowing space for expansion in then oven when cooking
  8. Pour the remaining roasted red pepper and tomato sauce on top
  9. Next, marble your Béchamel sauce over the entire dish, now grate 100 grams of Parmesan generously.
  10. Place into a pre-heated oven at 200°C
  11. Allow to cook for 30 minutes, testing regularly to ensure the pasta is al dente and that the sauce is bubbling away.

Best shared with family and friends, accompanied by a glass of red or with a pint of Sharps Brewery’s Wolf Rock, as your tipple!

Buon Appetito!


Debut Dish

IMG_2097IMG_2103IMG_2107IMG_2109
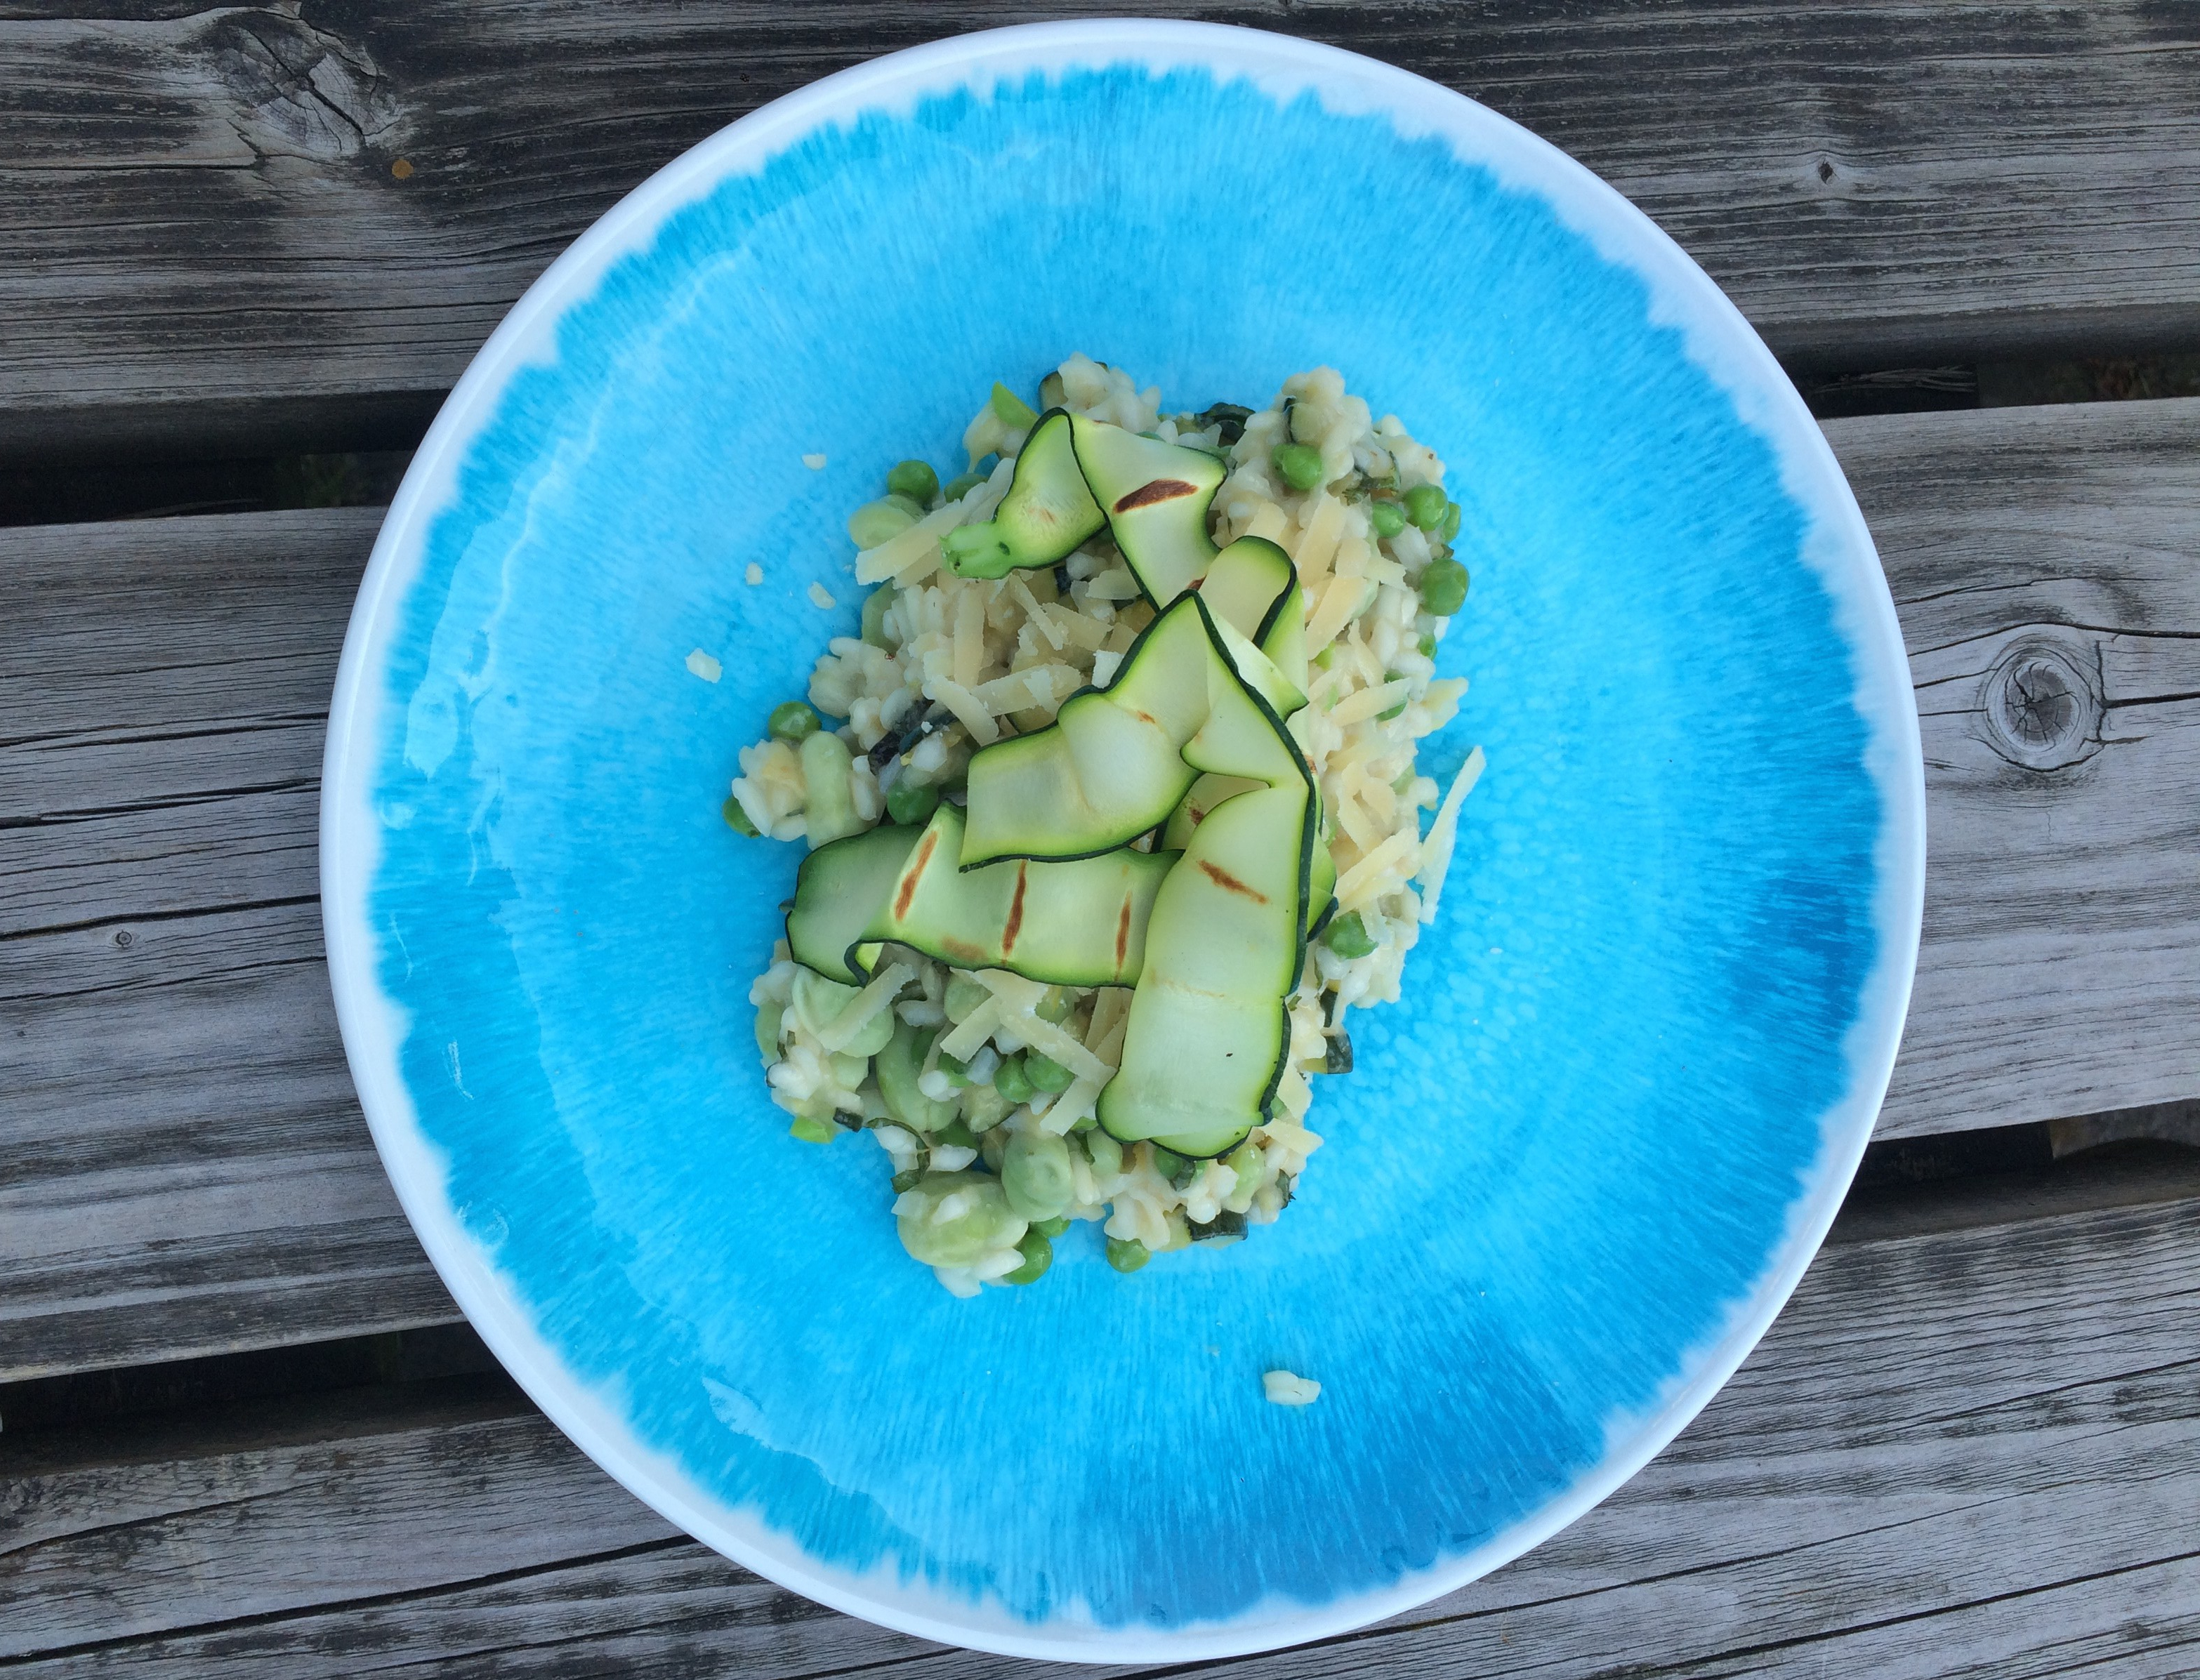
Garden Pea, Broad Bean and Courgette Ribbon Risotto (Serves 6 people)

Ingredients:

1 large banana shallot – peeled and diced

250 grams of garden peas

250 grams of broad beans

500 grams of risotto aborio Rice

1.5 pints of vegetable stock

Knob of softened butter

Vegan hard cheese (grated)

2 courgettes peeled and sliced into small paysanne

1 courgette for ribbons for garnish

A pinch of salt

A pinch of black pepper

One unwaxed lemon (juice and zest)

Equipment required:

Heavy based metal pan

Wooden spoon

Measuring jug

Serving spoon

Pre-warmed artisan plates

Frying Pan

Kitchen towel


Method:

  1. Place a heavy based metal pan onto the heat, once the pan is up to temperature add a knob of softened butter. Allow the butter to foam and colour a little but without burning. Next add your finely diced shallot to the pan, sweat the shallot in the melted butter ensuring not to burn the shallot as you want the shallot to release its natural perfume to the dish.
  2. Next add the risotto rice into the pan allow to the cook until it has reached the POPPING stage (as this breaks down its outer casing allowing the starches to be released). At this point add a ladel of your vegetable stock when making a risotto you cannot rush this process, as this is where the creamy texture is formed. Also don’t be tempted add another ladel of the stock, wait until the last has been absorbed or otherwise you will over saturate the risotto rice. Carry on this process until all of the stock has been absorbed and the rice has reached a beautiful creamy texture (a little like rice pudding).
  3. For the courgette paysanne- slice your washed courgette into quarters as this gives you the paysanne shape using your guide finely slice the courgette about the thickness of a one pound coin. Add into a pre-heated frying pan with a little oil and sauté like a pro! Tip out onto a piece of kitchen towel and allow to drain.
  4. At this stage add the peas and broad beans to the risotto along with the sauté courgette paysanne (for this dish I used Waitrose duchy frozen garden peas and broad beans, frozen vegetables are still packed full of the important vitamins and minerals, as they are frozen in a matter of hours after picking.) Allow the vegetables to cook ensure that you don’t over stir the risotto as this can make your risotto go like glue. Add the juice and the zest of one lemon.

Time to Garnish! (Allow to cool a little before garnishing) As a chef your knife skills are paramount, if you are brave enough to slice thinly go ahead but WATCH YOUR FINGERS. I personally like to use a speed peeler, which everyone has laying around in the draw, normally only venturing out to peel the potatoes! Yet this tool is great for creating  vegetable ribbons which add both texture and interest into your dishes. For my risotto I peeled the ribbons of courgette and placed them onto a griddle pan as this gives them a charred appearance whilst enhancing their natural sweetness.

  1. (Through trial and error I have found that adding the hard vegan cheese just before serving avoids it going sticky). Serve using a metal serving spoon, place a generous portion into the centre of the plate, to garnish add your griddled courgette ribbons  making the whole dish pop.

Most importantly…

6. Enjoy with family and friends, accompanied by a Brew Dog IPA.