


Clean, elegant and beautiful celebrating the essence of fresh pasta.
Lemon Tagliatelle:
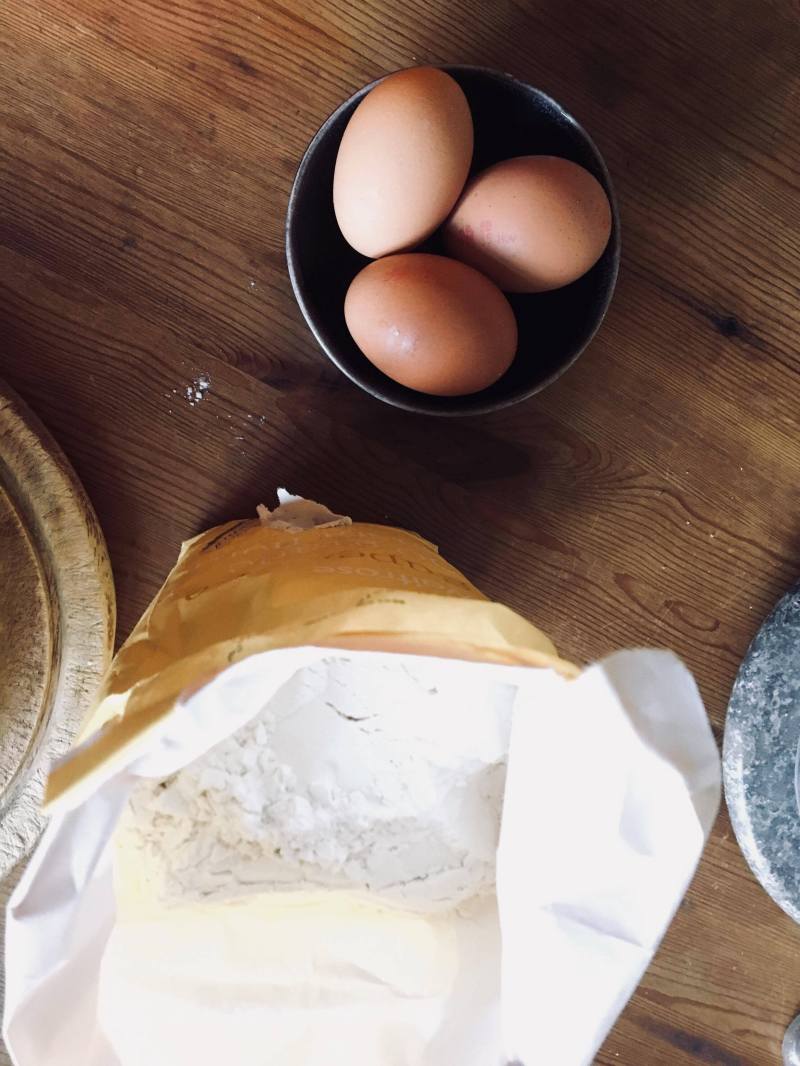
300 grams of 00 flour
3 whole eggs
Sea salt
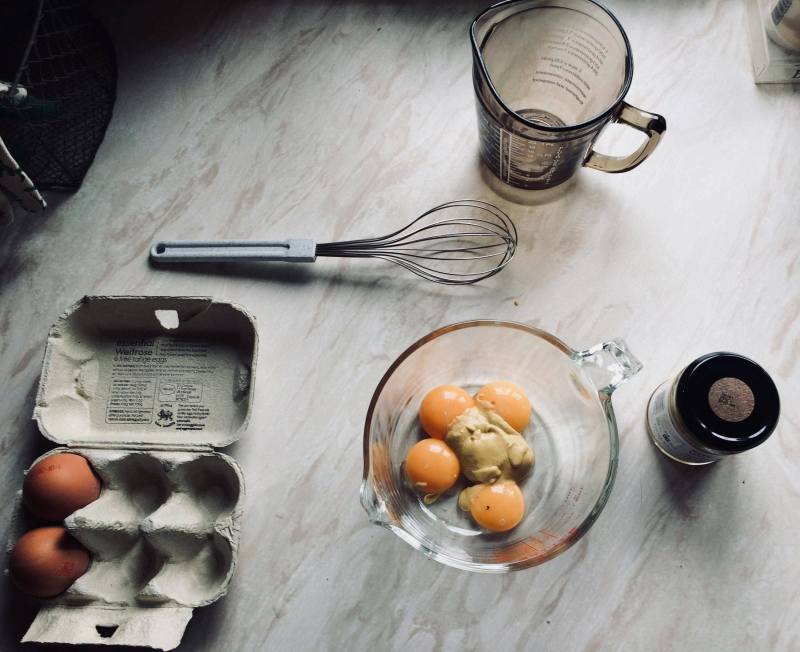
- To start the pasta dough place the OO flour and Maldon sea salt into a large mixing bowl.
- Create a volcano shape in the middle of the flour, as this is where you will crack your eggs into.
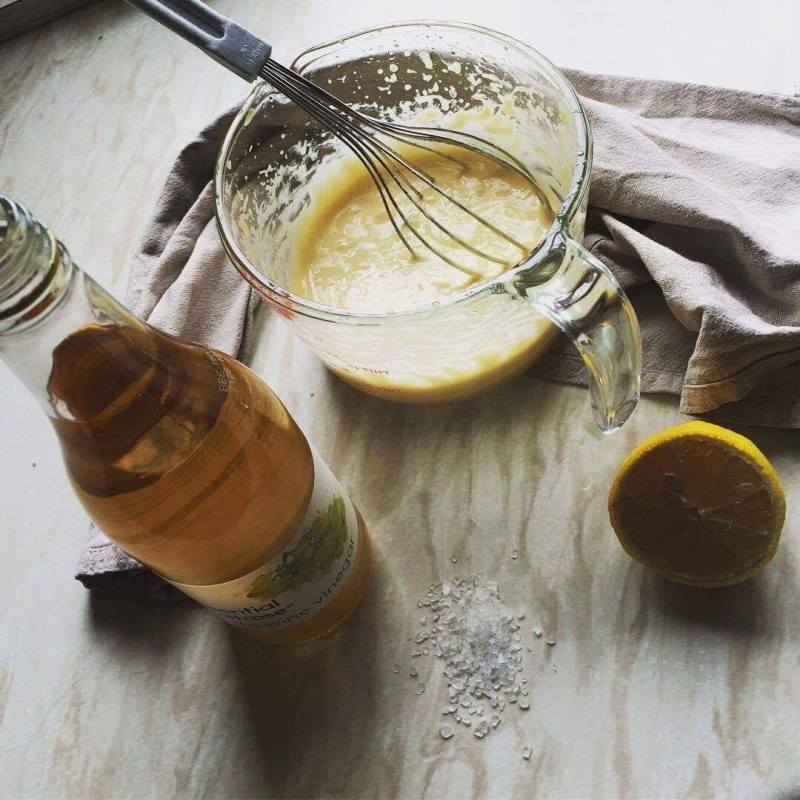
- One by one crack your eggs into the centre of the flour, discarding the shells. Use a metal fork to whisk the eggs (you can do this before in a Pyrex jug) Now using a clean wooden spoon begin to drag the OO flour in from the edges and incorporate the eggs and flour.
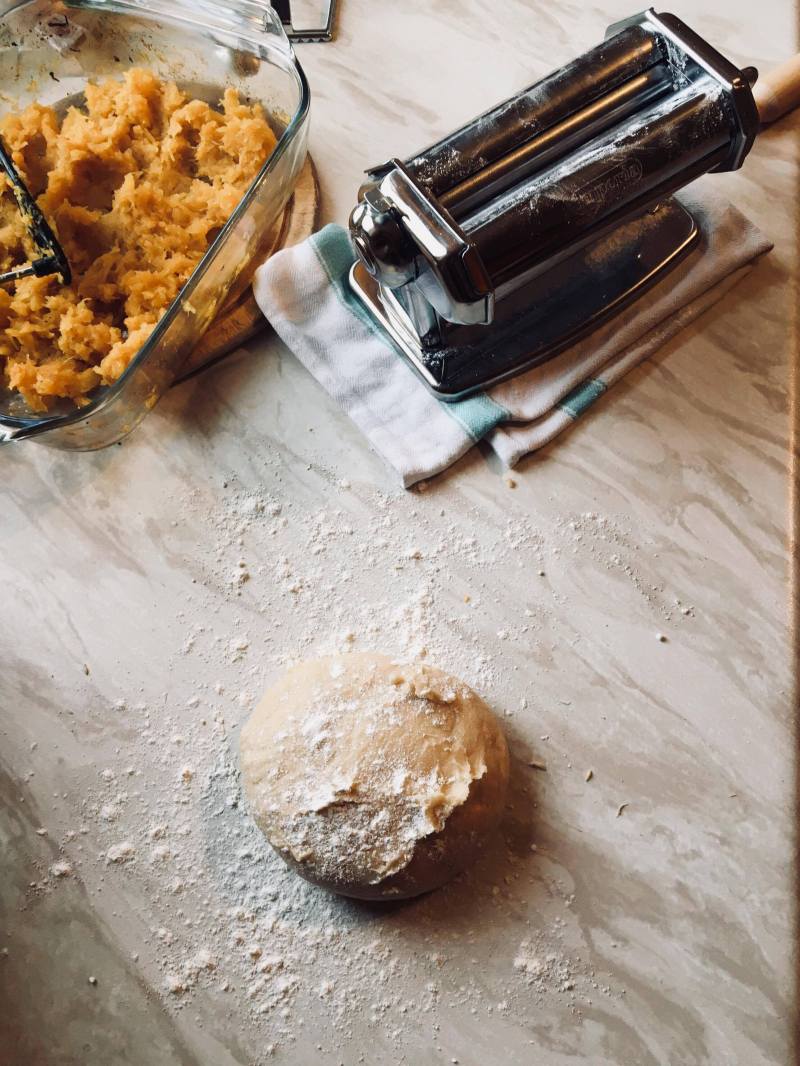
- Once the dough has reached a beautiful crumbly consistence start using your hands to pull the dough together, press with your palms. Once the dough is ready and all of the flour and eggs incorporated tip out onto a floured service.
- Begin to knead the dough as this builds the glutens up, after 10 minutes of kneading, your dough should be smooth and silky.
- Once at this stage wrap your dough in cling film and leave to rest in the fridge for 30 minutes as this allows the dough to relax.
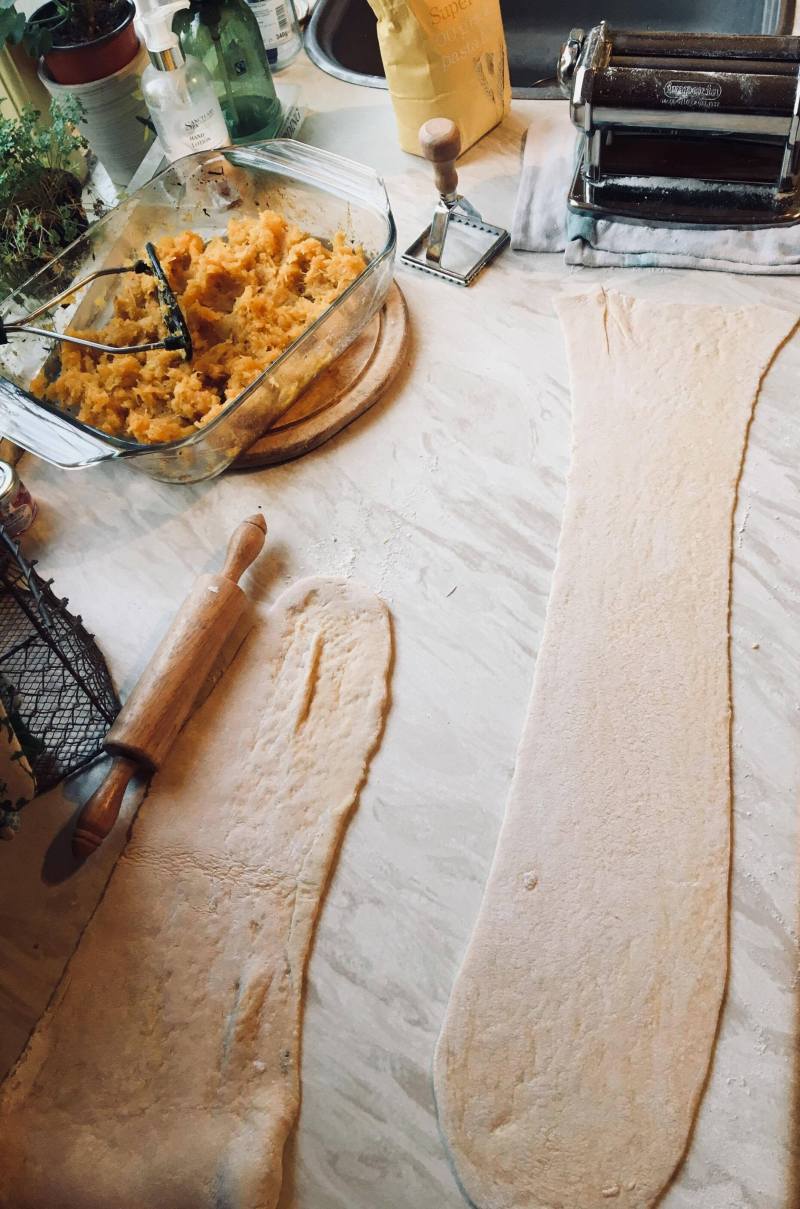
- Having rested the pasta dough it is now time to shape it. You can either do this by using a rolling pin or using a pasta machine, as this will ensure that all of the pasta is even once it has reached your desired thickness. (On a pasta machine you have three settings as these enables you to work the dough down to the desired thickness)
- After rolling the dough to fit to the machine, run the dough through the thickest setting 10 times, ensuring that you fold in half each time as this helps to ensure the dough is silky and glossy.
- Once you have achieved this, run the dough through the same setting two more times, but this time without folding. Then drop the machine down a stage and on each run the dough through two times.
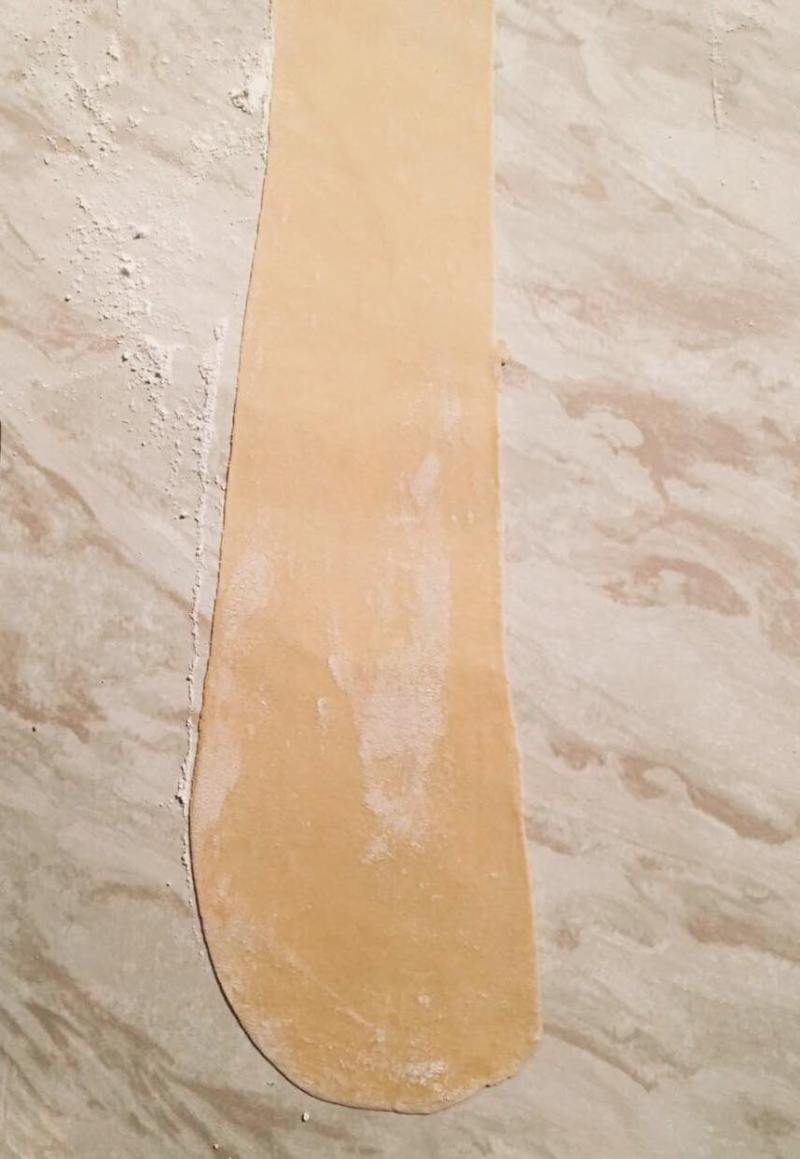
- If the dough gets too tricky to handle section it off into more manageable lengths the aim is to be able to read a newspaper through the dough.
- IMPORTANT TIP – also ensure that you flour both the surface and the pasta machine itself or otherwise your dough will stick, be careful not to pull the dough, instead gently guide it out of the machine, this way you don’t reshape or stretch the dough.
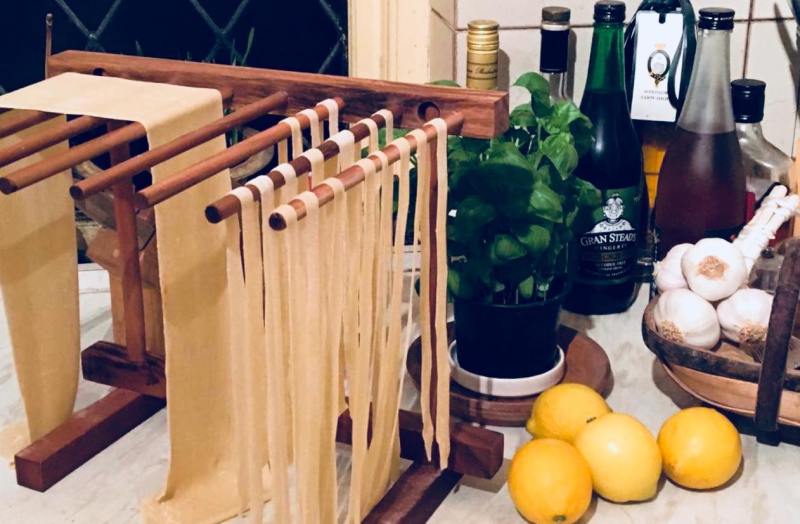
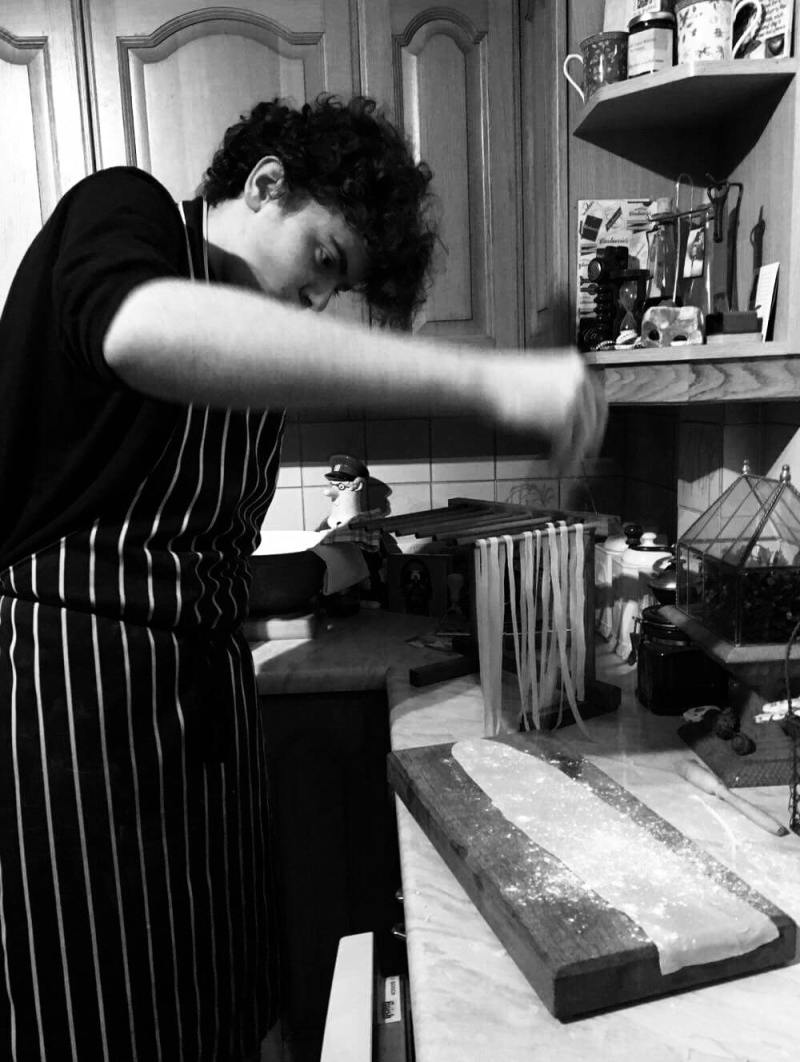
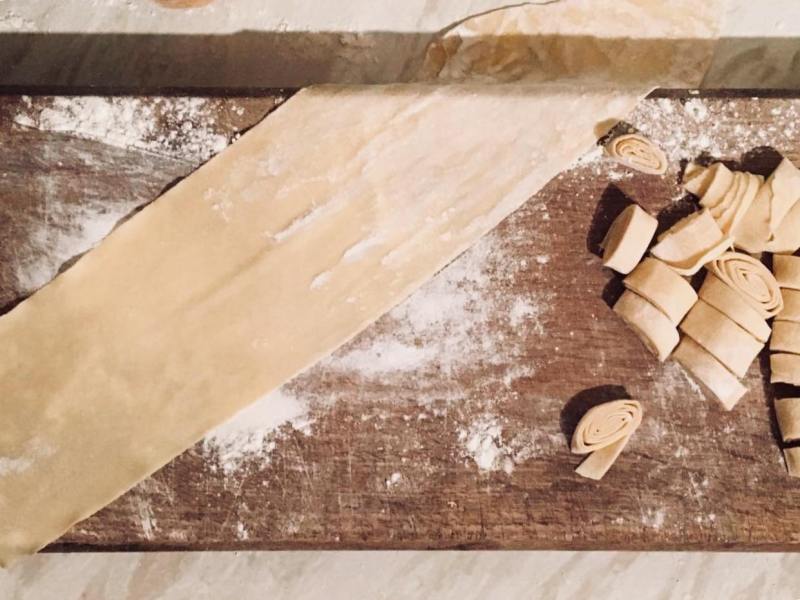
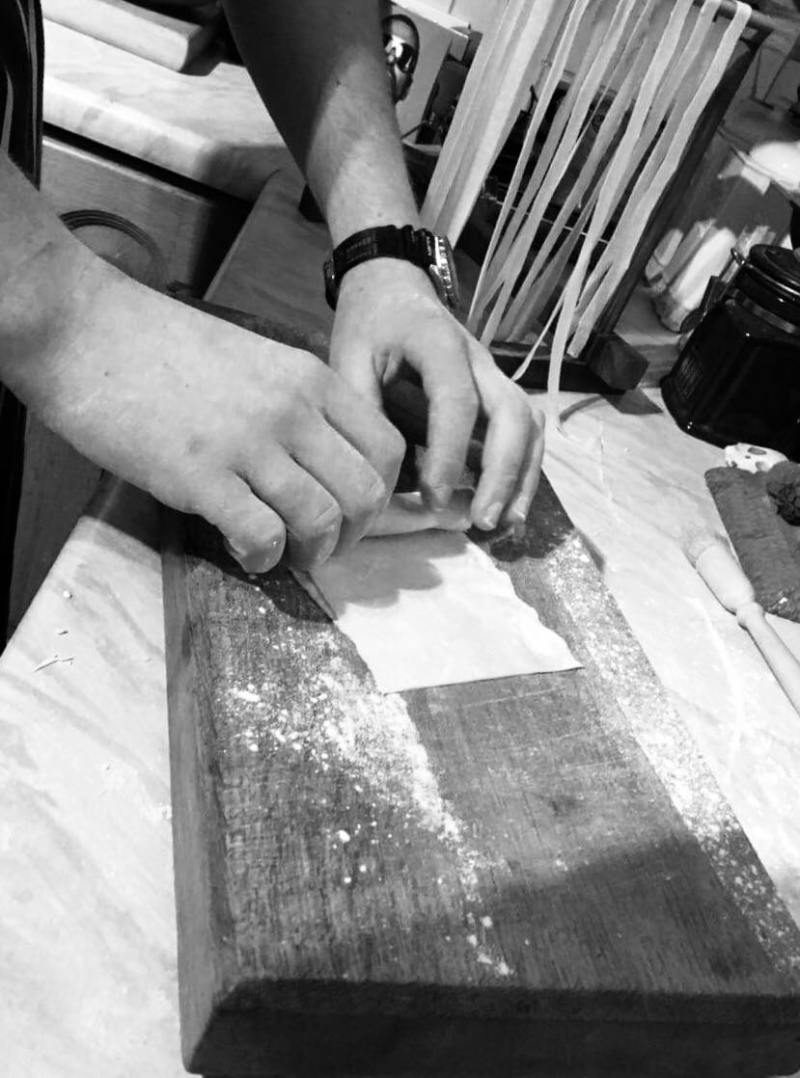
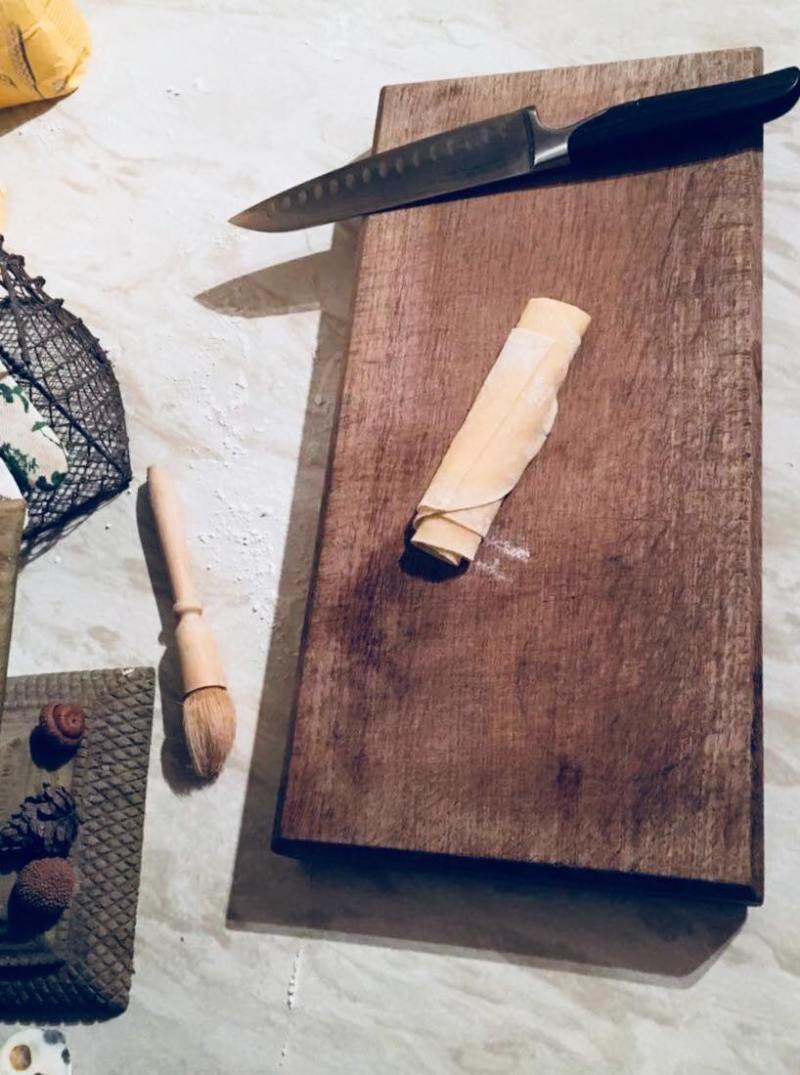
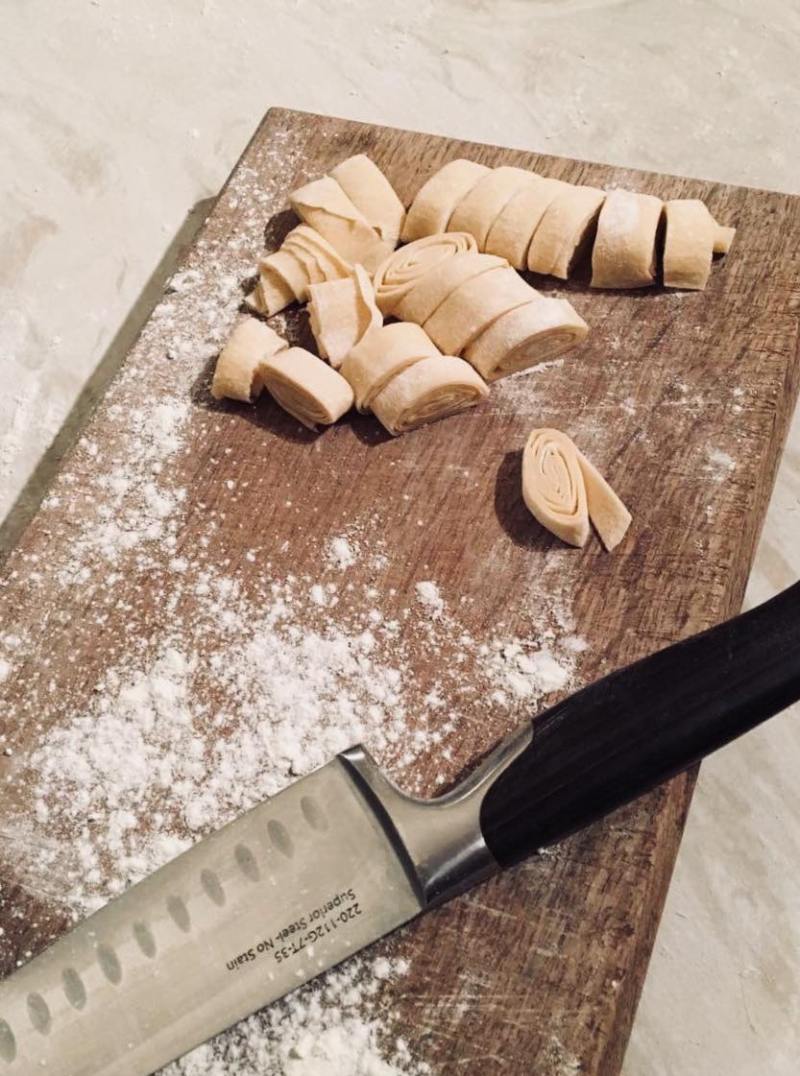
- Once you have reached this stage, drape the pasta over your airer, and then you have two choices you can either use the tag attachment or roll the pasta and then slice it using a sharp knife. This way the result is more rustic, but it all depends on the look that you are going for.
- Once you are happy with your pasta drape over your airier until it is required later.
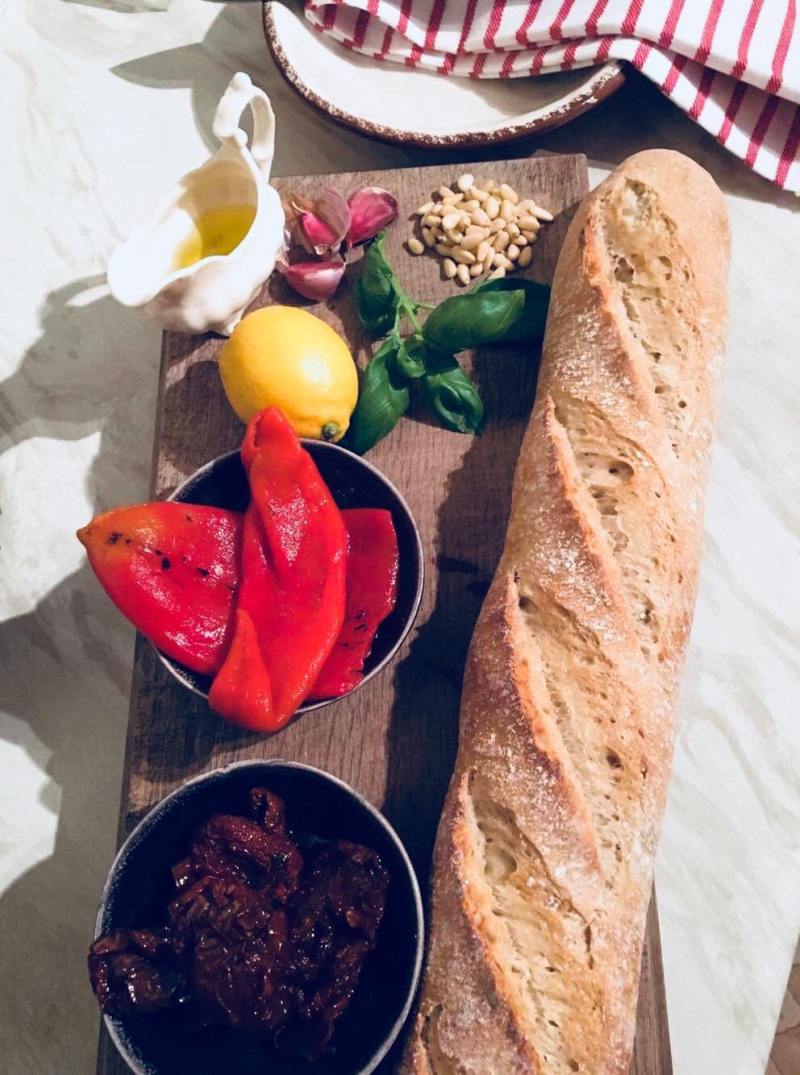
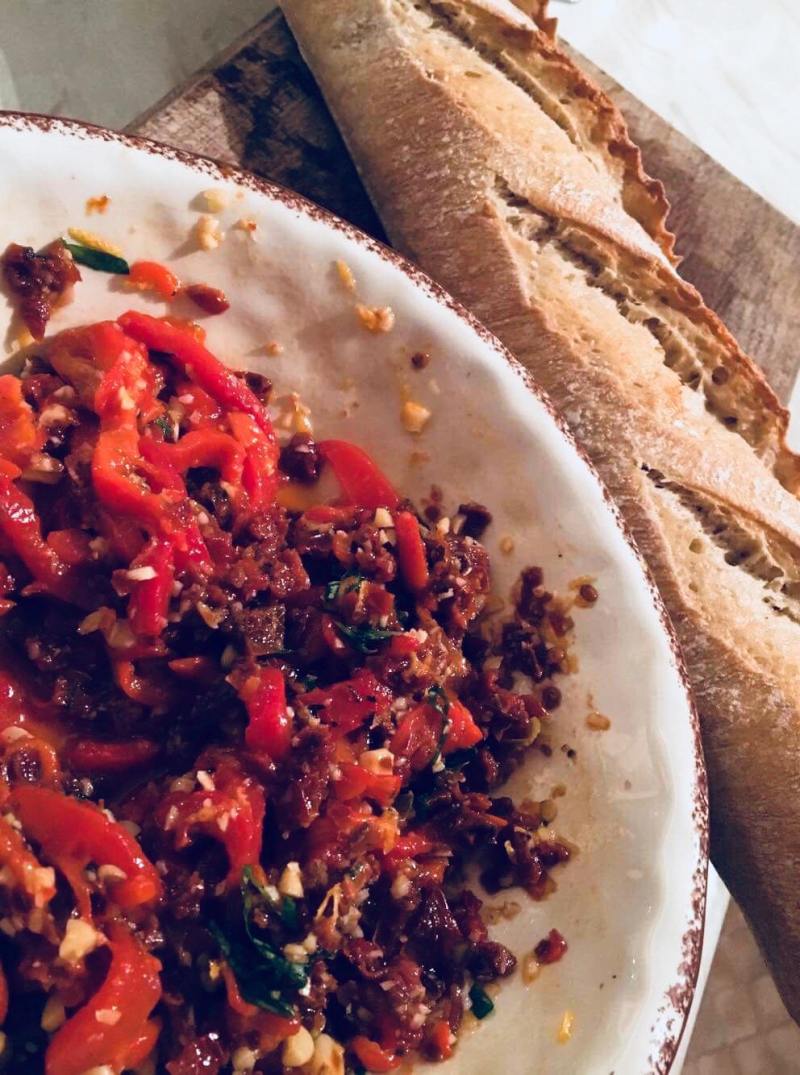
While the pasta rests its ANTIPASTI TIME:
For my antipasti I wanted to celebrate the freshness that grilled peppers and sundried tomatoes, with a little lemon can give to a dish. Although this is not a seasonal dish the beautiful thing about using jarred grilled peppers and sun dried tomatoes is you can use them all year round.
Ingredients:
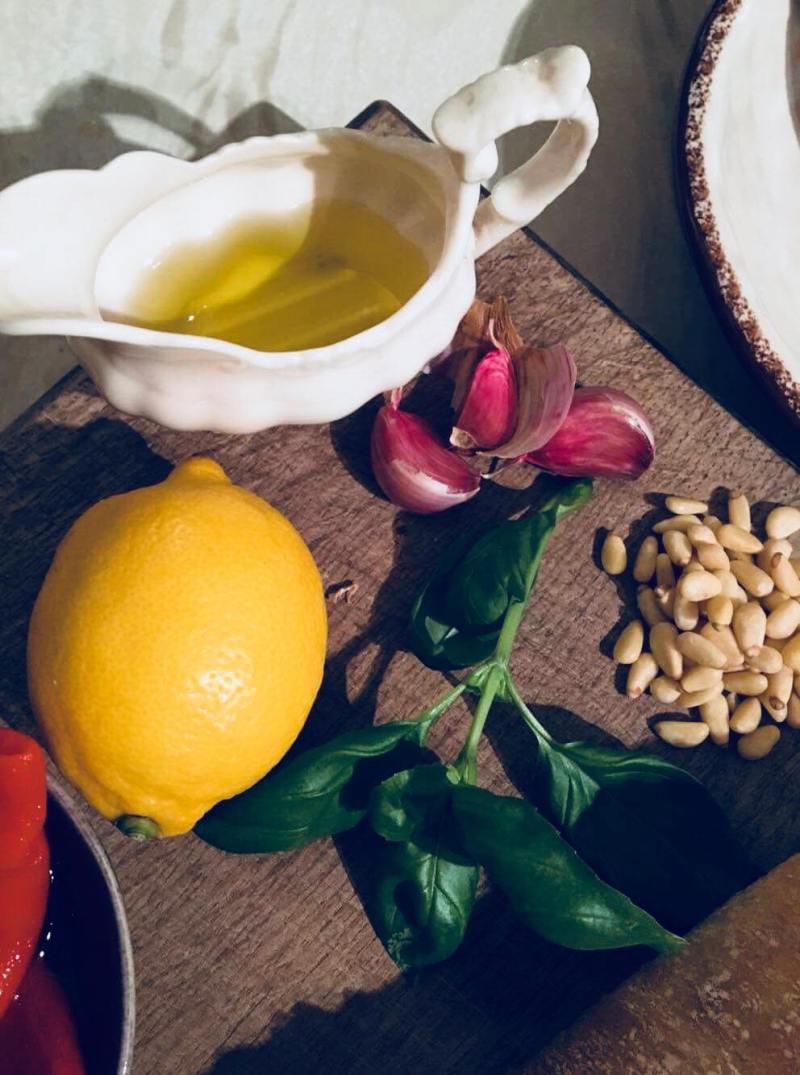
the zest of 1 lemon
8 sundried tomatoes – (julienne cut)
2 grilled bell peppers – (julienne cut)
6 basil leaves – (chiffonade cut)
10 grams of toasted pine nuts – chopped roughly
2 raw garlic cloves – pureed
1 glug of olive oil
Freshly cracked black pepper
1 glug of sundried tomato oil
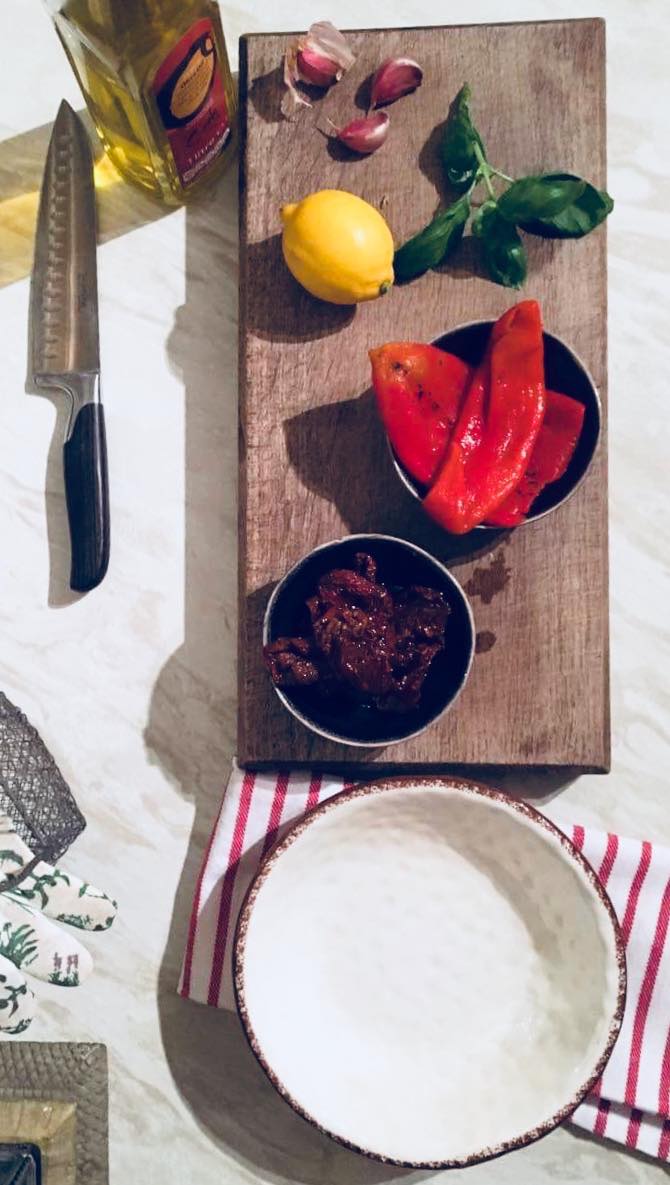
You want your ingredients to be relatively rough as they offer both different textures and dimensions to the dish, but most importantly if you are going to be eating these with a warm artisan loaf you want a more rustic antipasti.
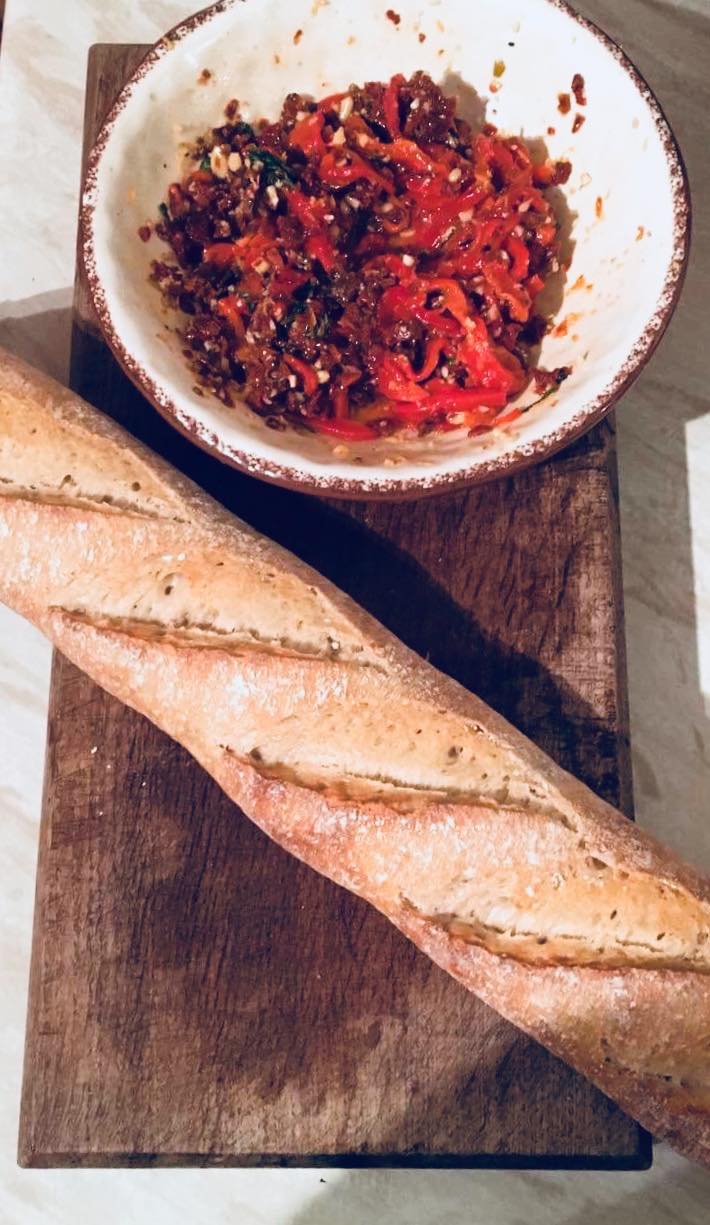
- To assemble place all your prepared ingredients in to a large artisan bowl, muddle with a little olive oil and sundried tomato oil again. The amount you choose to use comes down to personal preference, as some people prefer looser or thicker antipasti.
- Place into the fridge until it is required later on (allowing time to infuse)
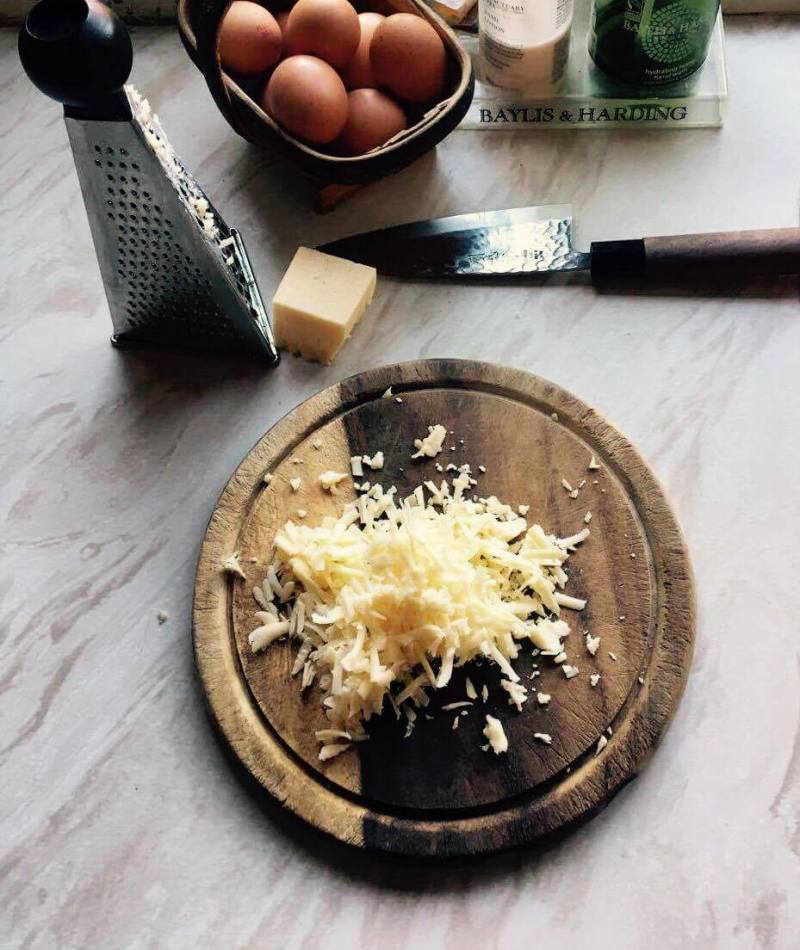
- To transform this antipasti you can add a little grated hard Italian cheese of your choice as this delivers both a creamy texture but also acts as a subtle seasoning.
Time to cook the tagliatelle:
Just before cooking your pasta place your sourdough baguette, into a pre-warmed oven of 180 degrees, to form that crust gently spray the bread with a little cold tap water, as this helps to the build up a little moisture.
- Place a heavy based pan of hot water onto the heat, add a good pinch of sea salt as this will season the pasta while it cooks.
- As this is a beautiful light and subtle dish with hints of lemon, infuse your cooking water by placing half a lemon into the water, as the lemon comes up to the boil it will infuse and perfume the cooking water. The starchy water forms the base for the moist sauce.
- Once the water is boiling add your tagliatelle, to tell when it is cooked the pasta will rise to the surface and of course feel free to taste to see if it has reached that beautiful al dente state, where the pasta has a little bite left within it.
- Cooking time should roughly be 5 minutes.
- Once the pasta is cooked drain off the water ensuring you keep some of the cooking water back.
- To form your sauce in the pan add a good glug of olive oil, 25 grams of grated parmesan, the juice and zest of one lemon and of course the star of the show; the cooking water, as this gives the sauce a beautiful depth and silkiness.
- Bowl off into pre-warmed artisan bowls, to garnish add a fresh basil leave, serve and enjoy with family and friends.


 Ingredients:


 Ingredients needed for the pasta dough:

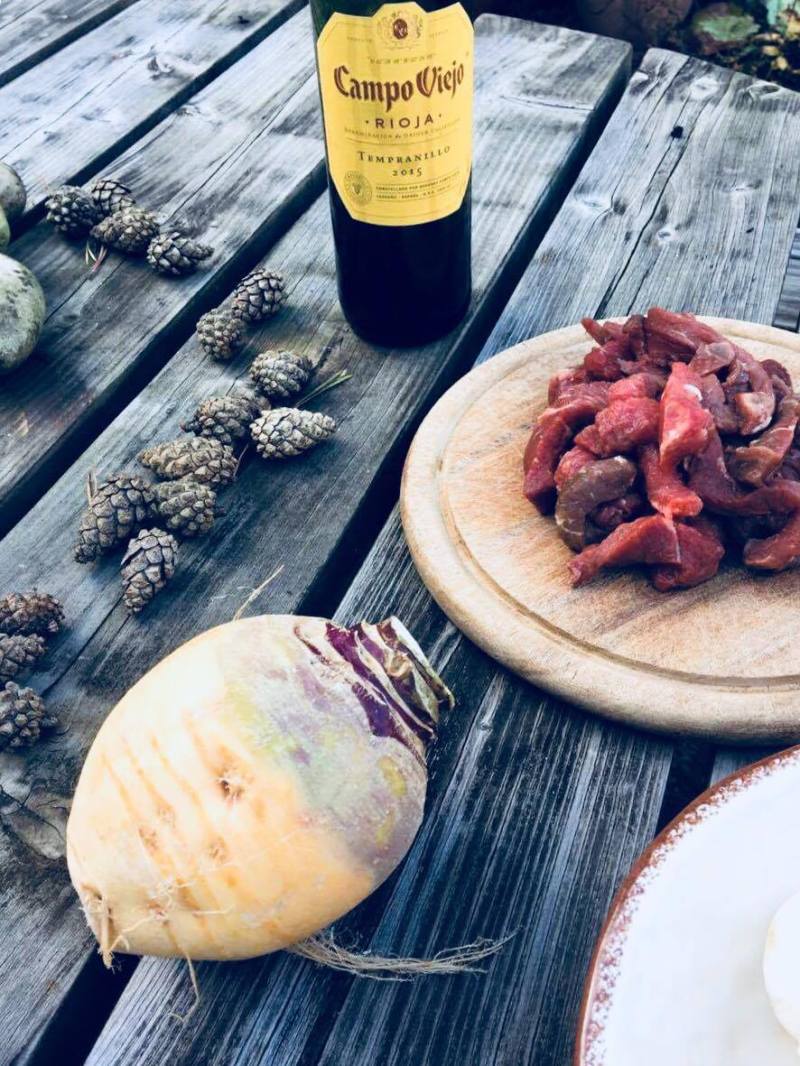 The cut of meat which I chose for this winter warming dish, is the chuck, which is a primal cut from the forequarter of the cow and includes the shoulder, neck and upper arm muscles. As this is a piece of meat which requires a lot of slow cooking to release its goodness and become more tender.