


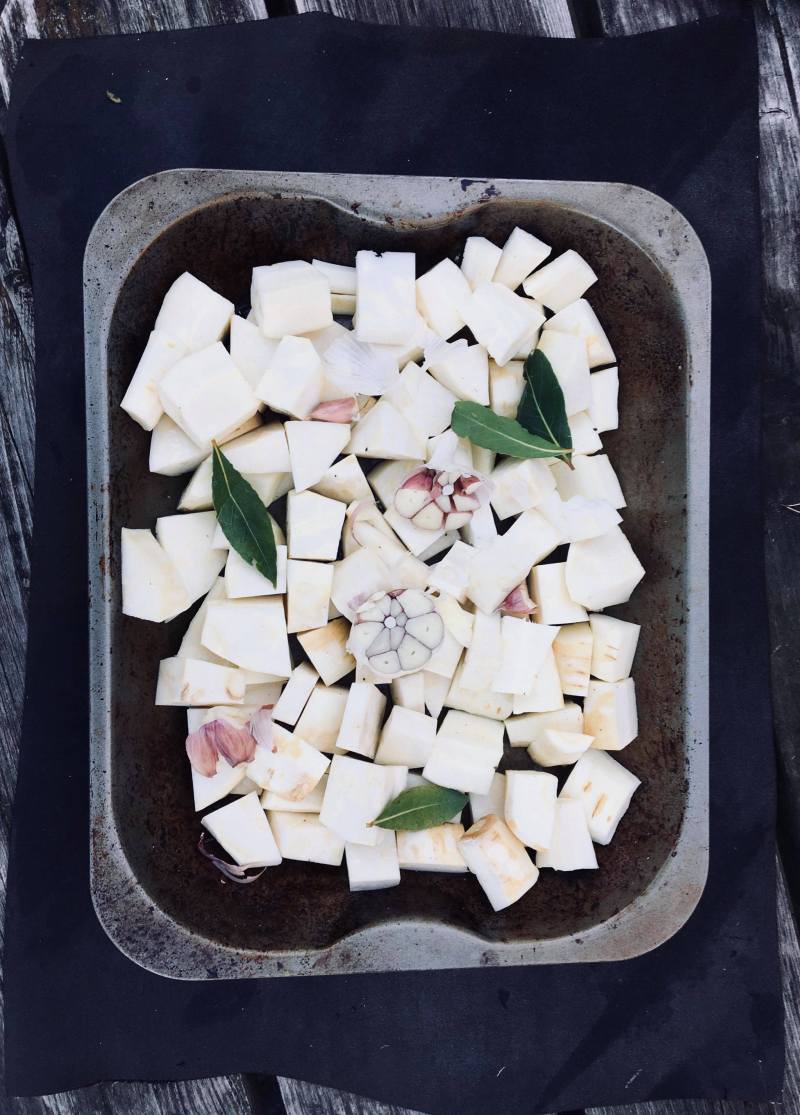
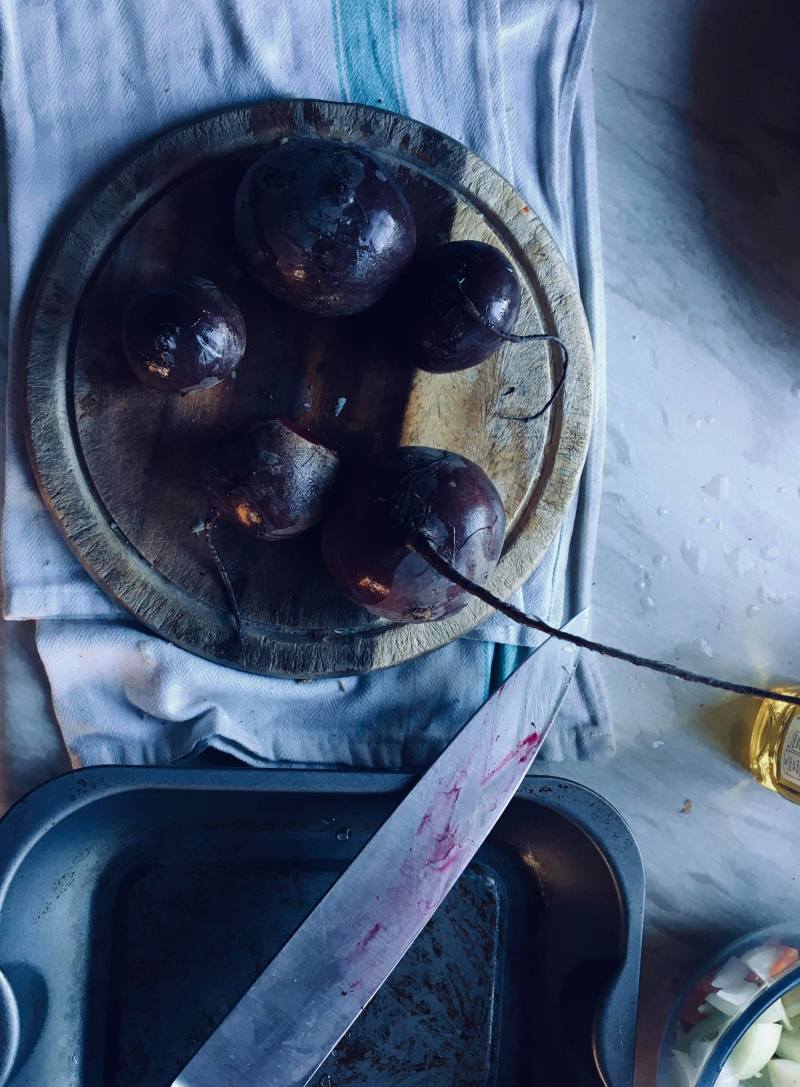
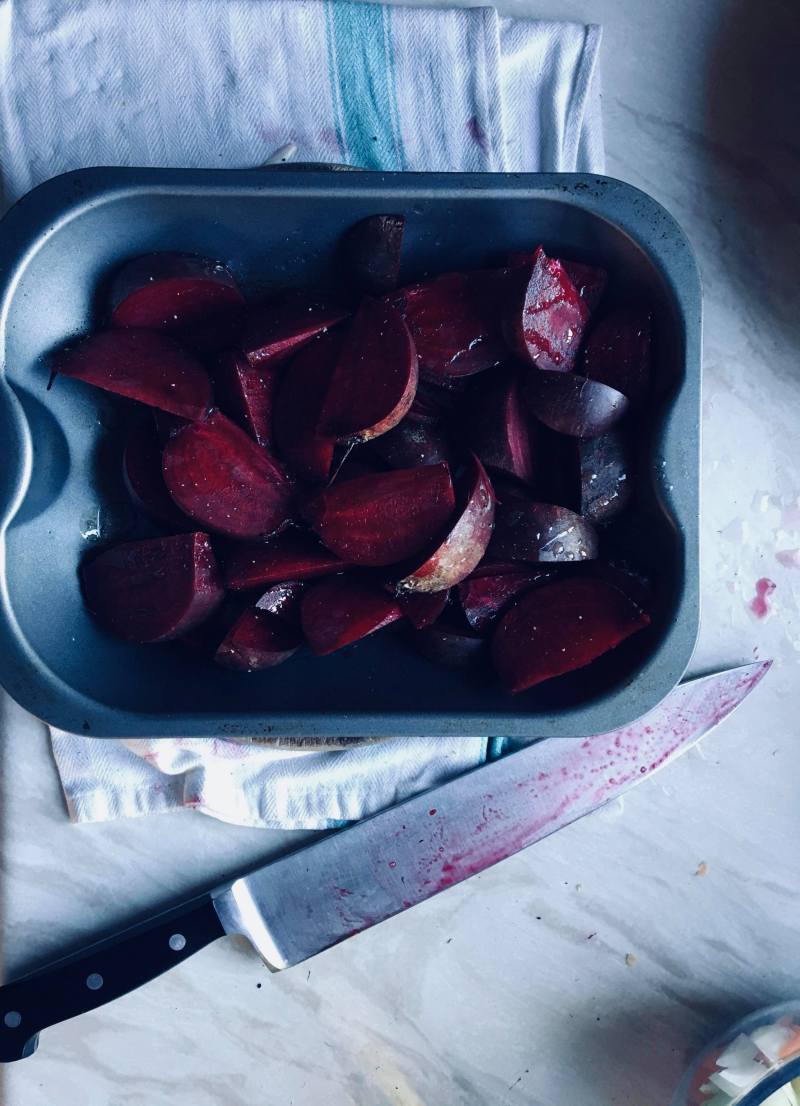
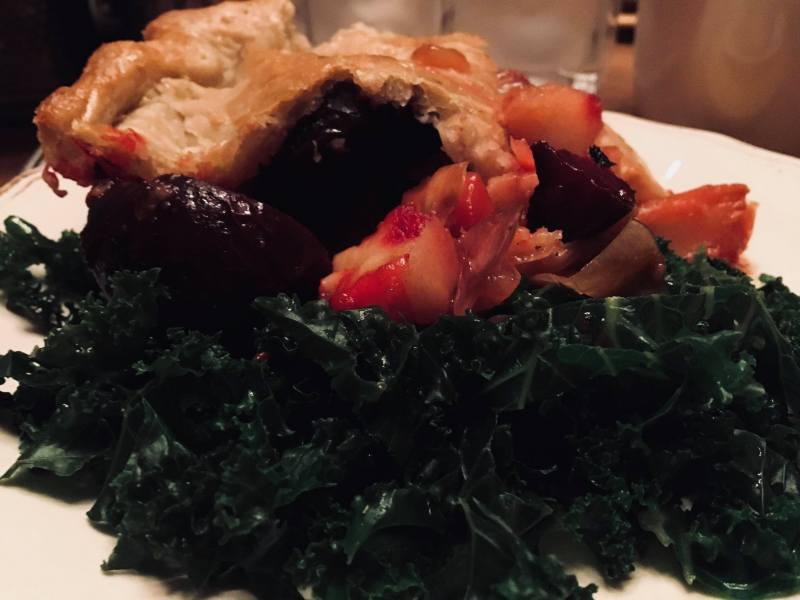
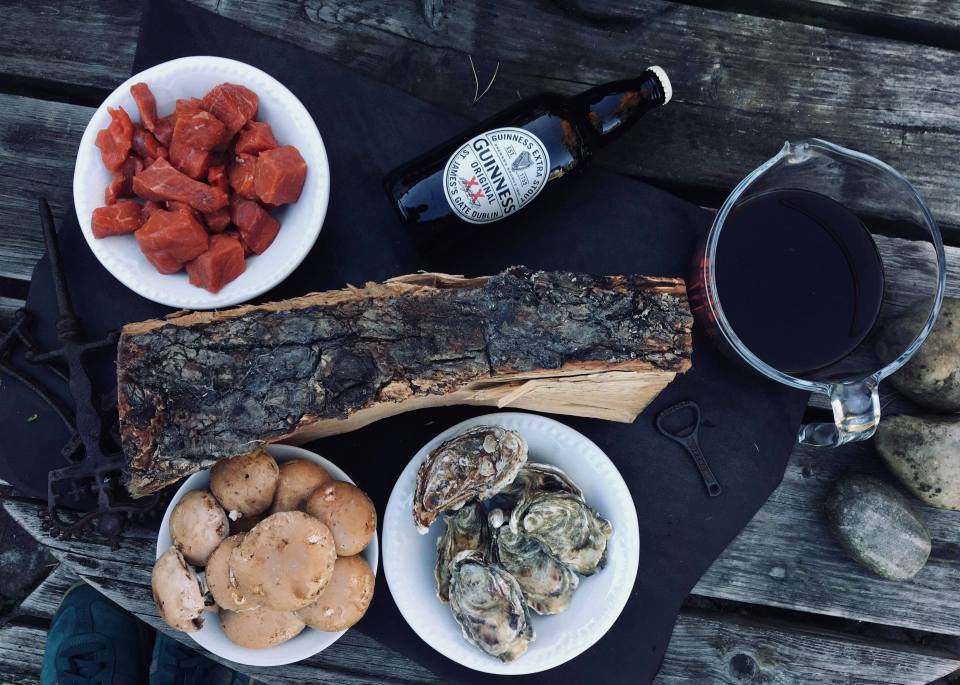
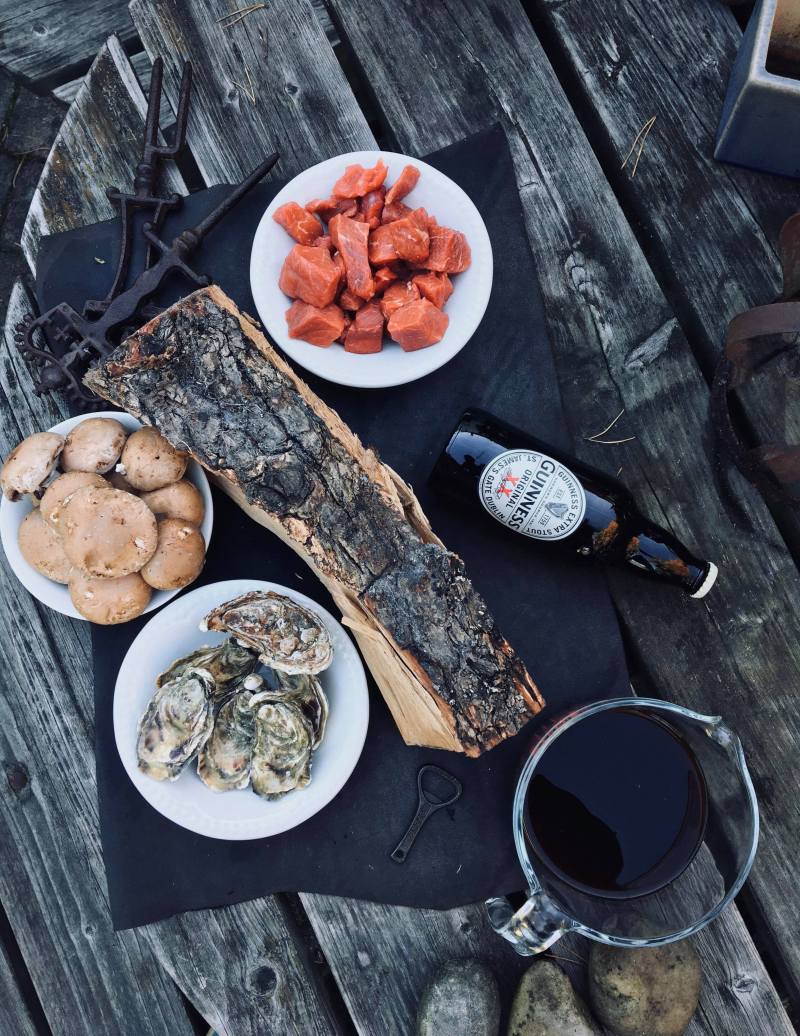
 Please see the Beef Guinness and Oyster Pie recipe. But cut out all meat, instead I made a vegetable stock (exactly the same just without the bones) and tray roasted seasonal vegetables.
Vegan alternative Suet Pie


Private Chef
Please see the Beef Guinness and Oyster Pie recipe. But cut out all meat, instead I made a vegetable stock (exactly the same just without the bones) and tray roasted seasonal vegetables.


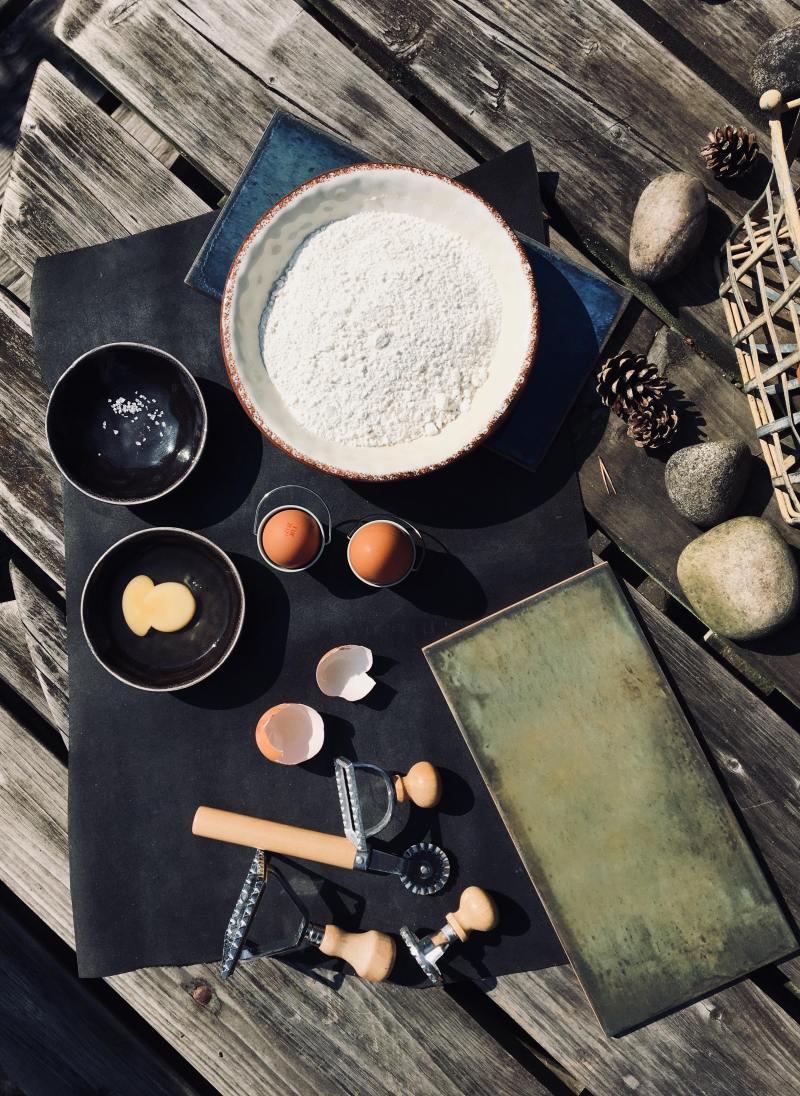
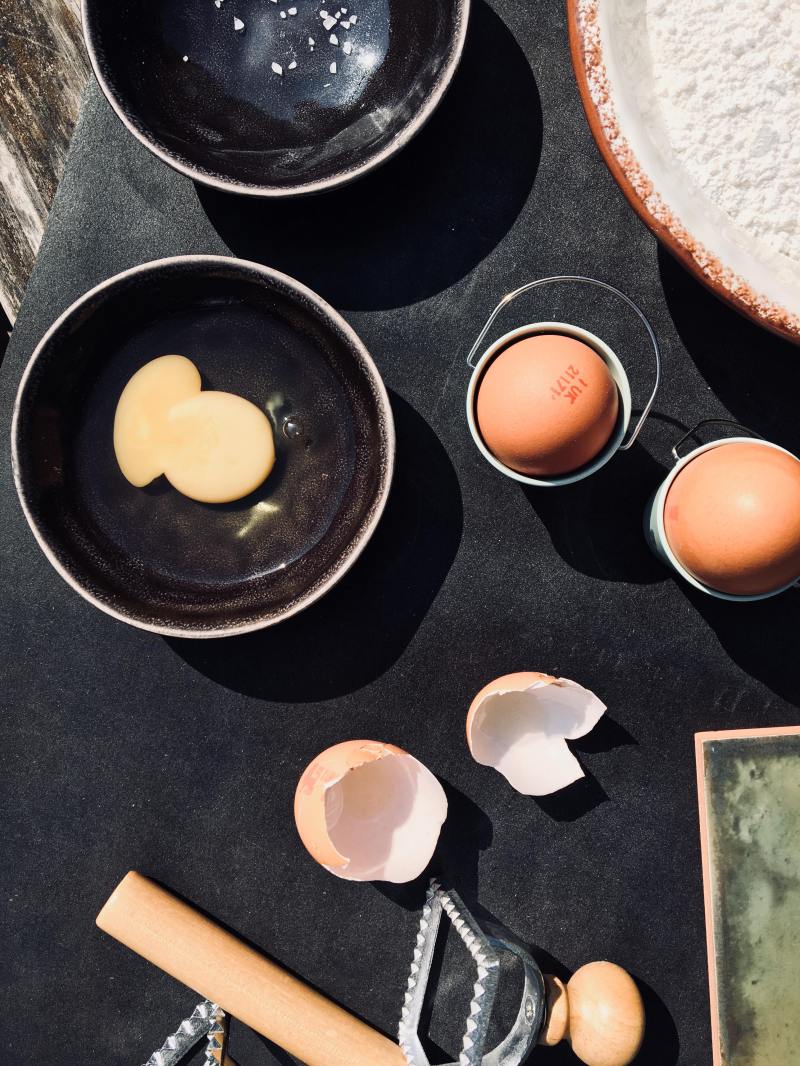
 Suet Pastry:
For this pastry I used Delia’s recipe:
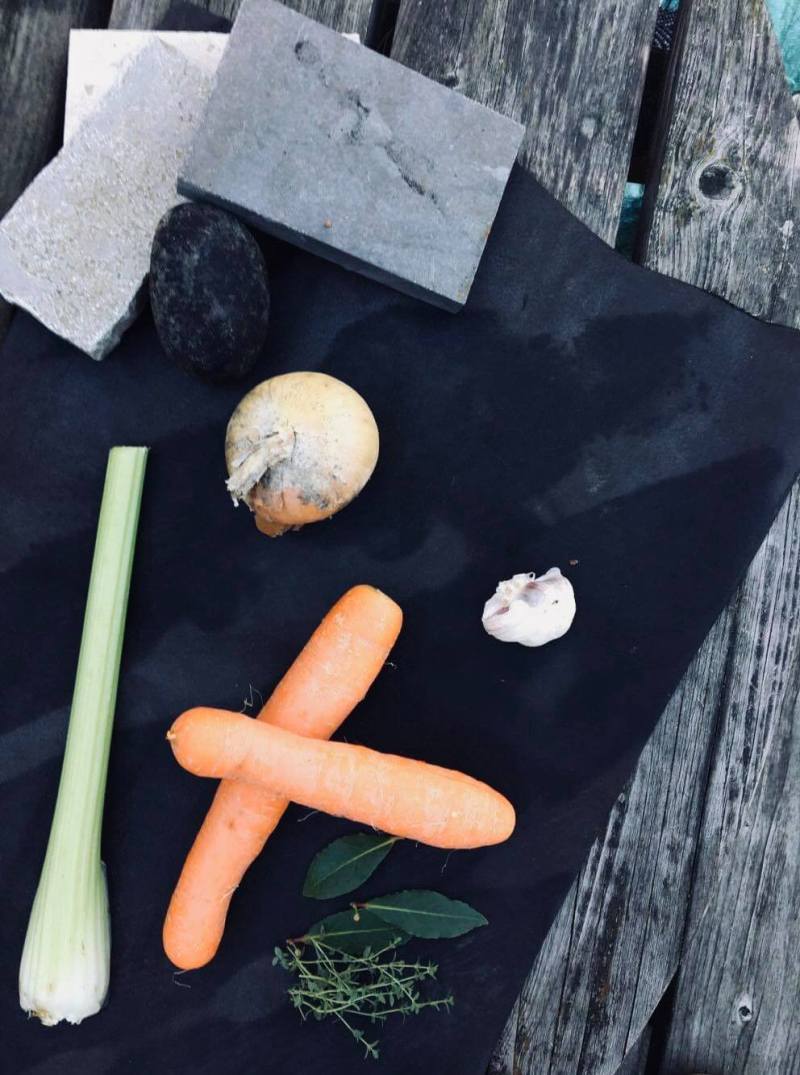
Beef Stock:
The Pie:


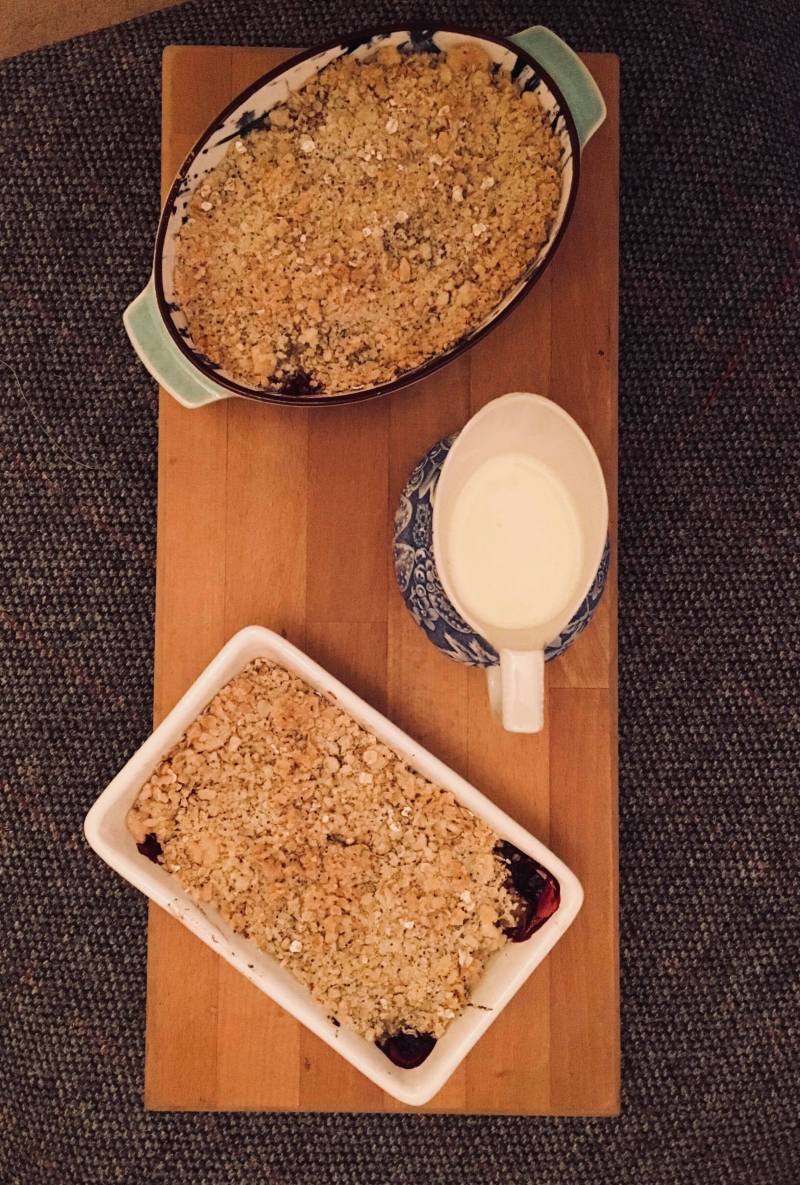
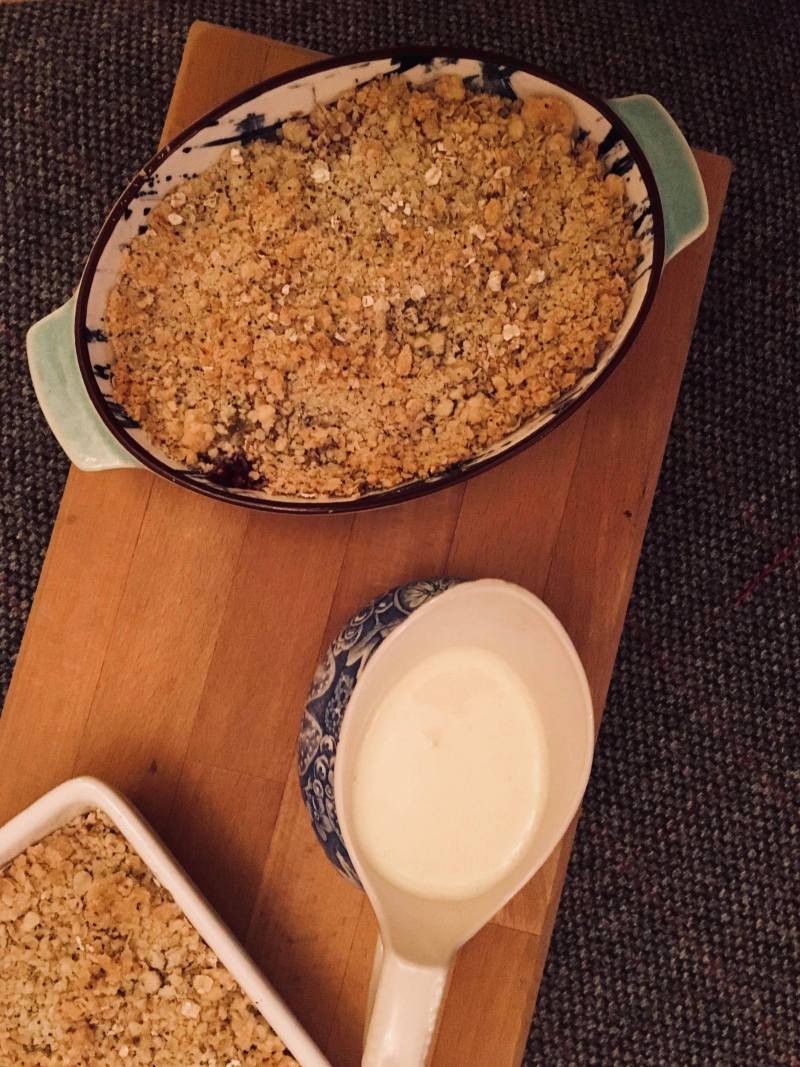


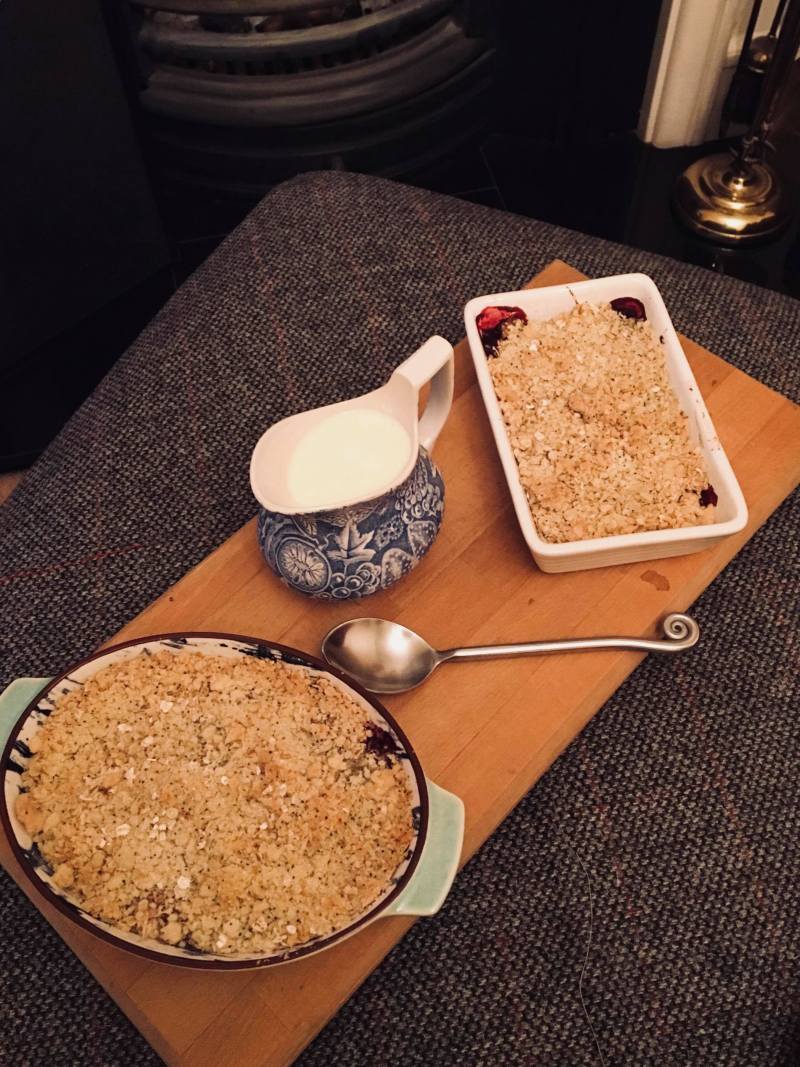 Crumble Top Ingredients:
9 0z of softened butter
9 0z of golden caster sugar
9 0z of sieved plain flour
9 0z of rolled oats
2 0z of poppy seeds
Granola Top – This is an alternative non-dairy topping for the crumble, still getting to enjoy the different textures between the soft cooked fruit and the crunchy crumble topping.
Ingredients:
10 grams of grated nutmeg
250 grams of rolled porridge oats
½ tbsp. of Maldon sea salt
20 grams of toasted sunflower seeds
20 grams of chopped almonds
20 grams of flax seeds
20 grams of poppy seeds
1 tablespoon of Runny Honey – (extra will be needed for drizzling)
1 tbsp. of coconut oil
10 grams of dates
(Flax seeds are packed full of important vitamins and minerals, which help the growth of healthy hair and nails, also flax seed is known to be an ancient grain which is linked with well being)
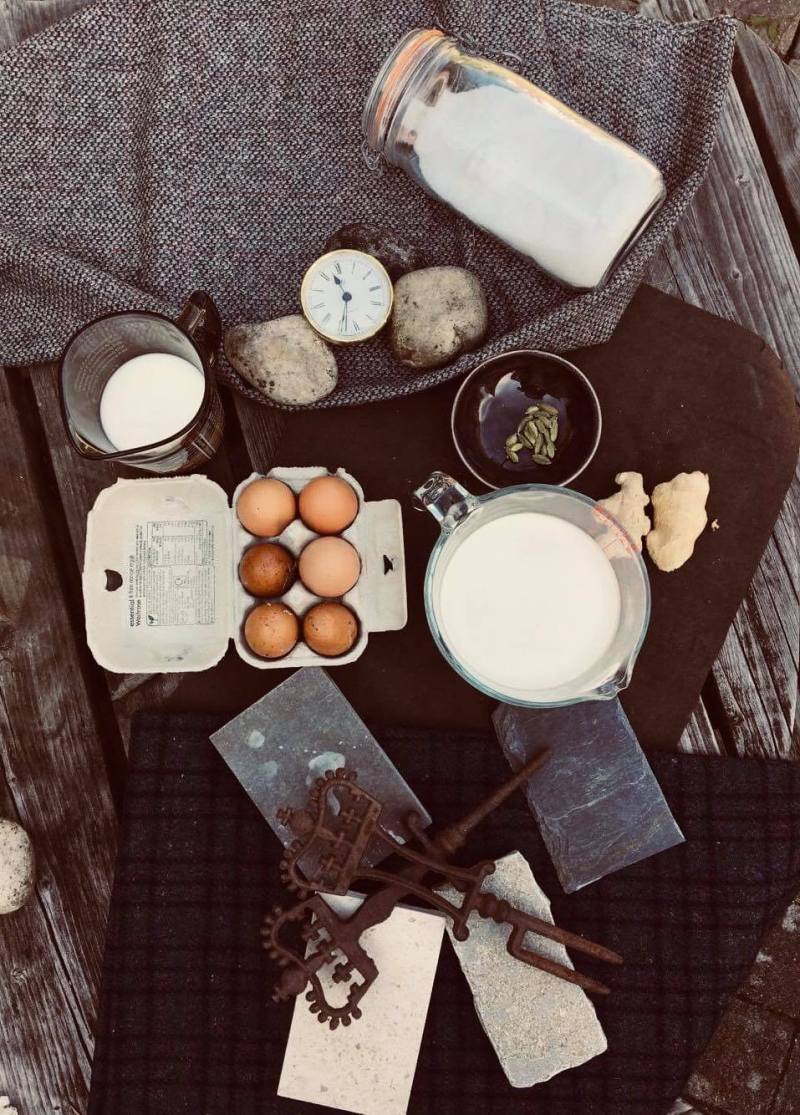
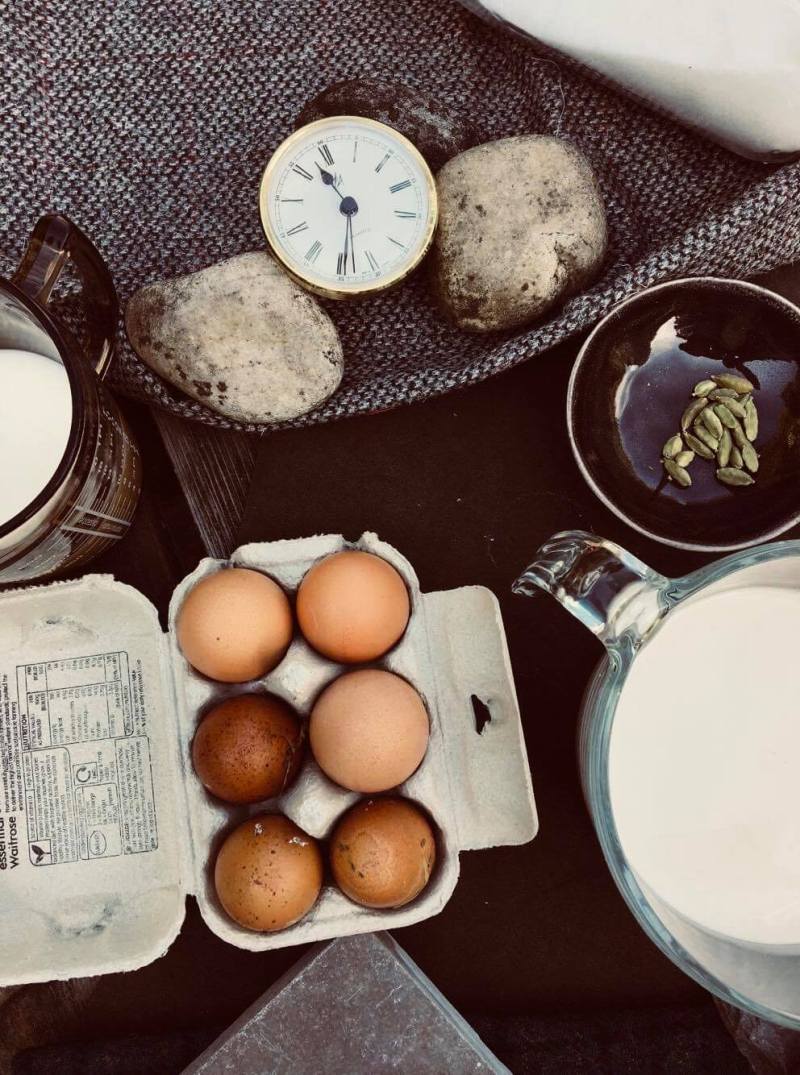
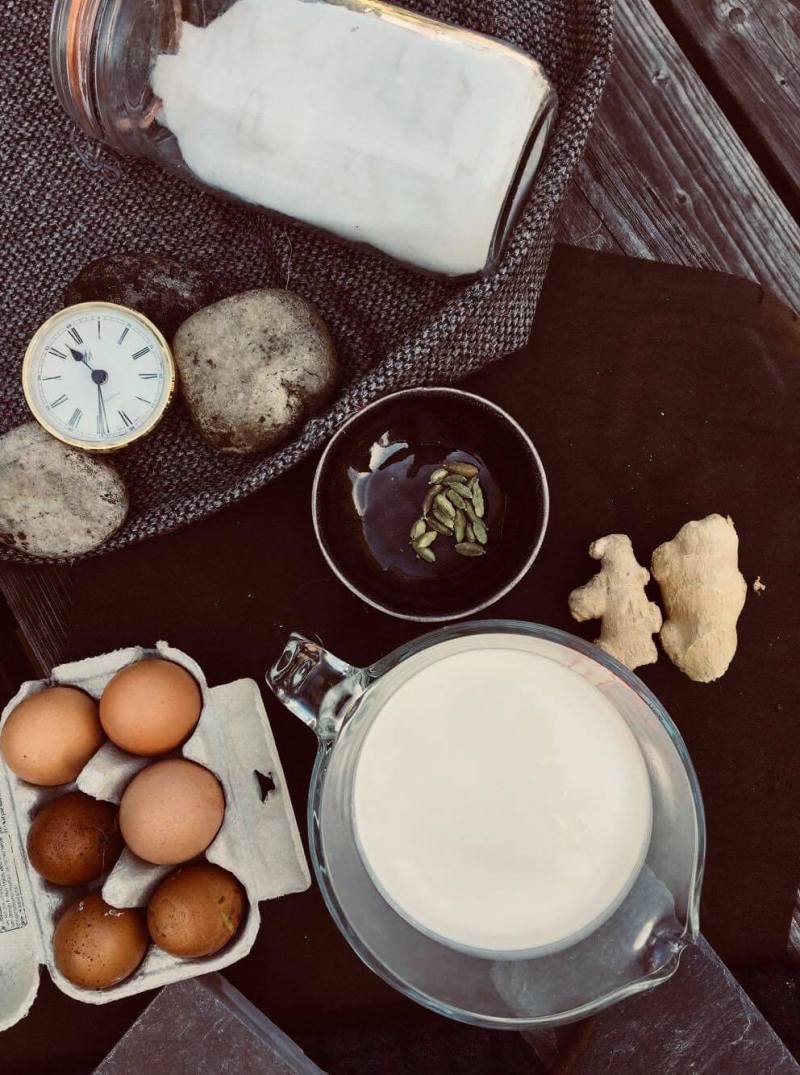
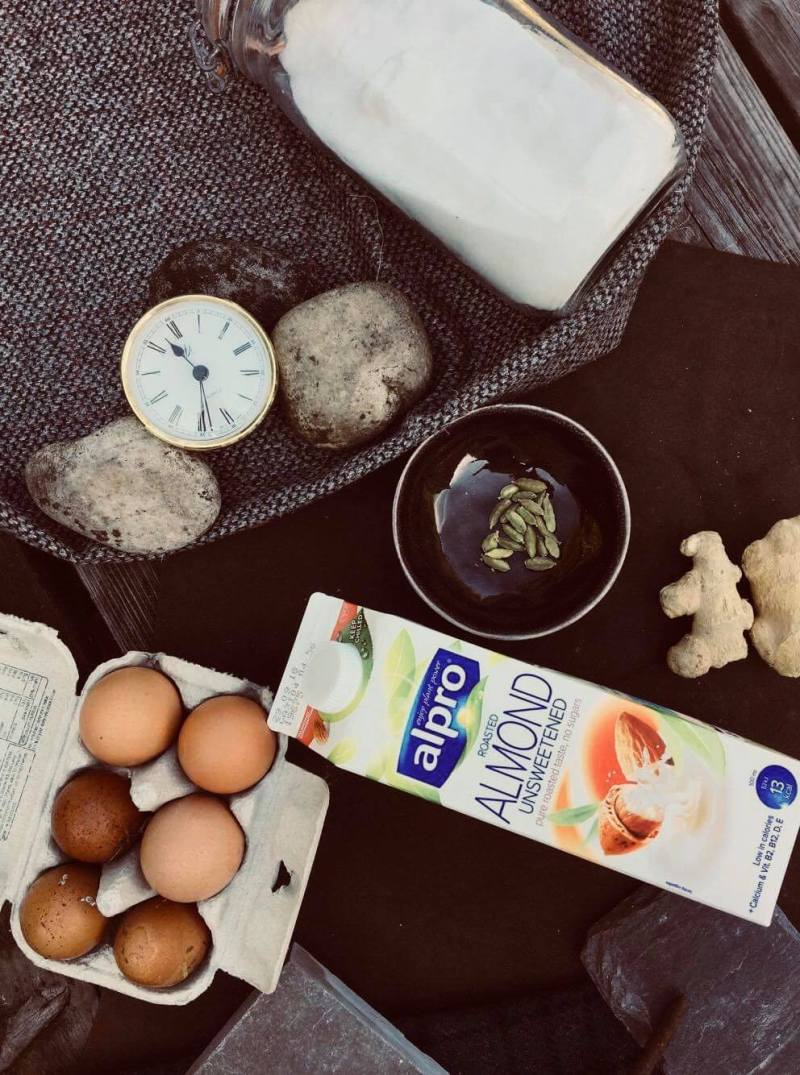
Cardamom and Ginger infused custard Ingredients:
2 thumb sized pieces of ginger
8 cardamom pods – pestle and mortar
6 egg yolks
250 grams golden caster sugar
250 ml of semi skimmed milk
500 ml of double cream
To recreate this custard dairy free, use one of the popular alternatives – for this recipe I used almond milk. I will be trying all different types to find which one tastes most like custard.
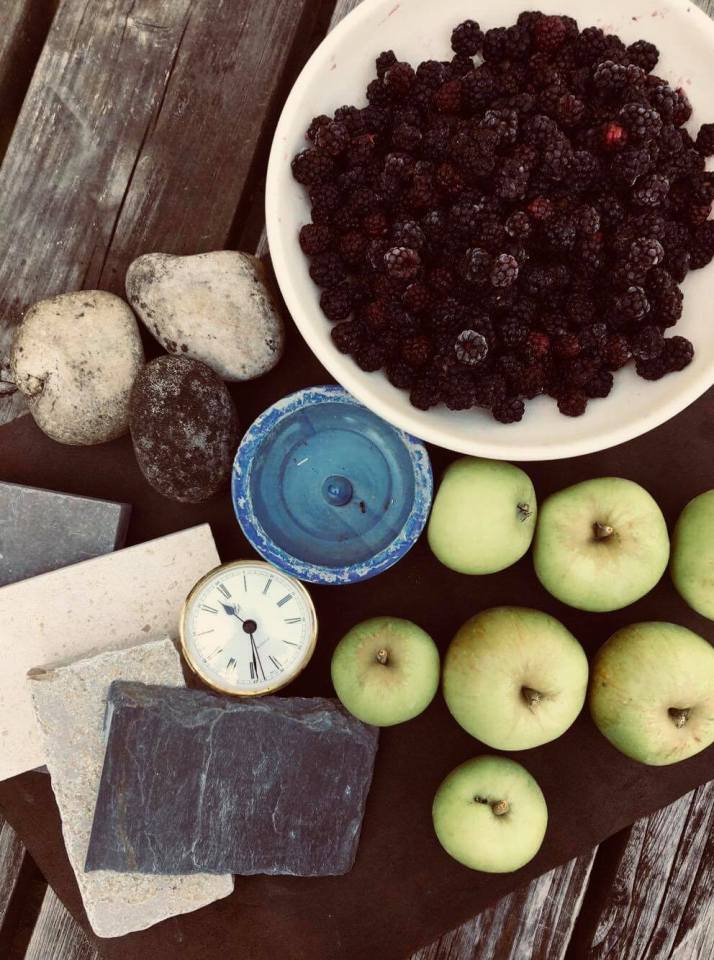
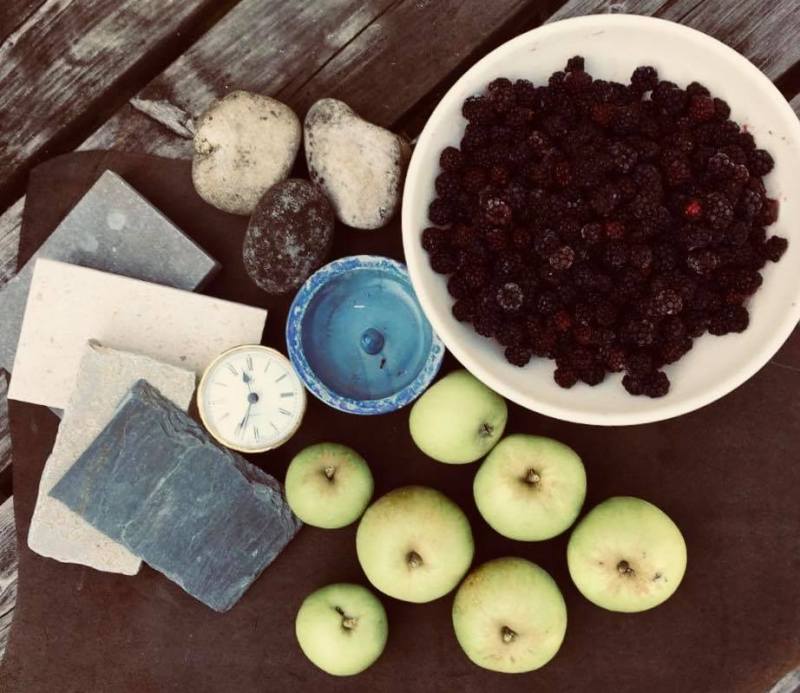
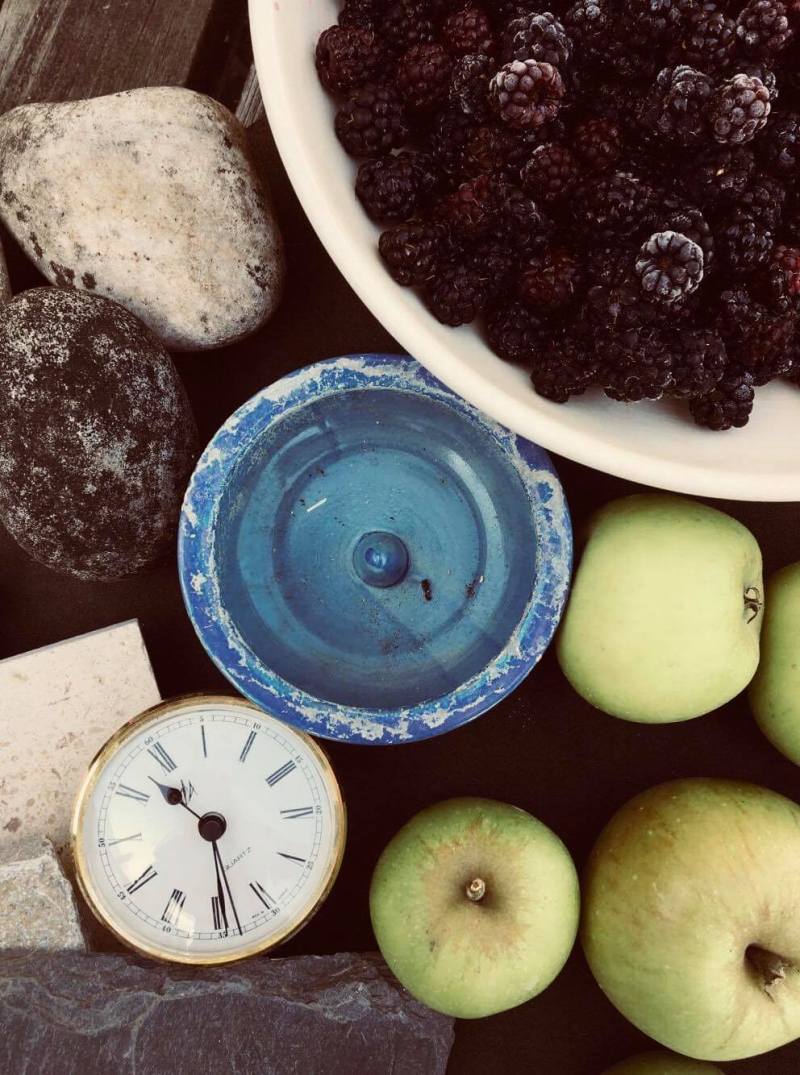
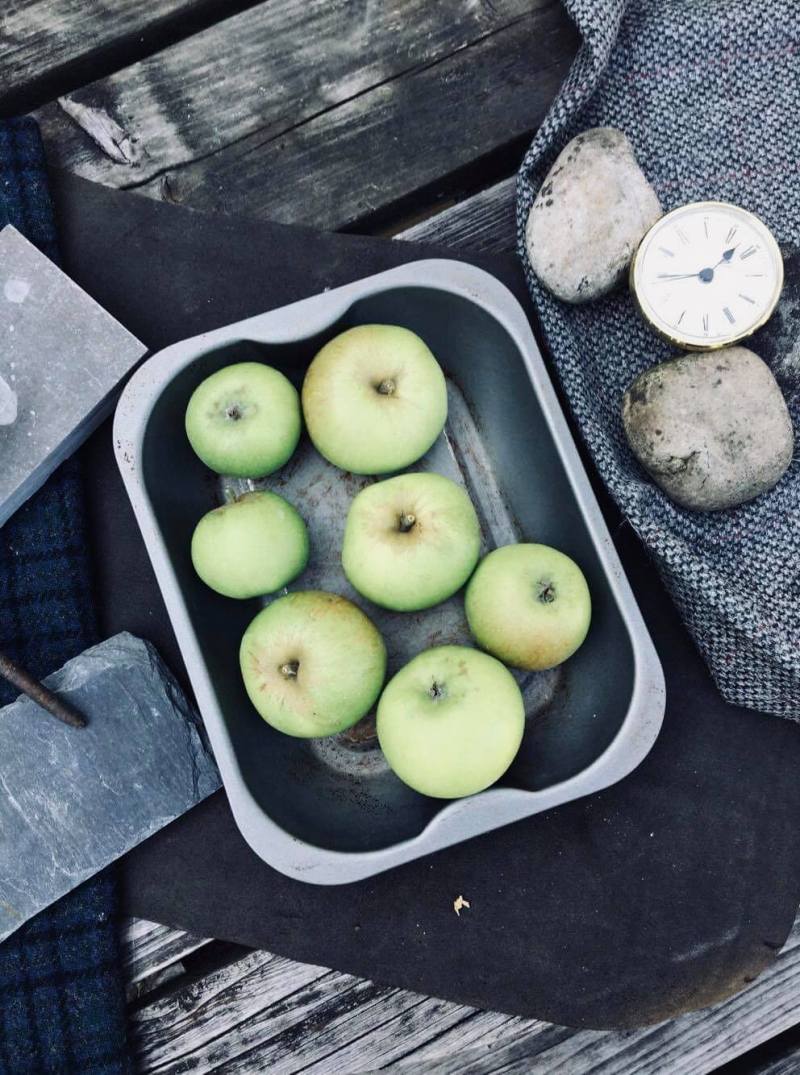
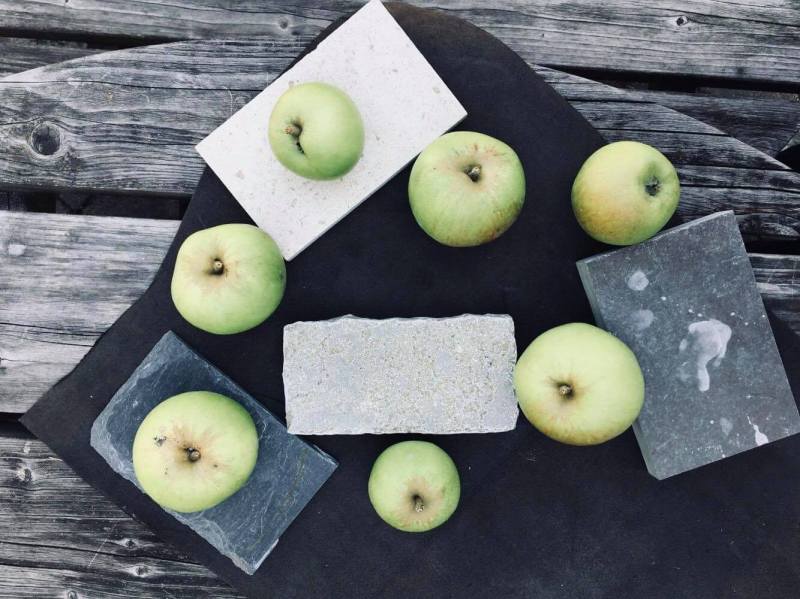
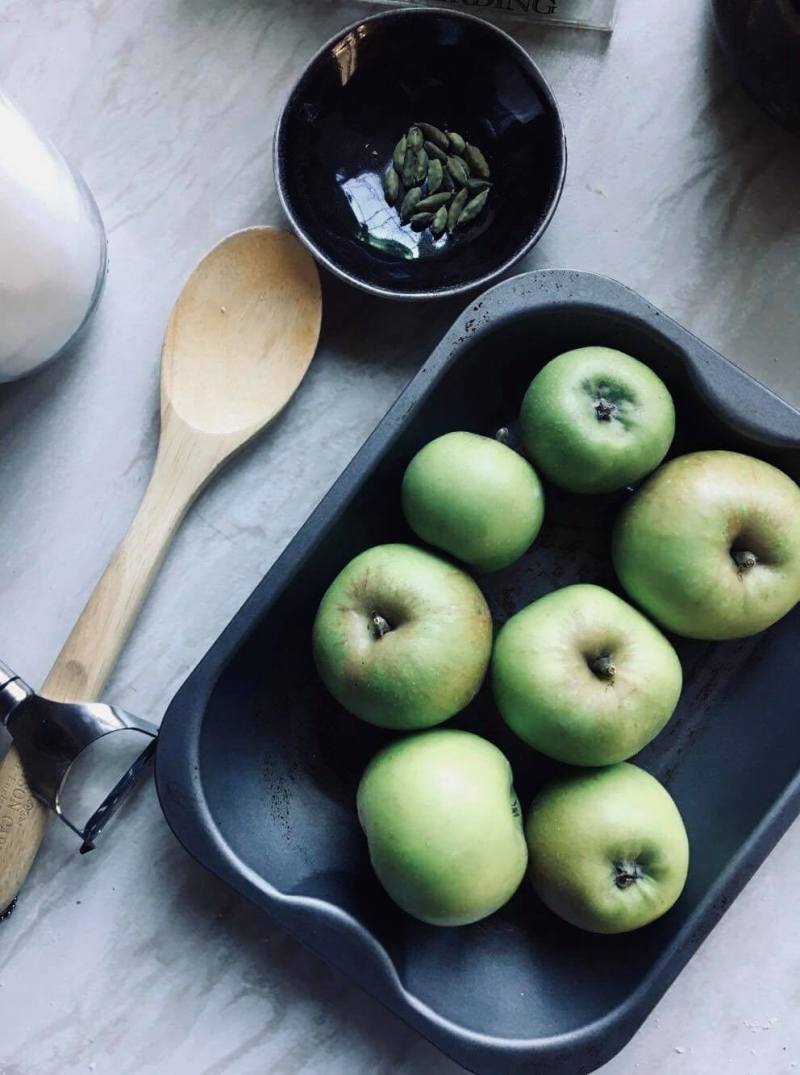
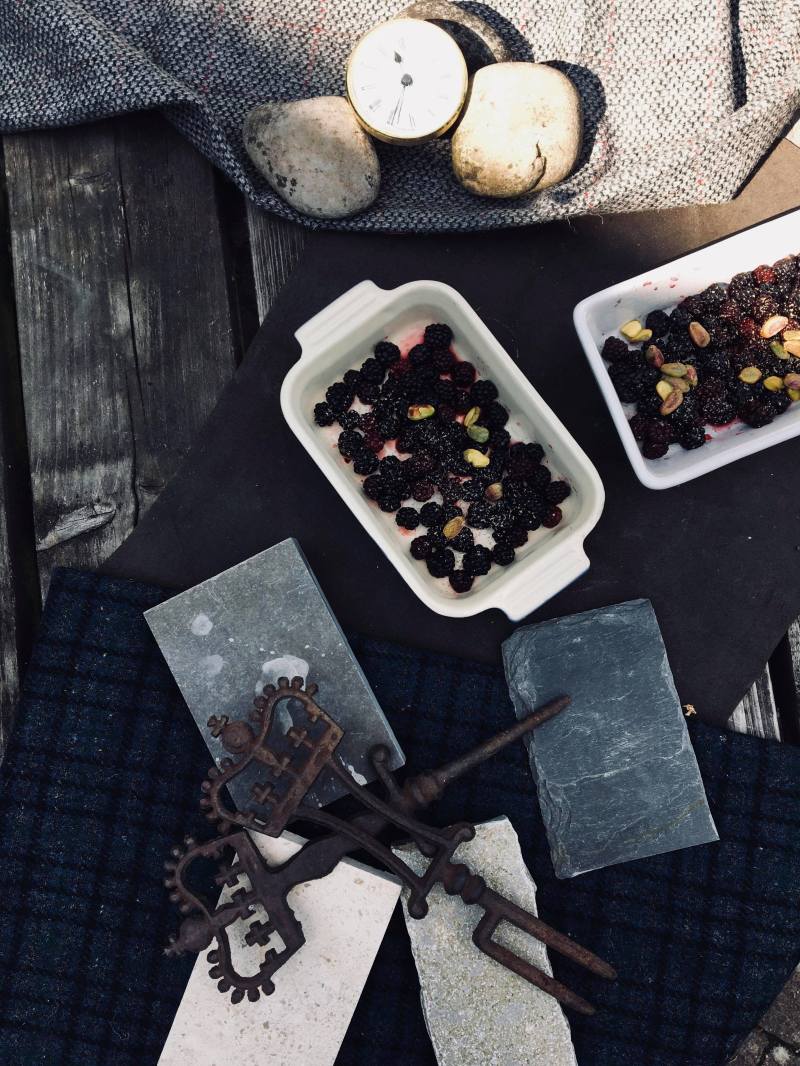
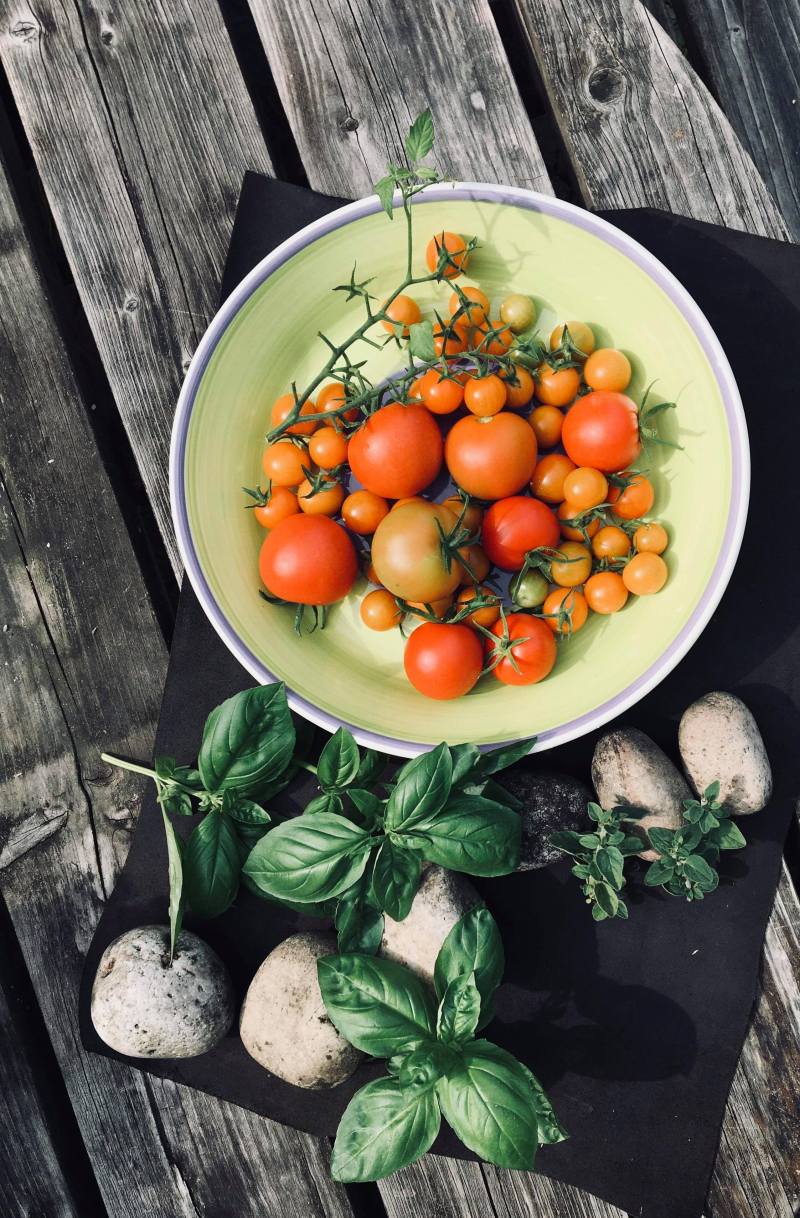
Hand picked Tobermory Apples and blackberries:
8 large apples
600 grams of freshly picked blackberries
On most traditional crumble and cobbler recipes they always tell you to peel the apples, but why when most of the important vitamins and minerals are kept 2 mm below the skin which when using a speed peeler are removed. Additionally, for me I feel by keeping on the peel it gives greater texture but also helps to intensify that flavour.
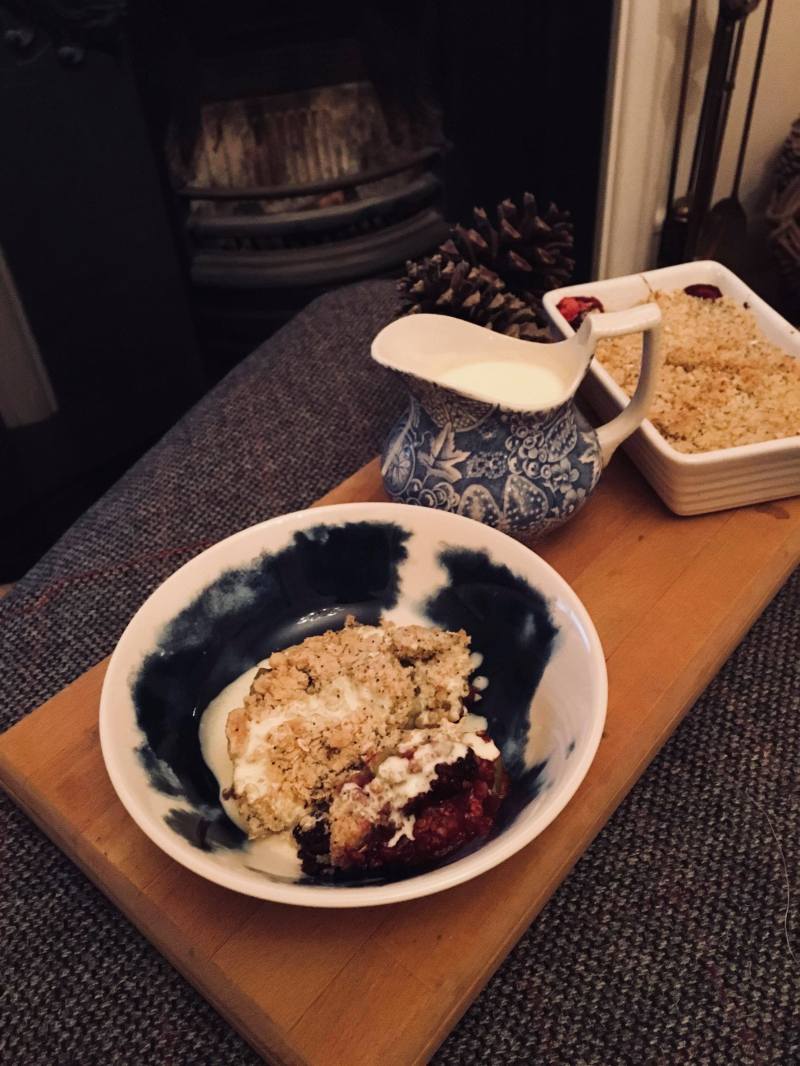
Enjoy with family and friends as the evenings start to draw in and we say goodbye to summer.
N.B. These measurements make 8 individual portions from 2 large dishes, although any cobbler topping that you have left over can be kept in the fridge for up to 3 days


 For this recipe you will need;
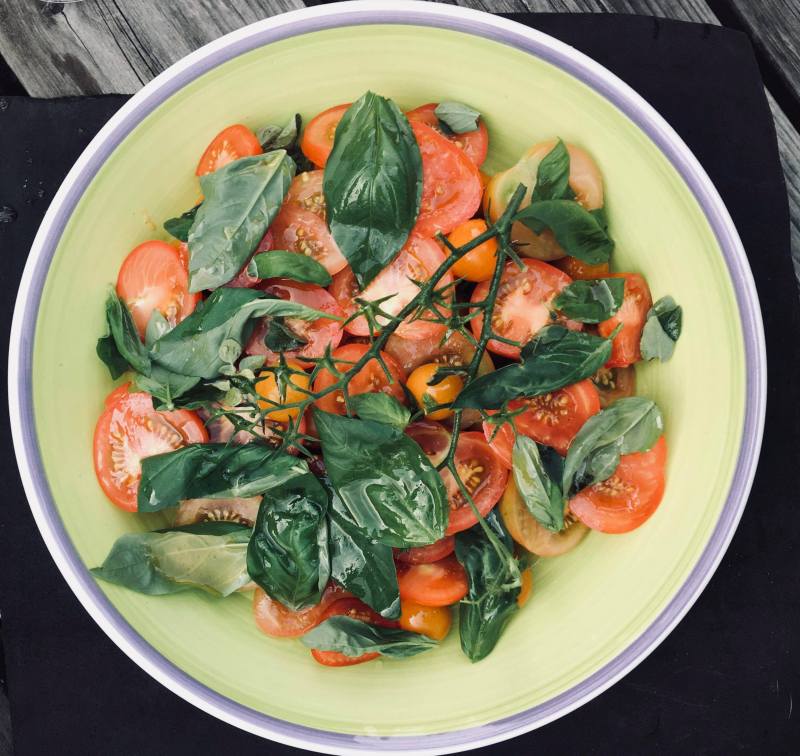
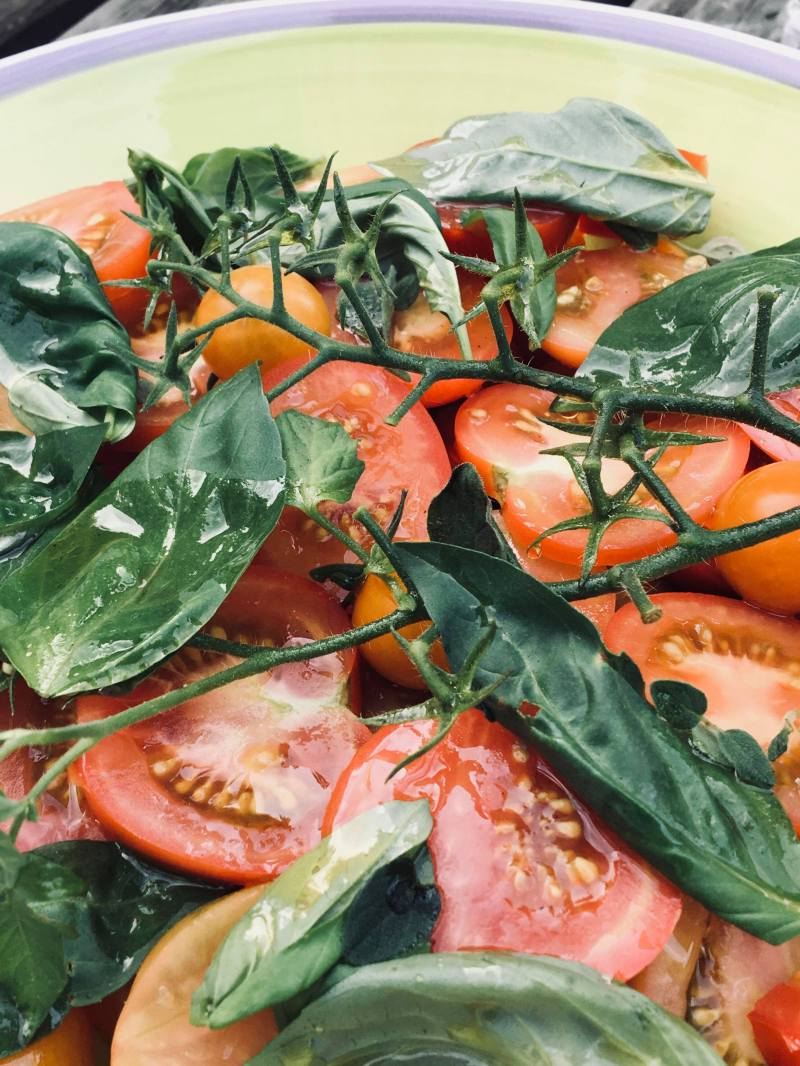
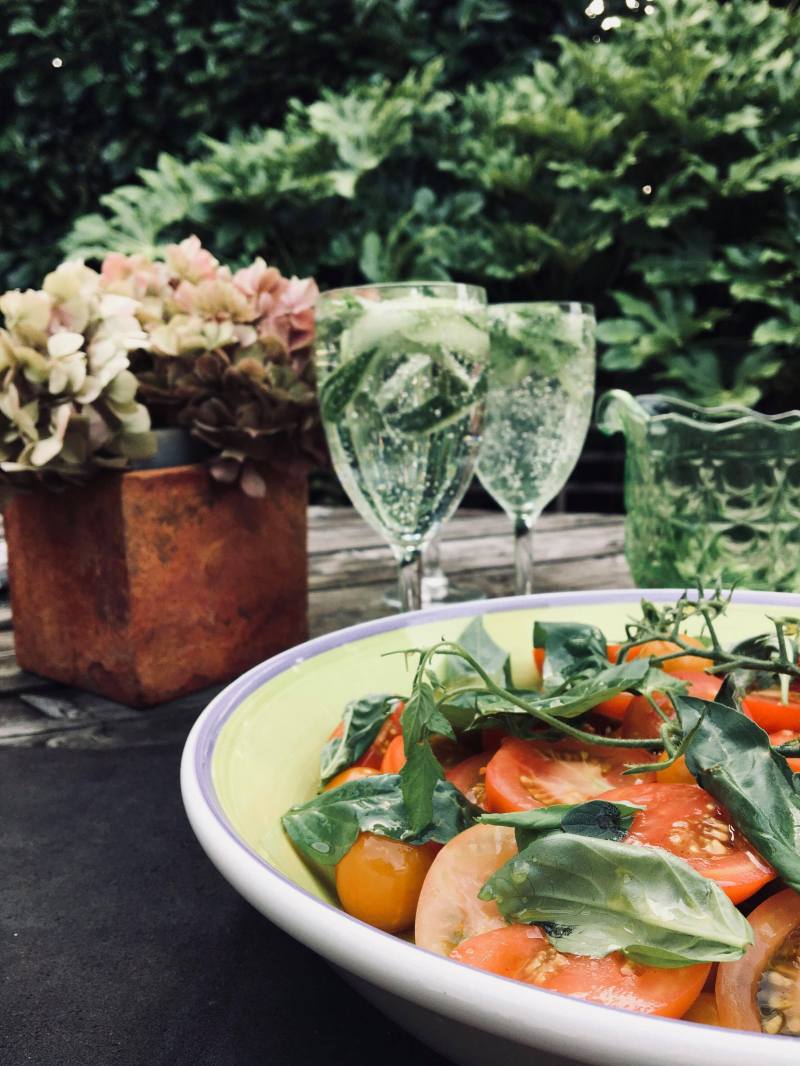
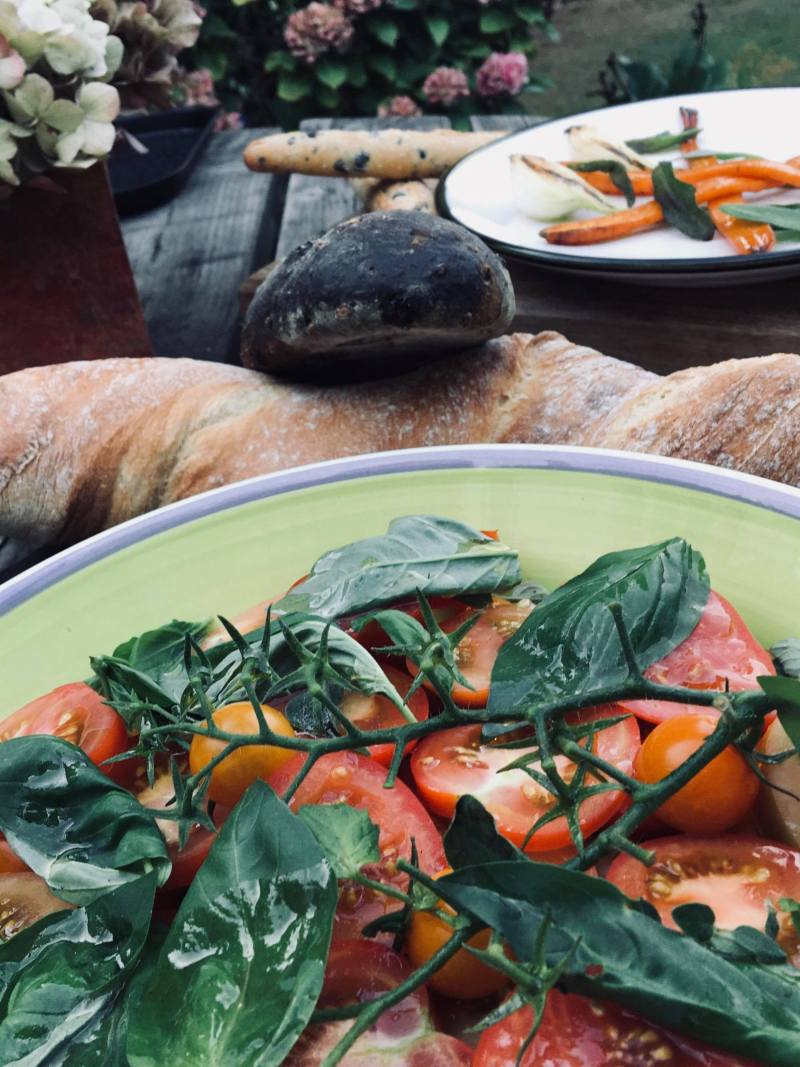
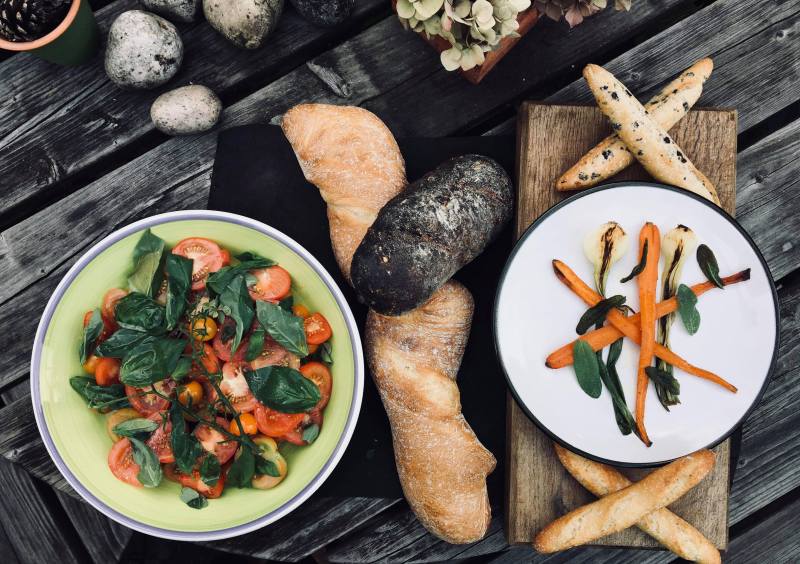
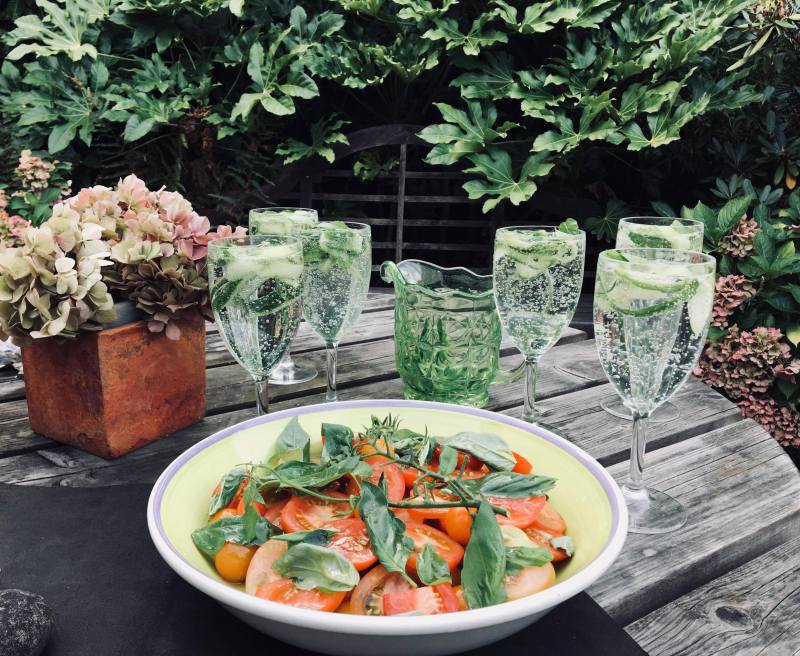
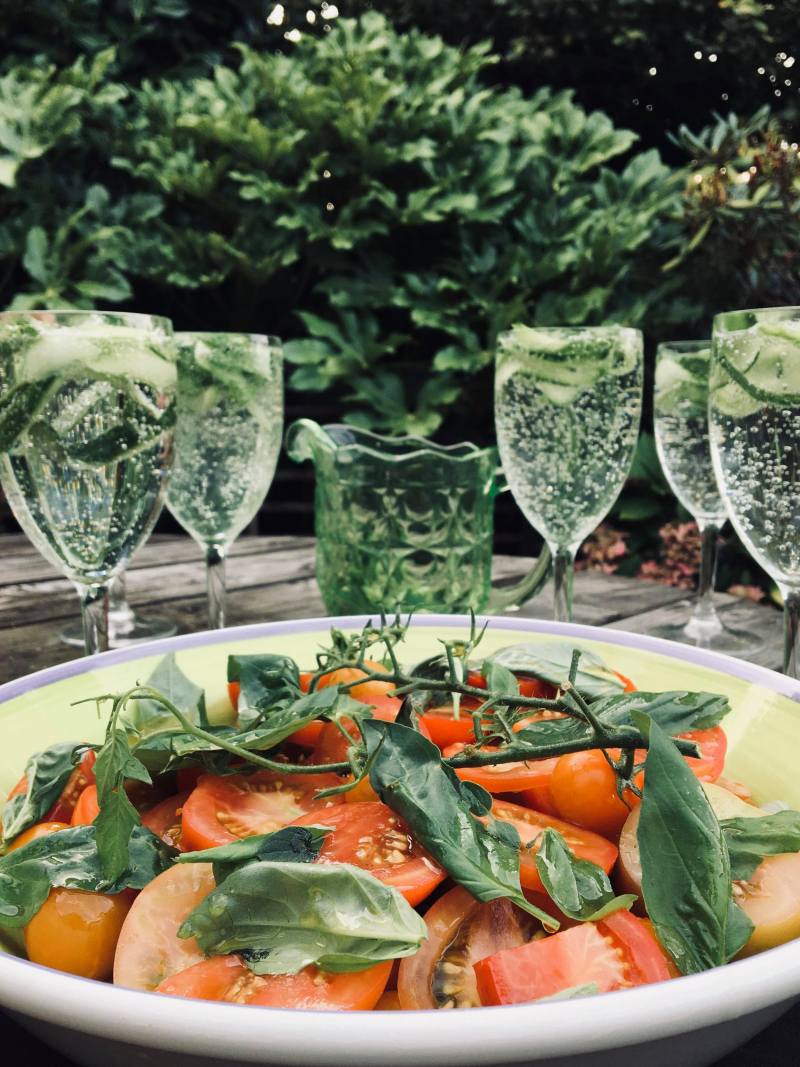
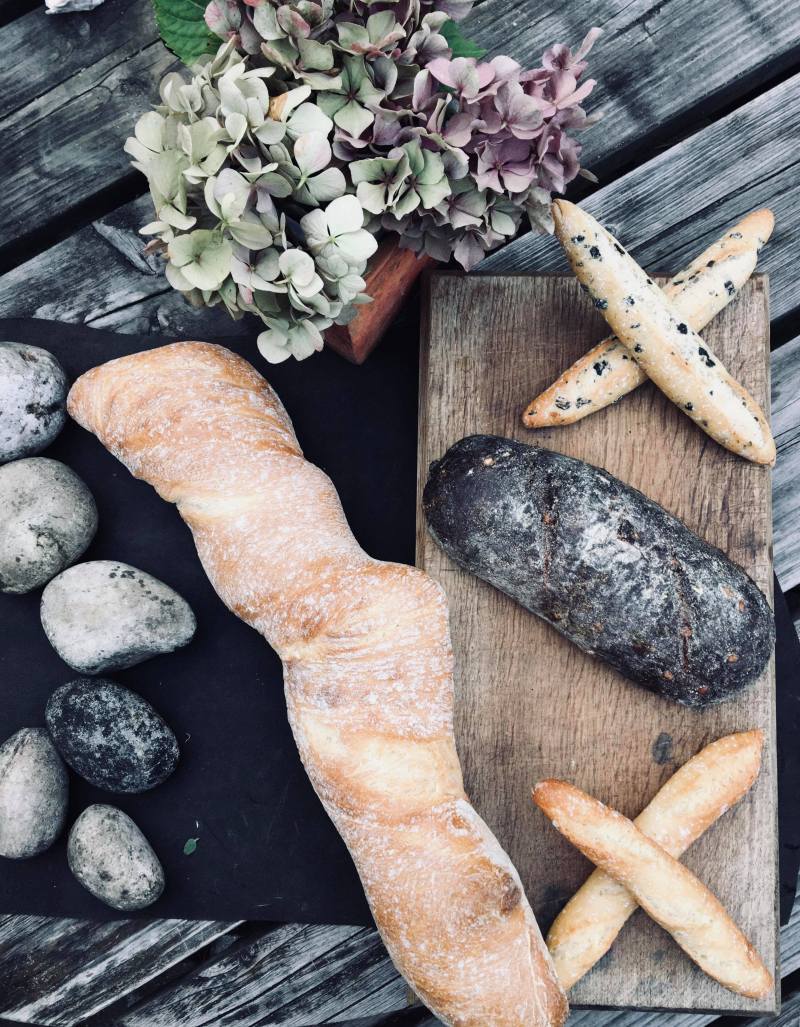
Serve along side a basket of rustic breads and a jug of mint and cucumber San Pellegrino sparkling water.


 Ingredients:


 Ingredients:
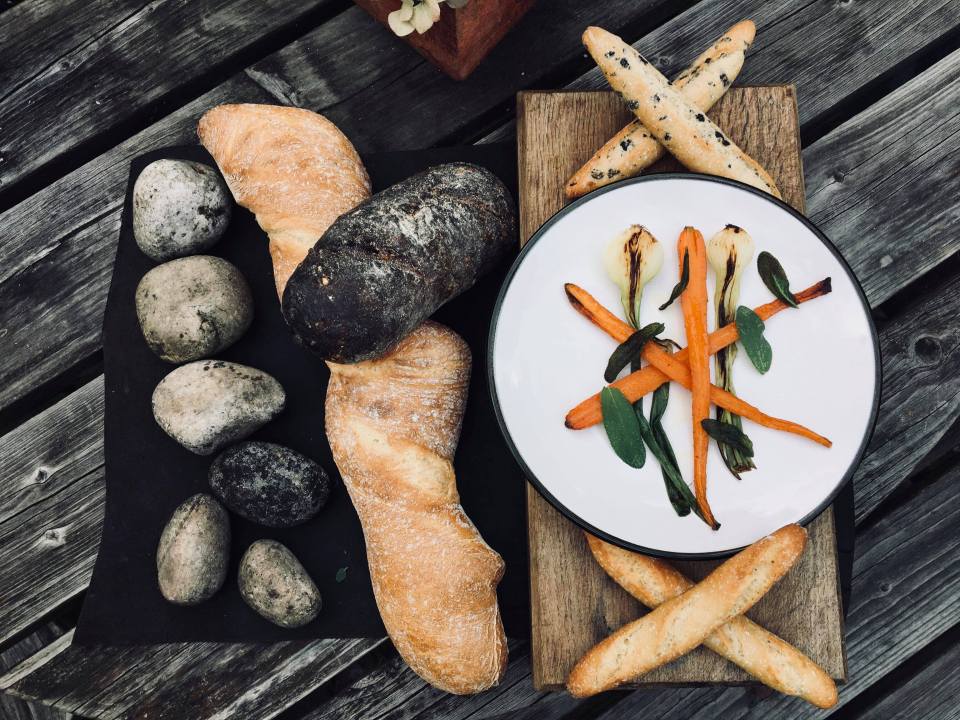
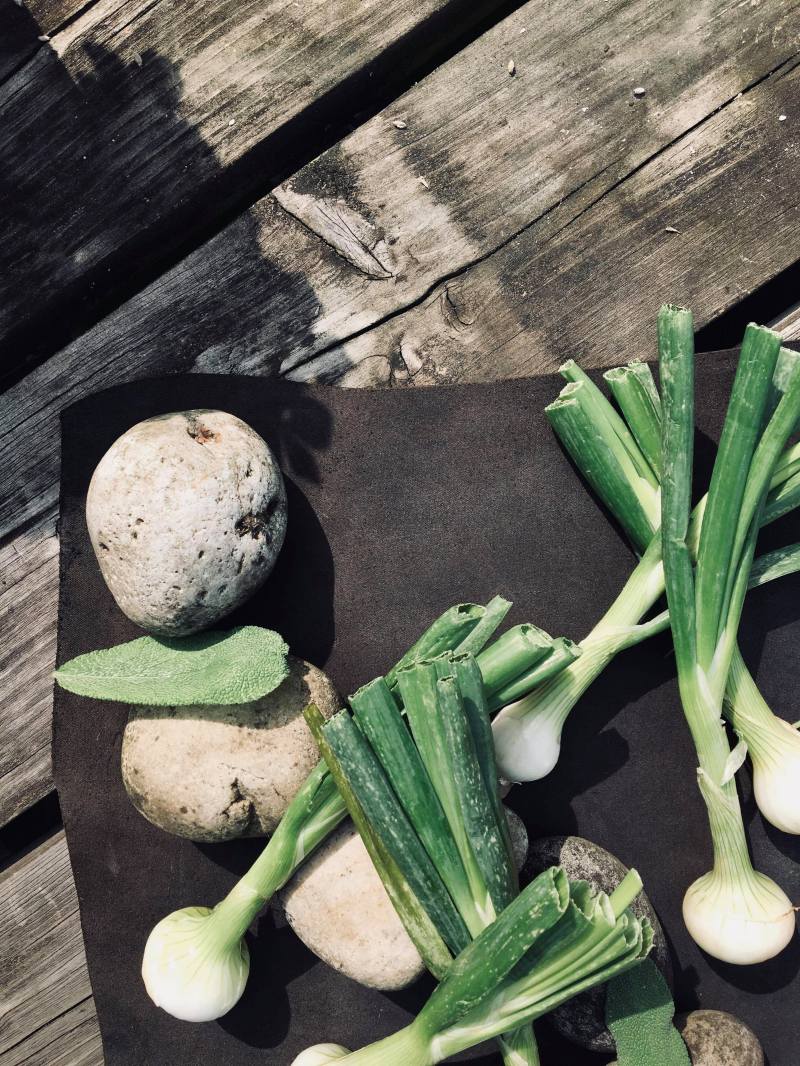
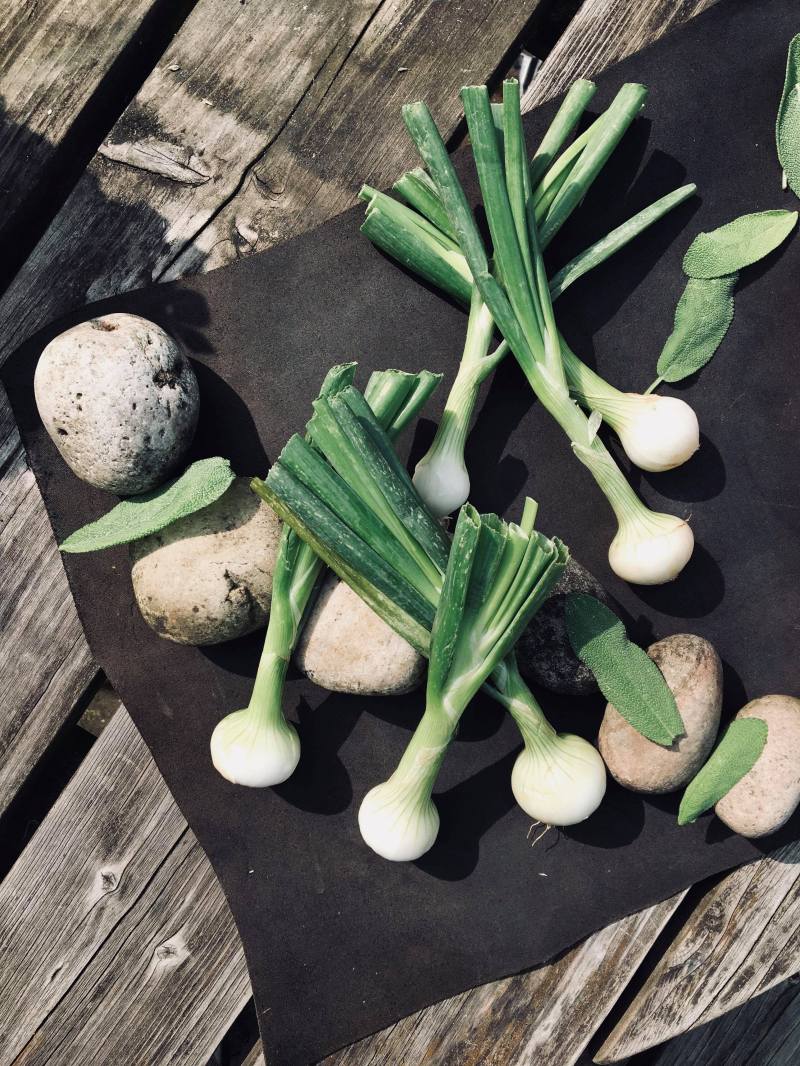
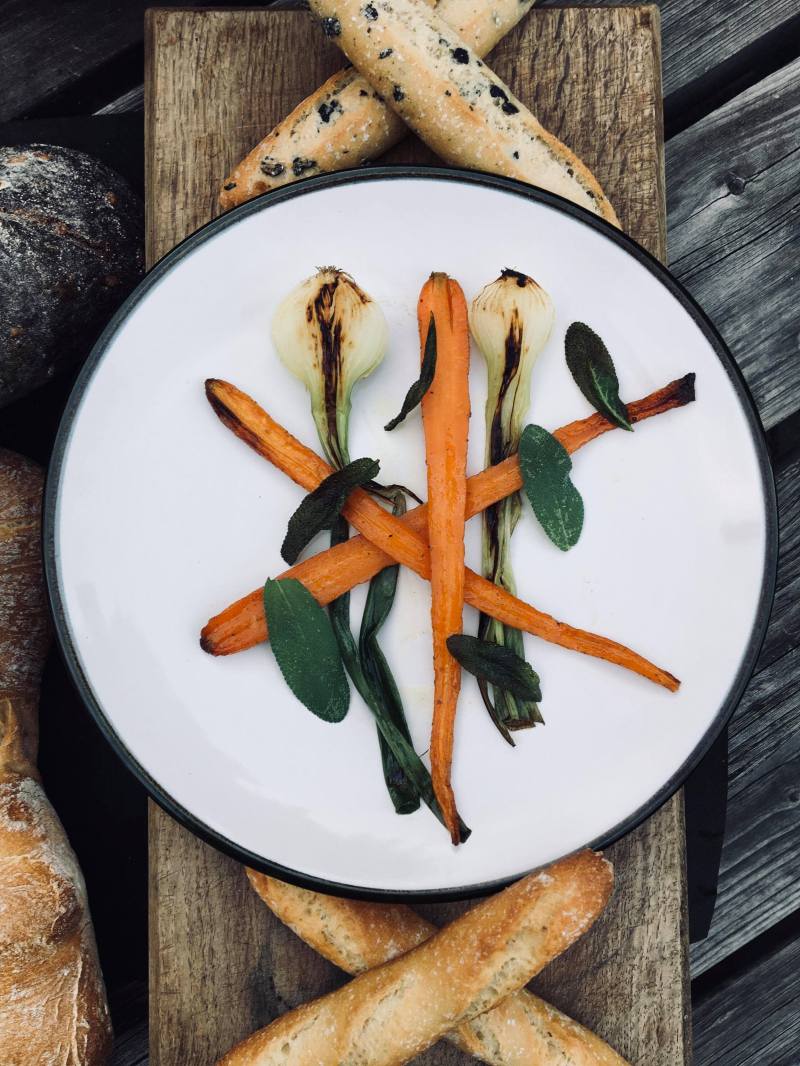
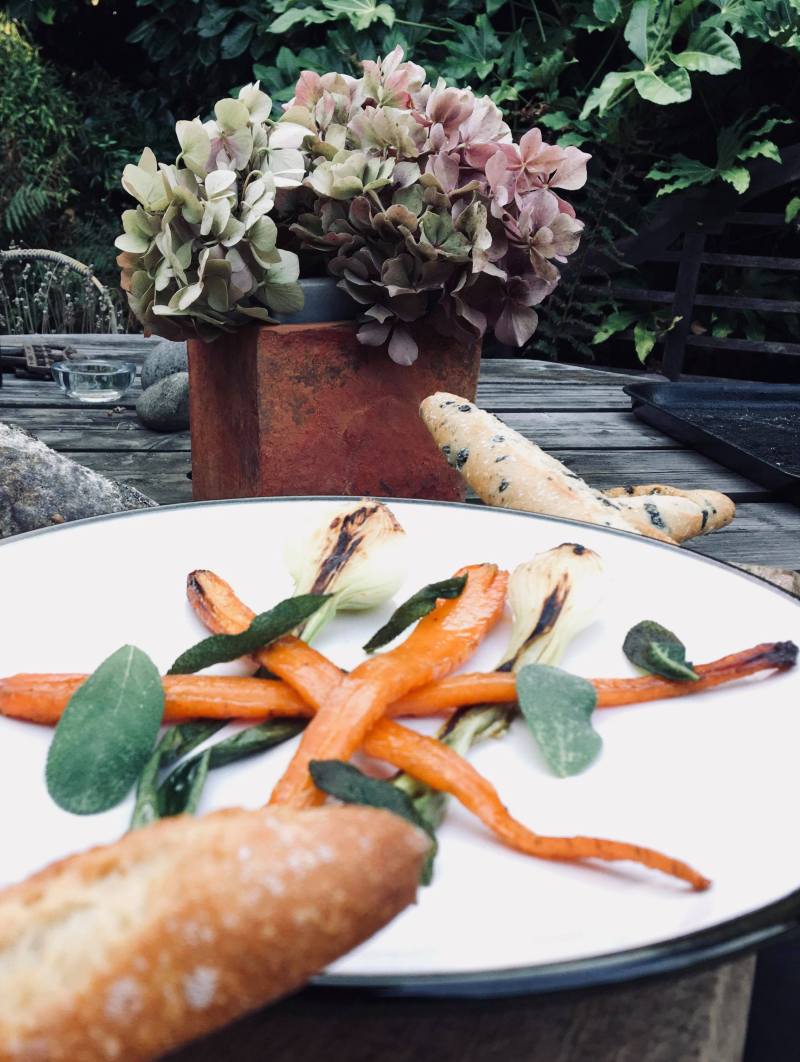
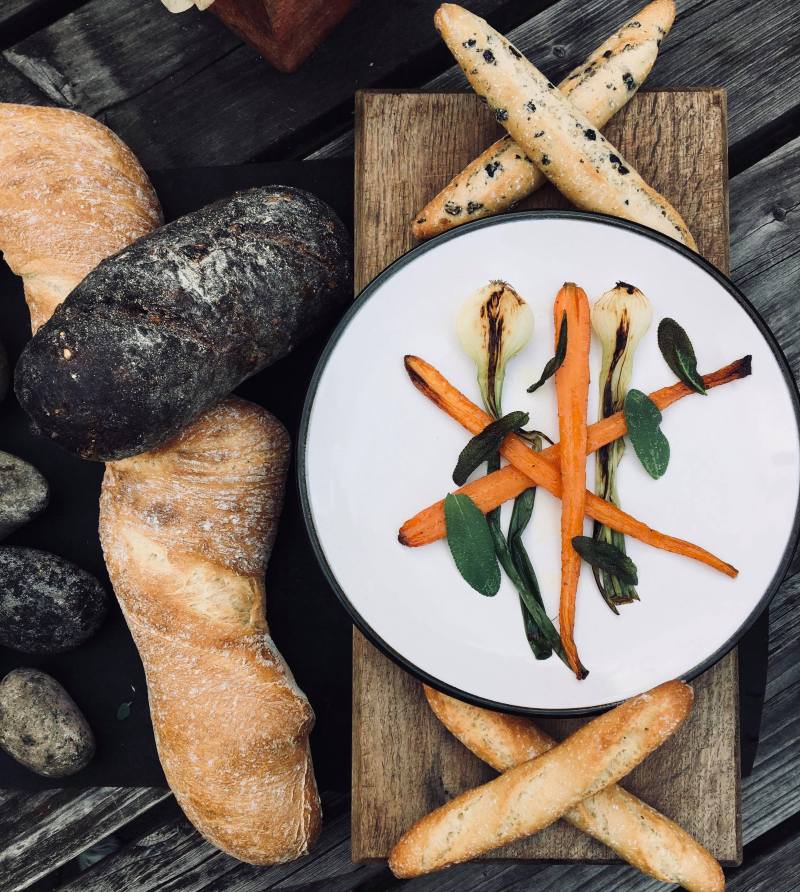
To plate lay two pieces of charred onion onto a pre-warmed plate, along with your carrot, to finish drizzle with a little organic honey and dot your sage leaves around the dish.
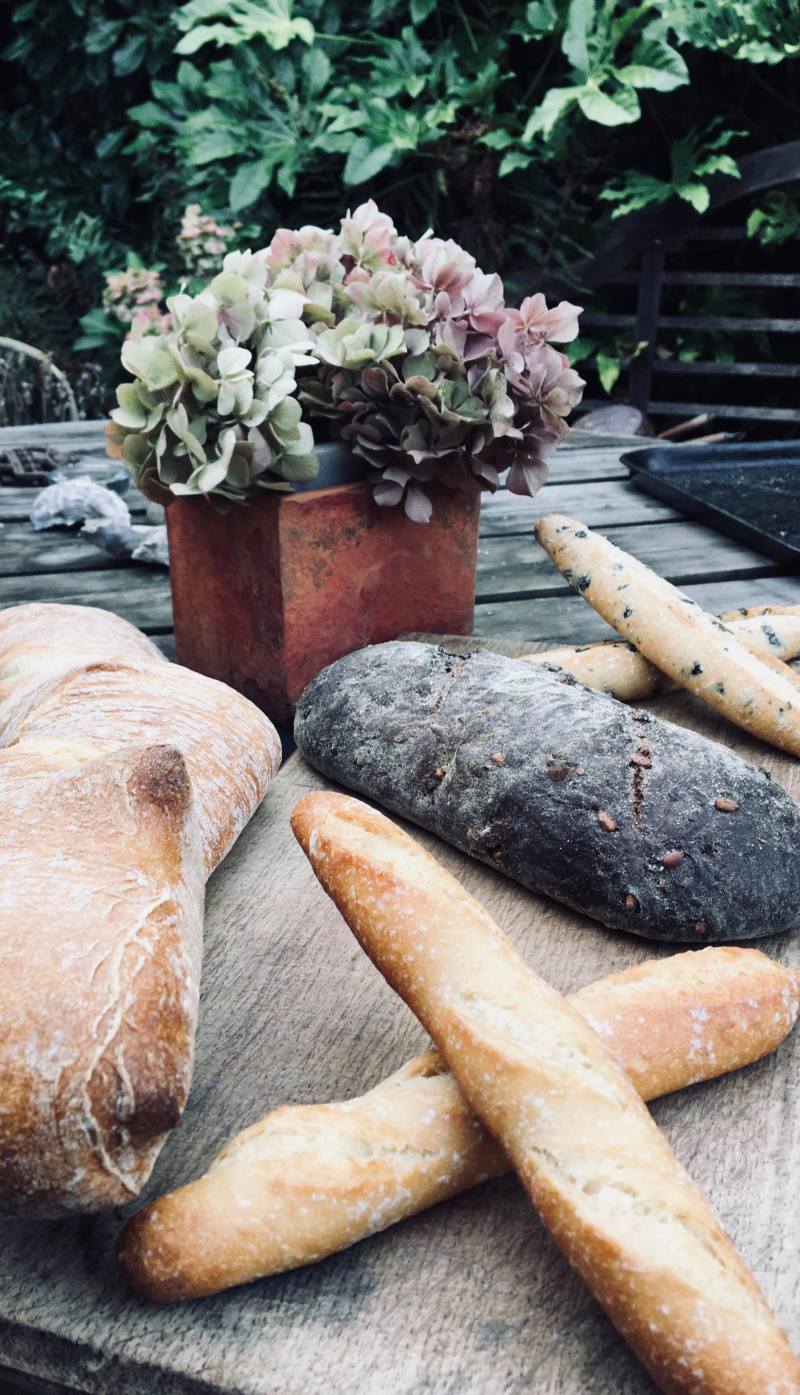
Serve with some rustic bread of your choice


 Ingredients:

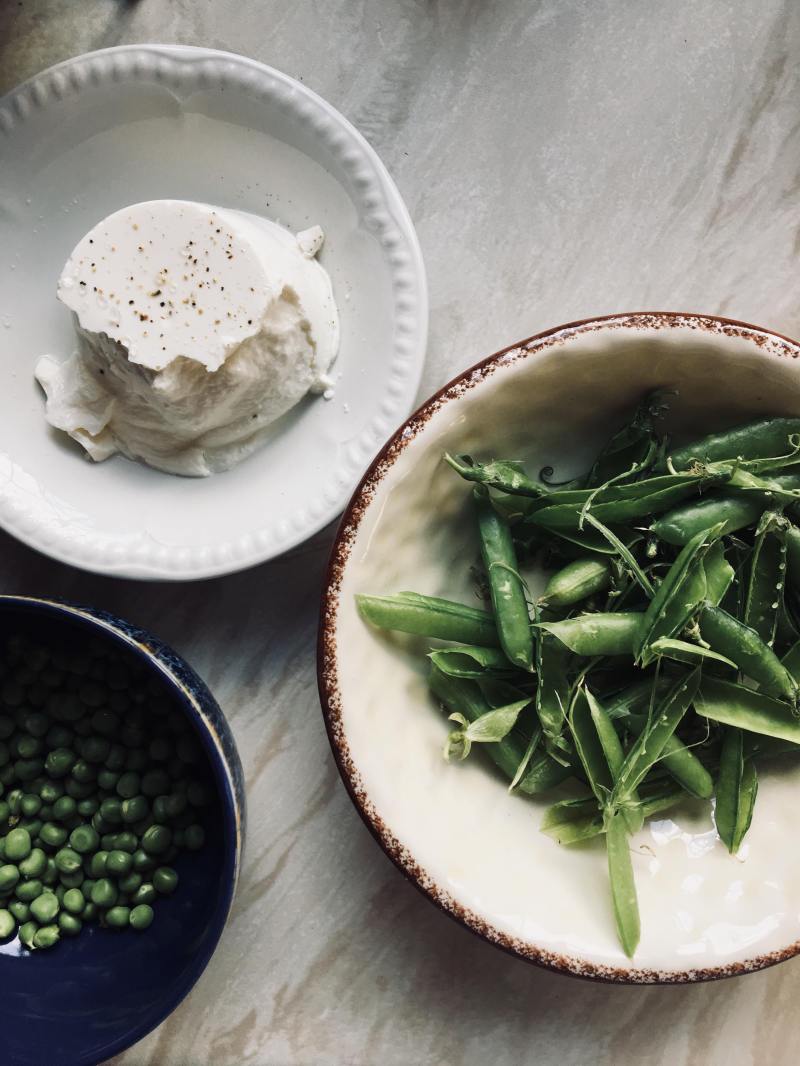

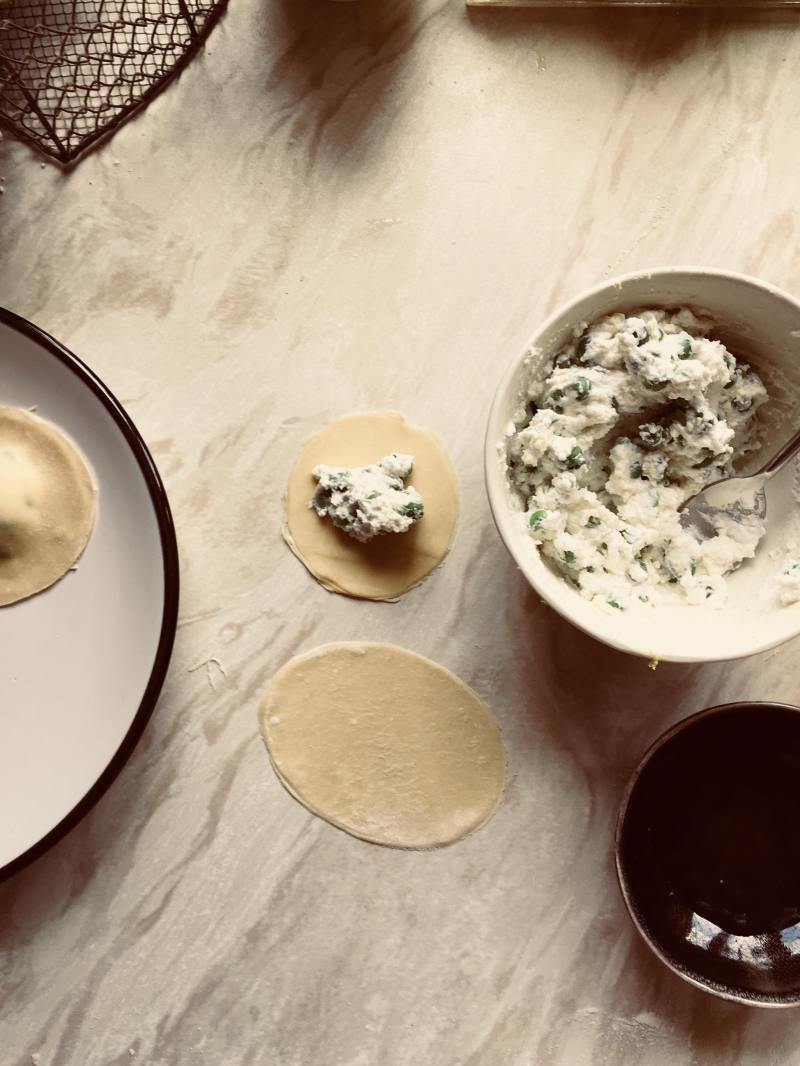
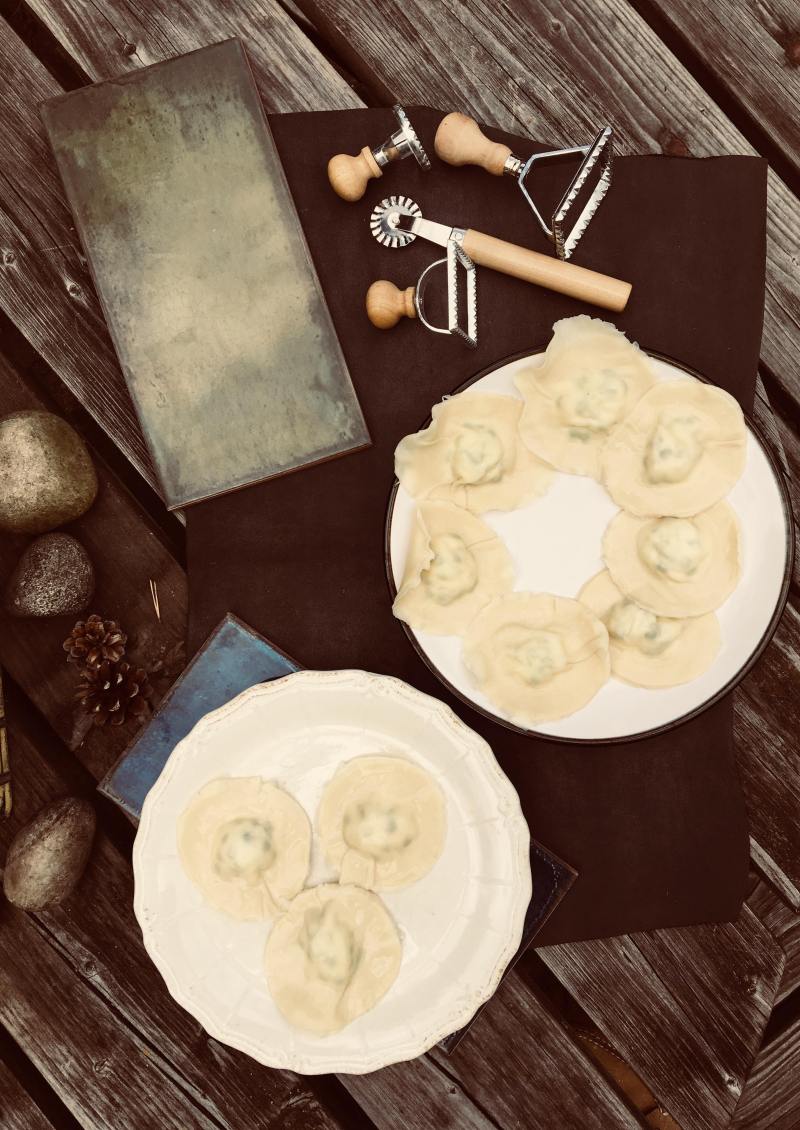

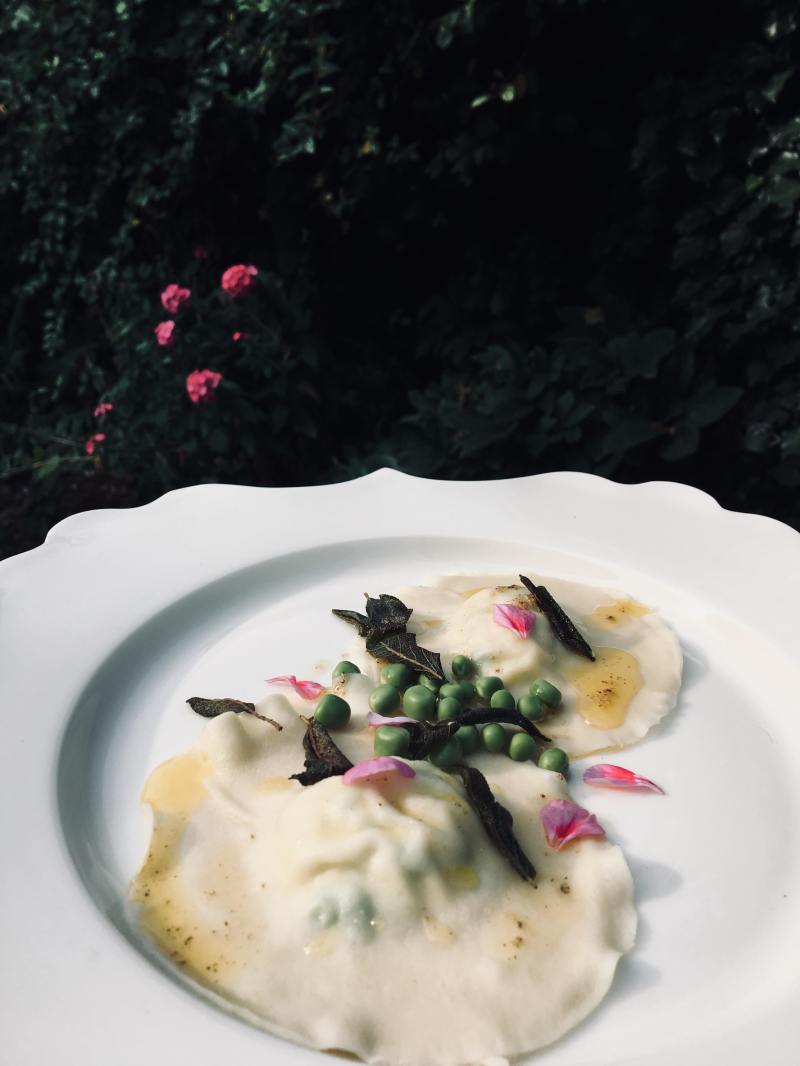

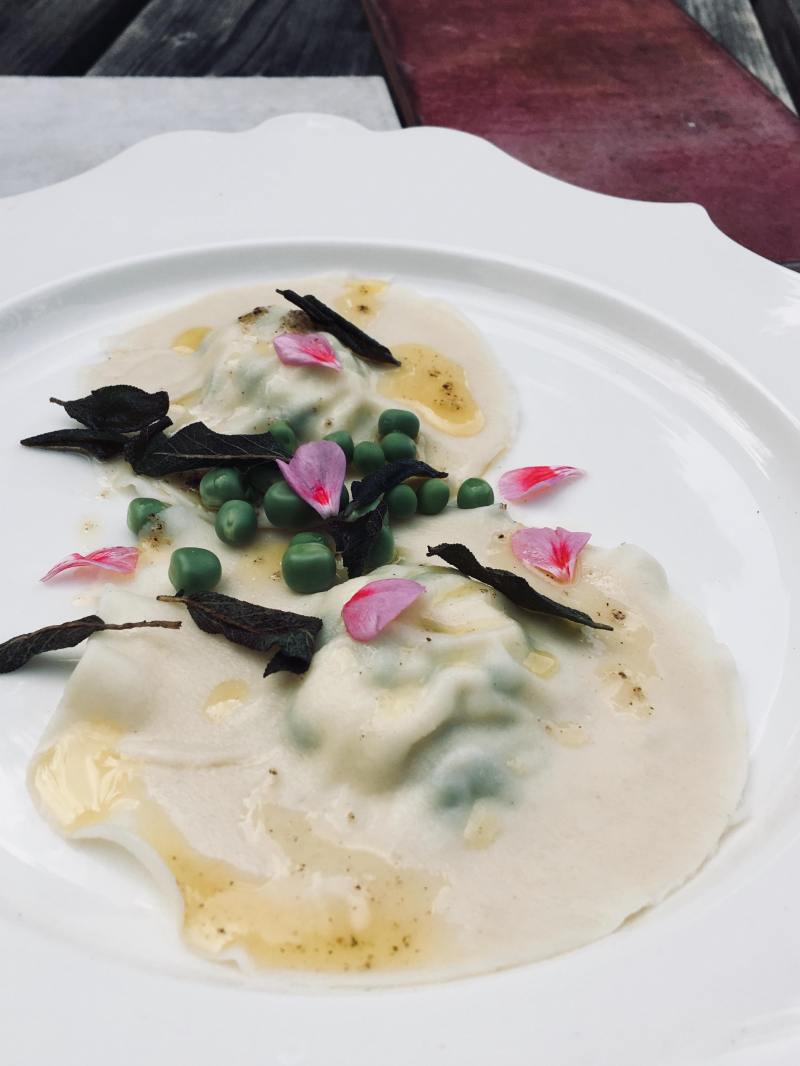
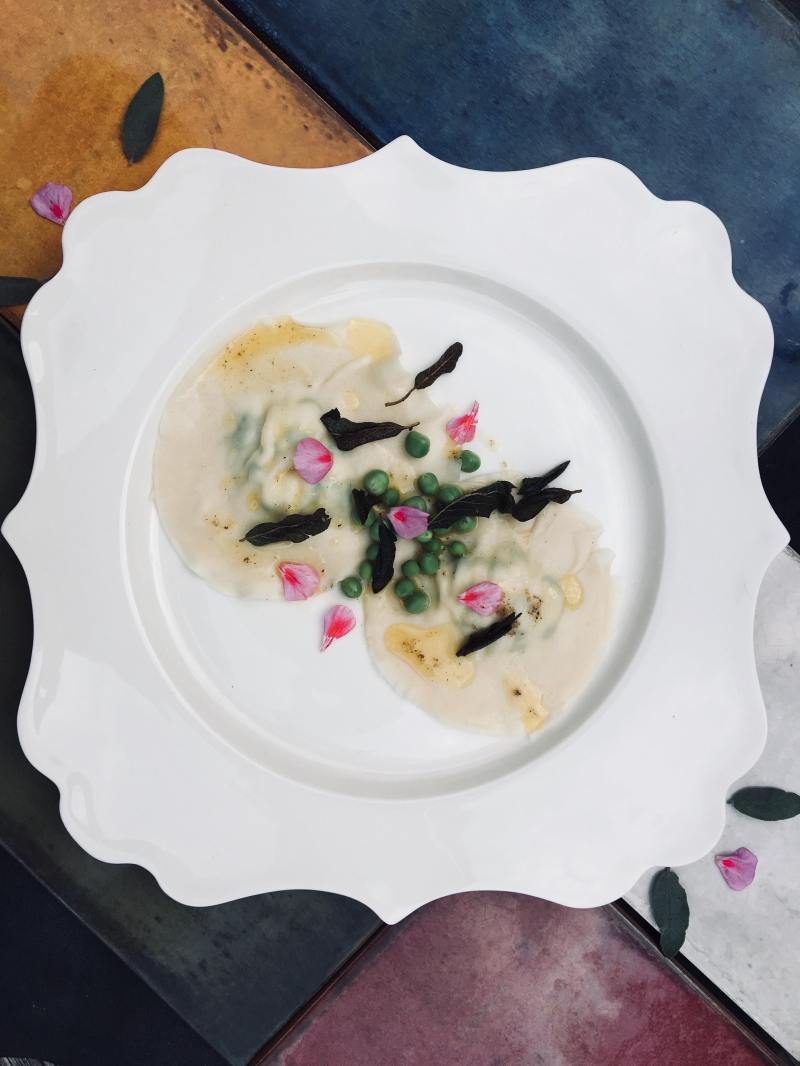
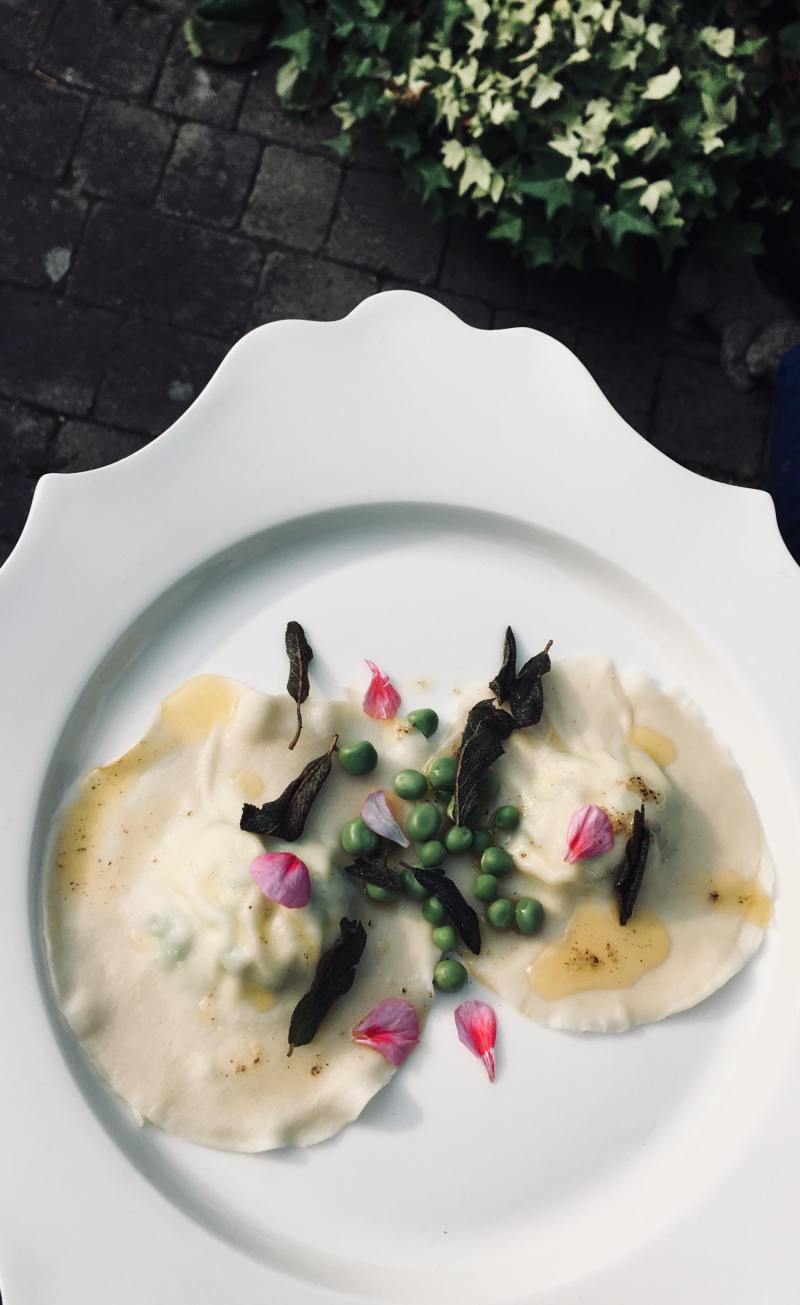 Garden pea, sage, lemon zest and ricotta ravioli with lemon thyme buerre noisette and edible flowers.
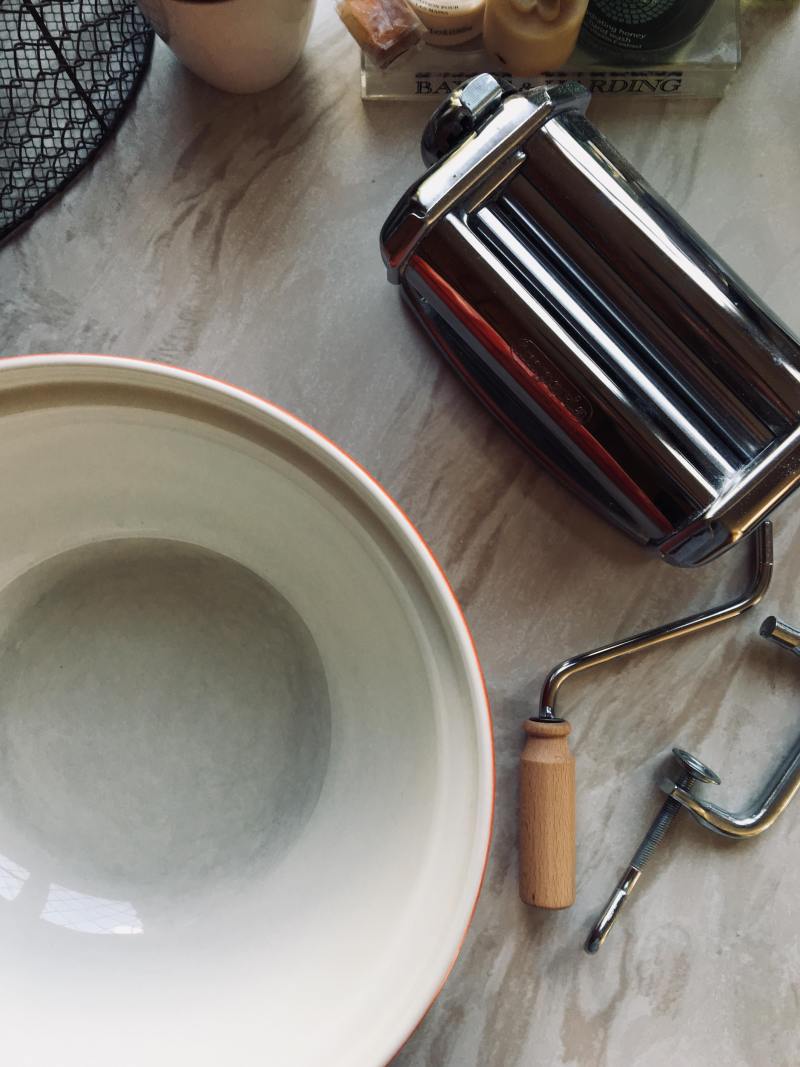
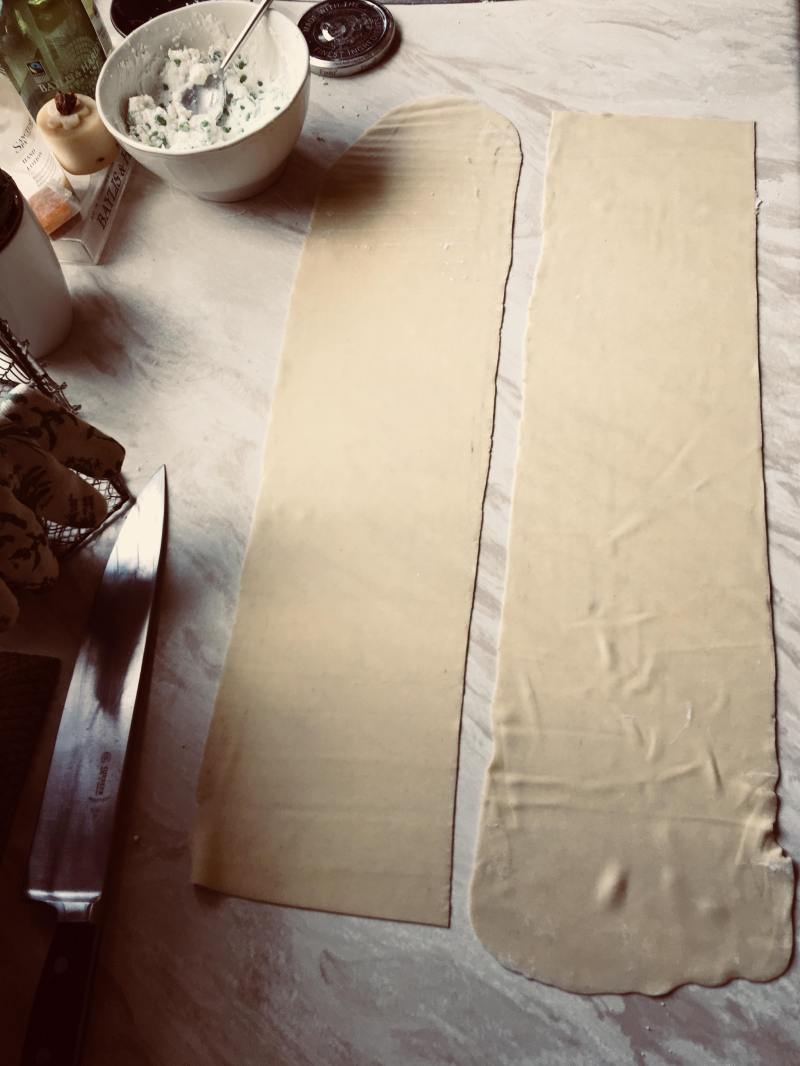
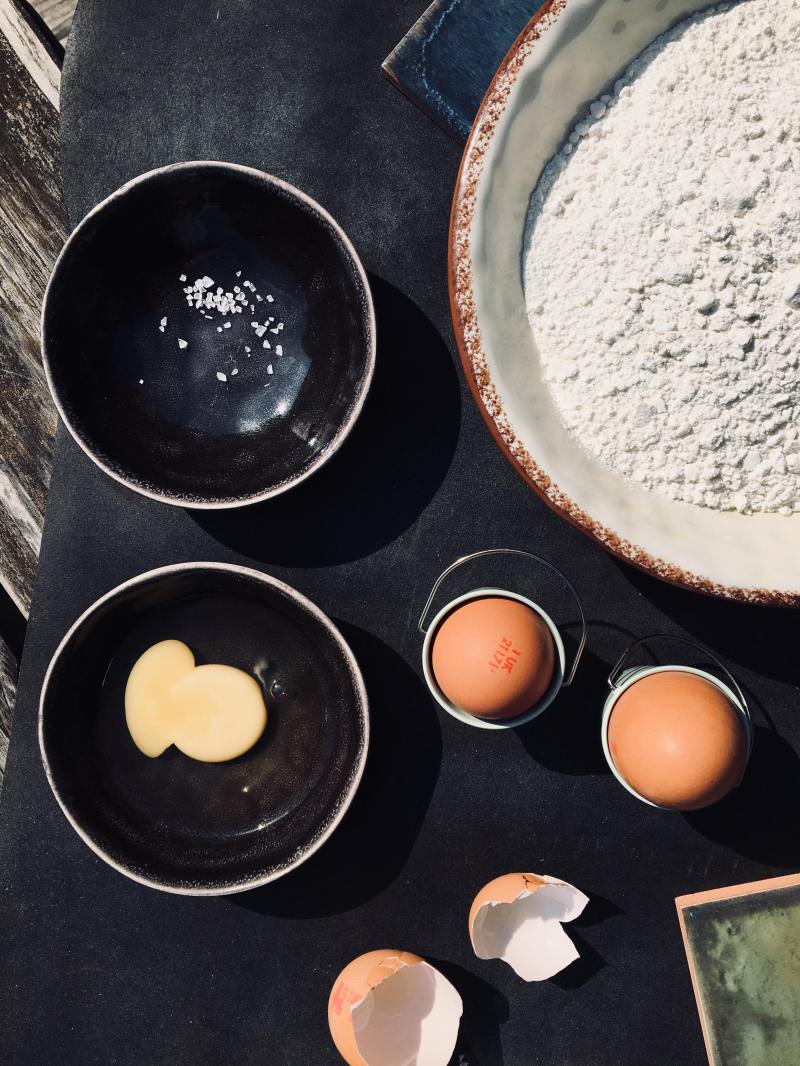
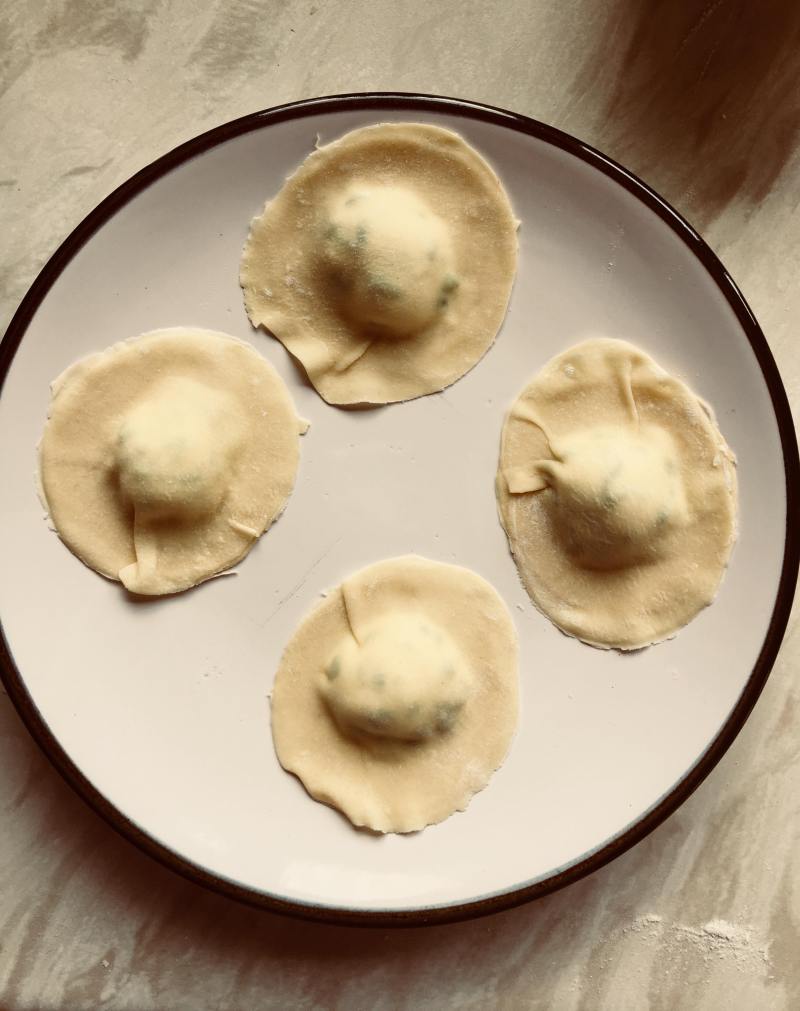
For the Pasta:
For the filling:
You’re on a roll…
To plate pre-heat an artisan plate, I prefer to lay pasta out on plates instead of bowls. Once your pasta is cooked, lay them onto the plate. To garnish this dish, any rich sauce would just overpower the subtle freshness of the peas, so I quickly made a lemon thyme buerre noisette along with crispy sage leaves. I then hit it was some fresh garden peas and some edible flowers.


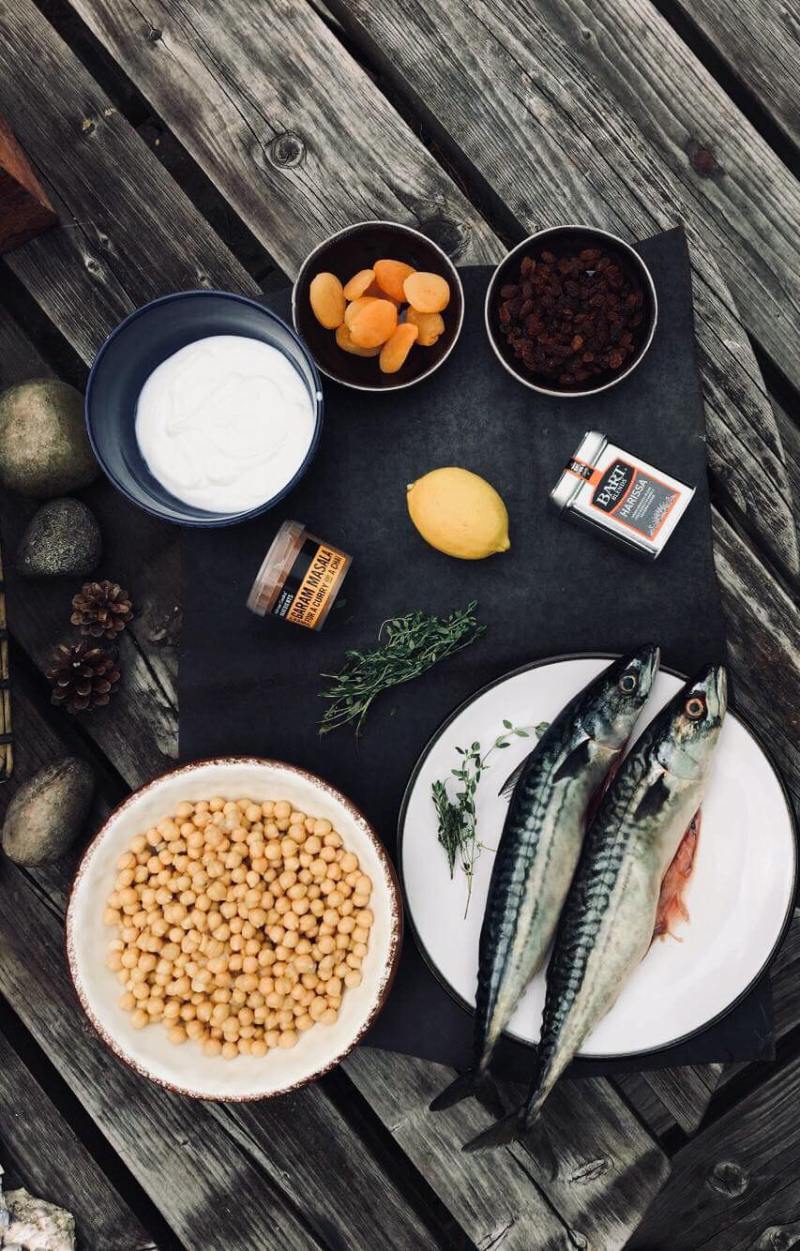
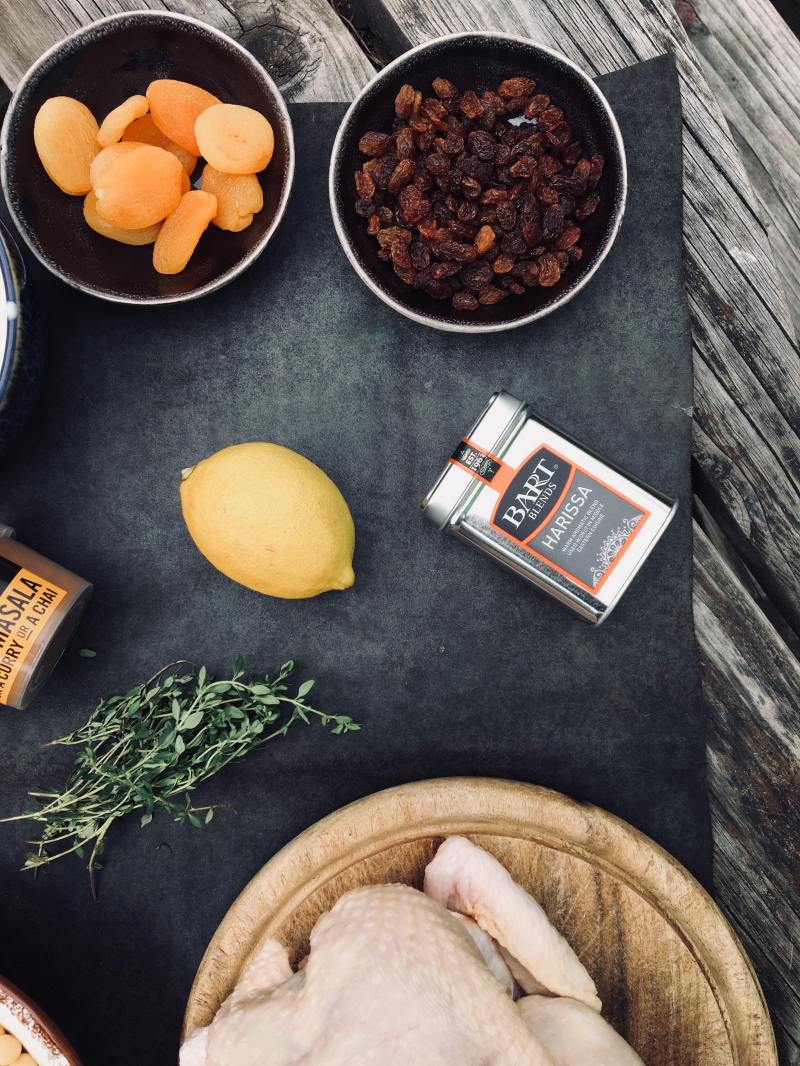

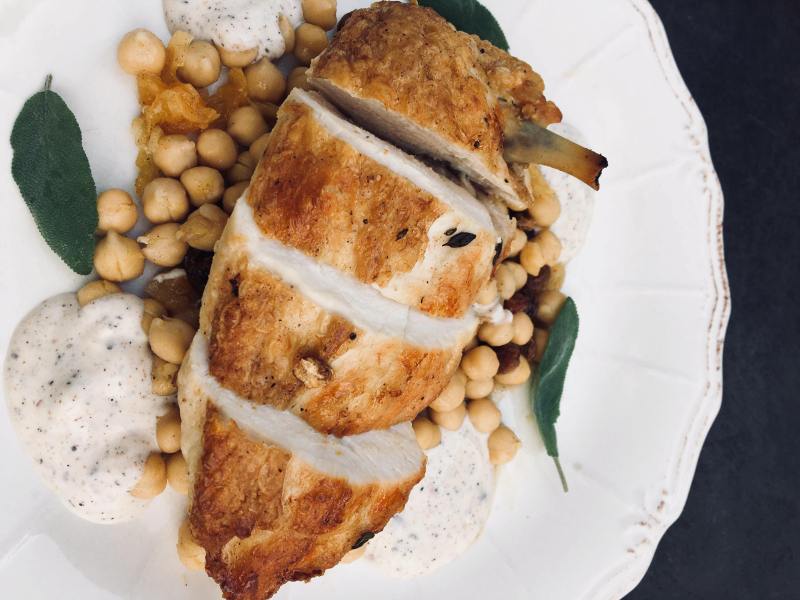

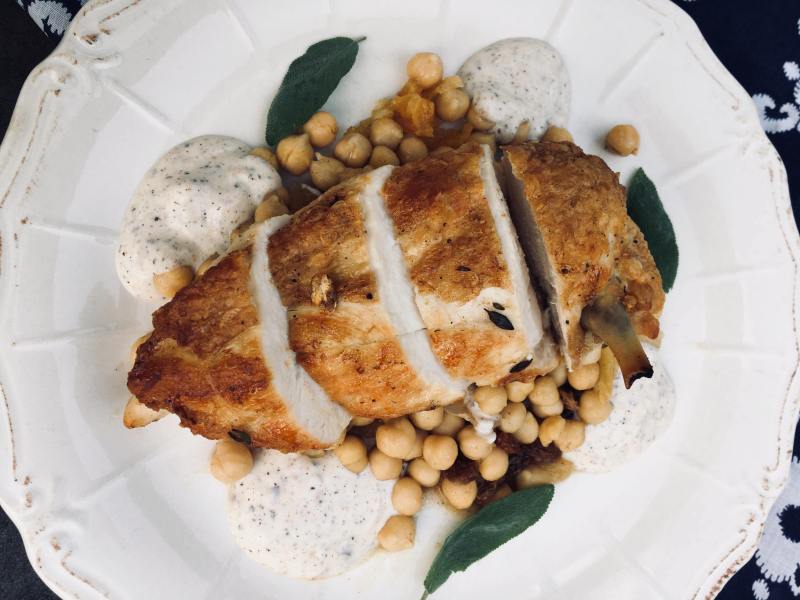


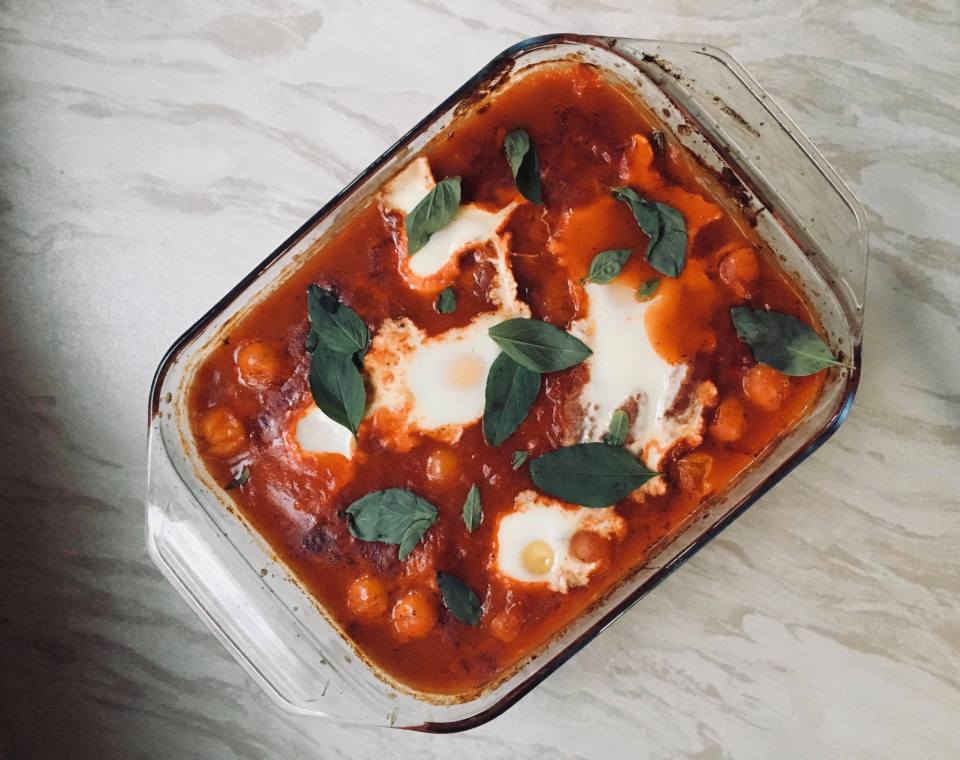
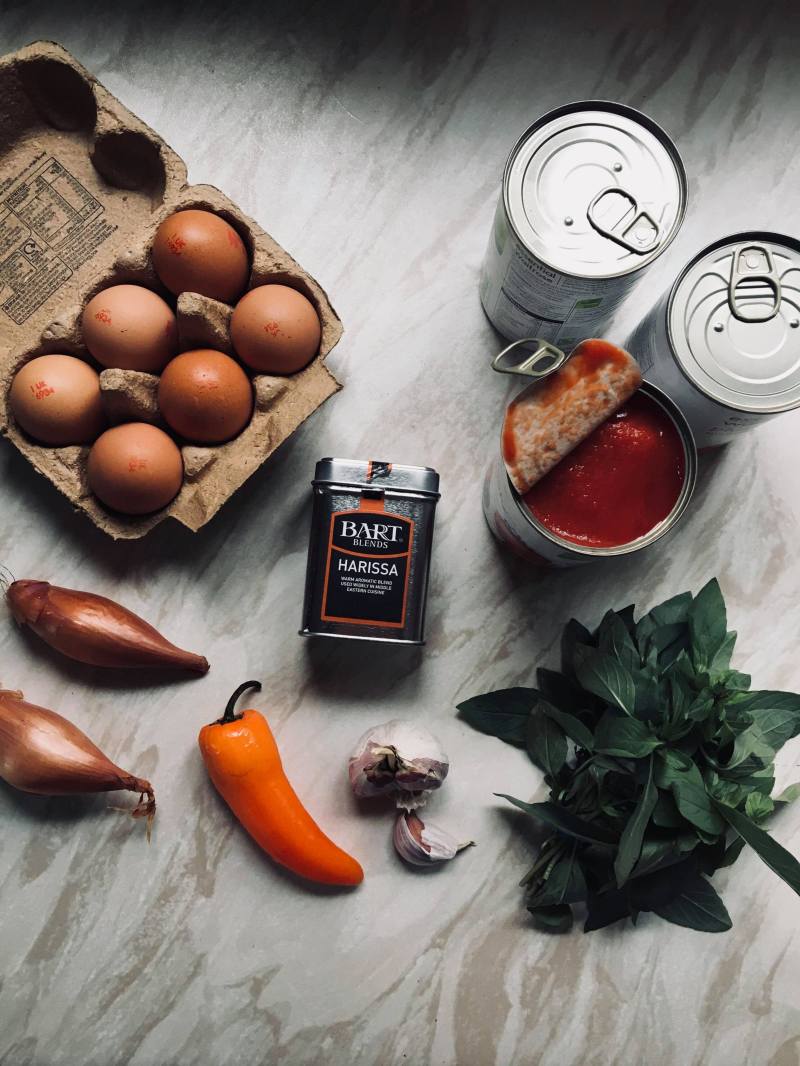
 Harissa Yoghurt
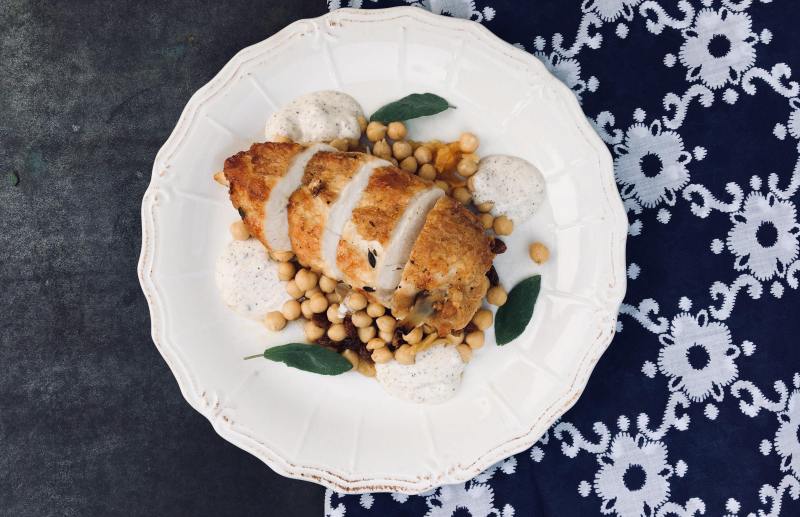
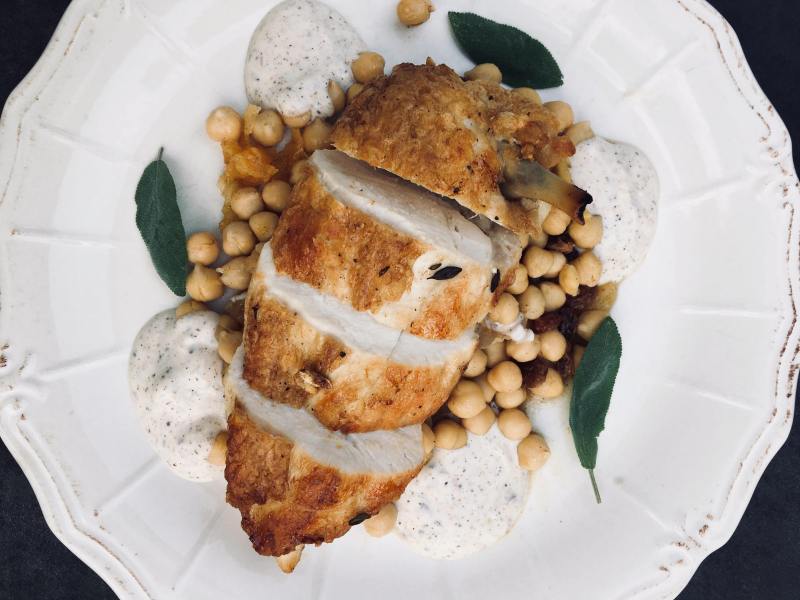
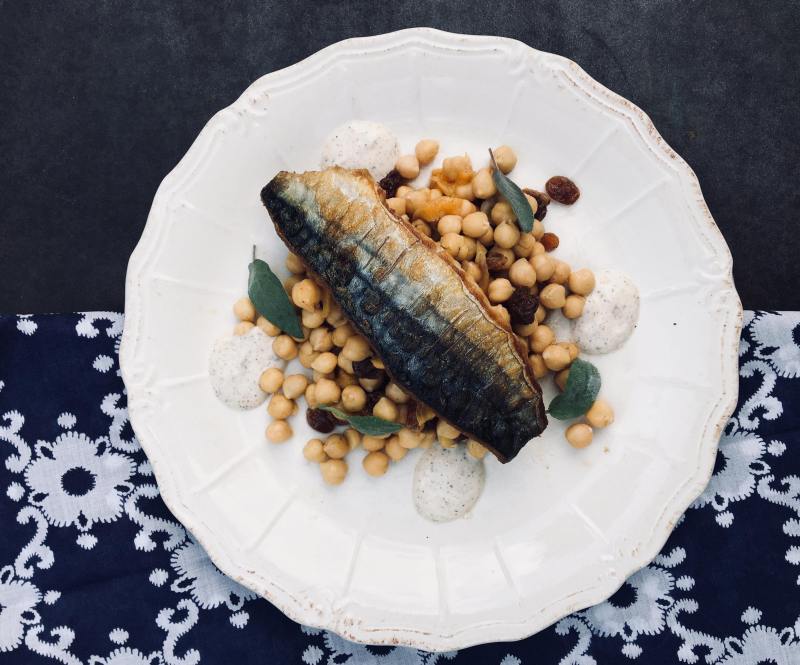
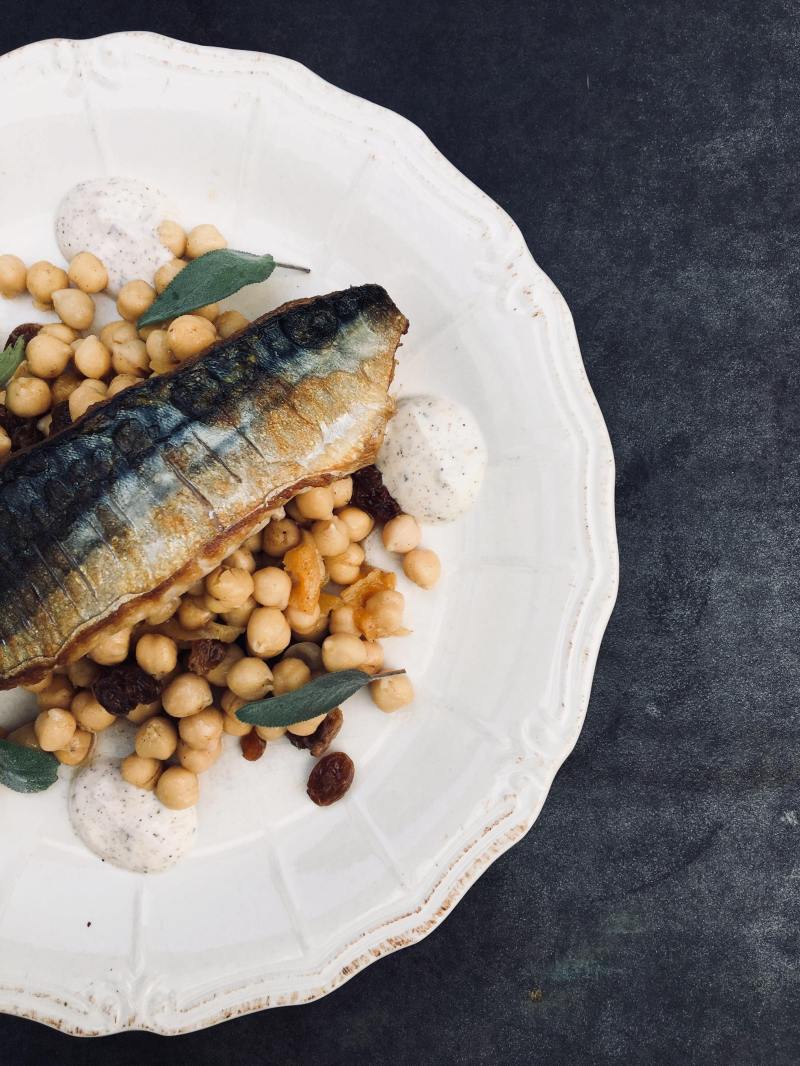
Chickpeas:
The salad:
Proteins:
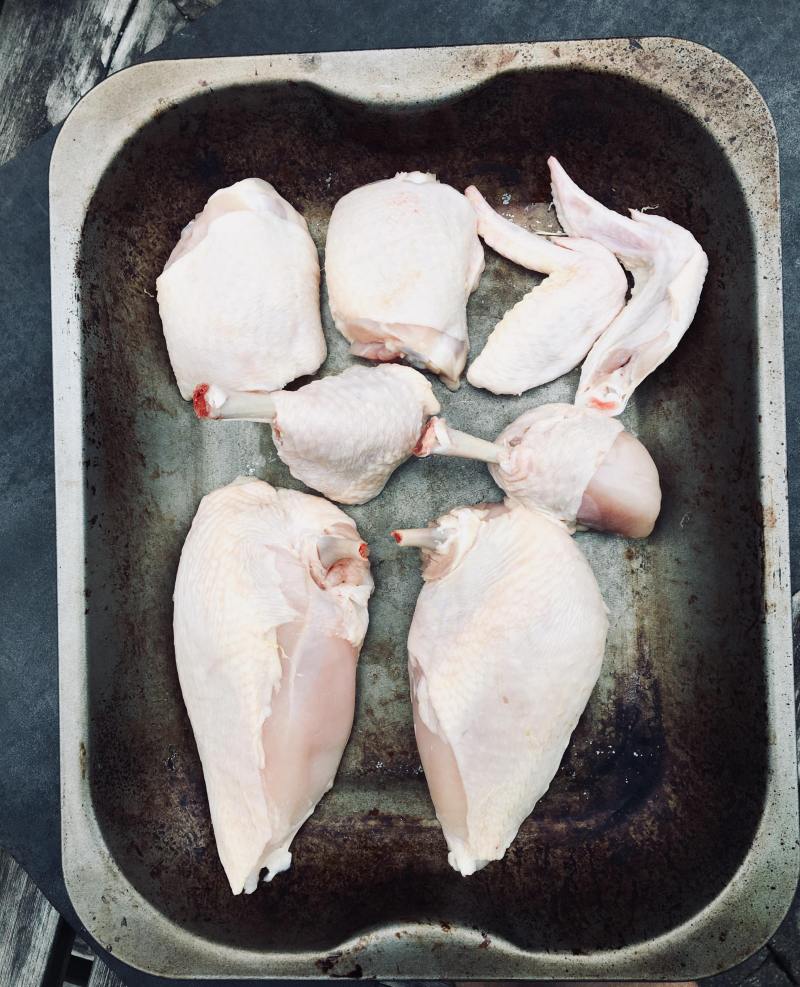
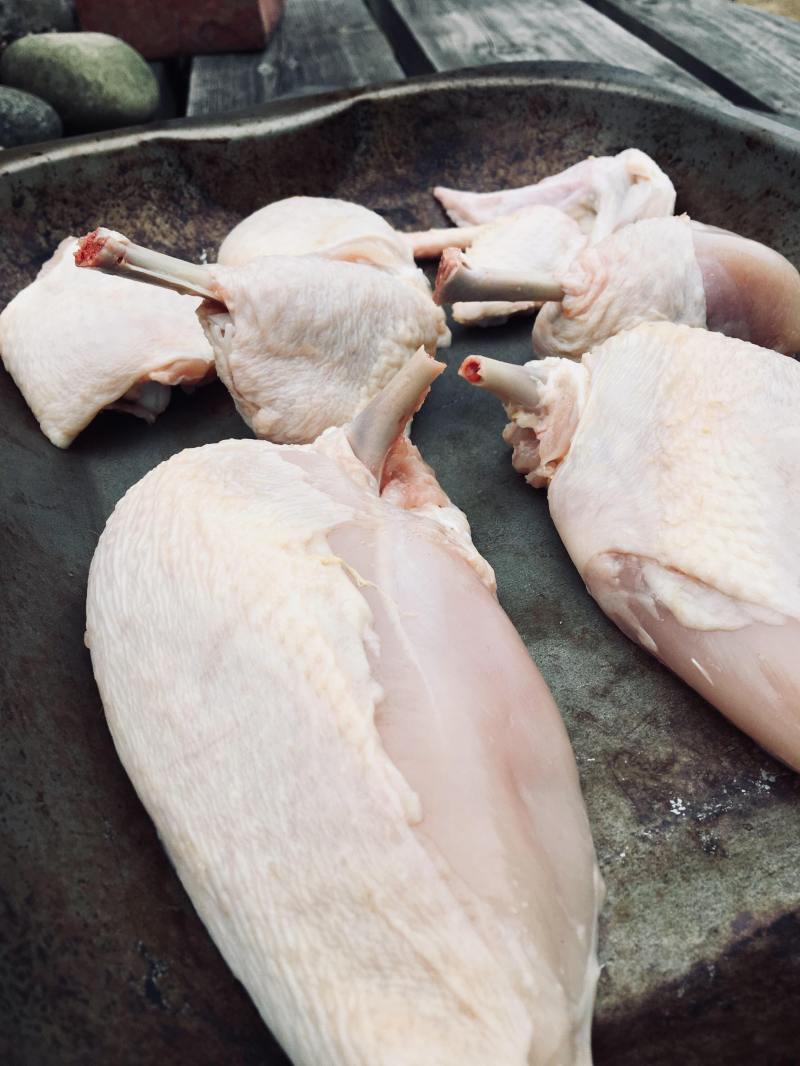
By purchasing a whole free range chicken you are able to complete the quality control checks, which consist of; dry skin to touch, no aroma and lastly the chicken skin should be firm and plump.
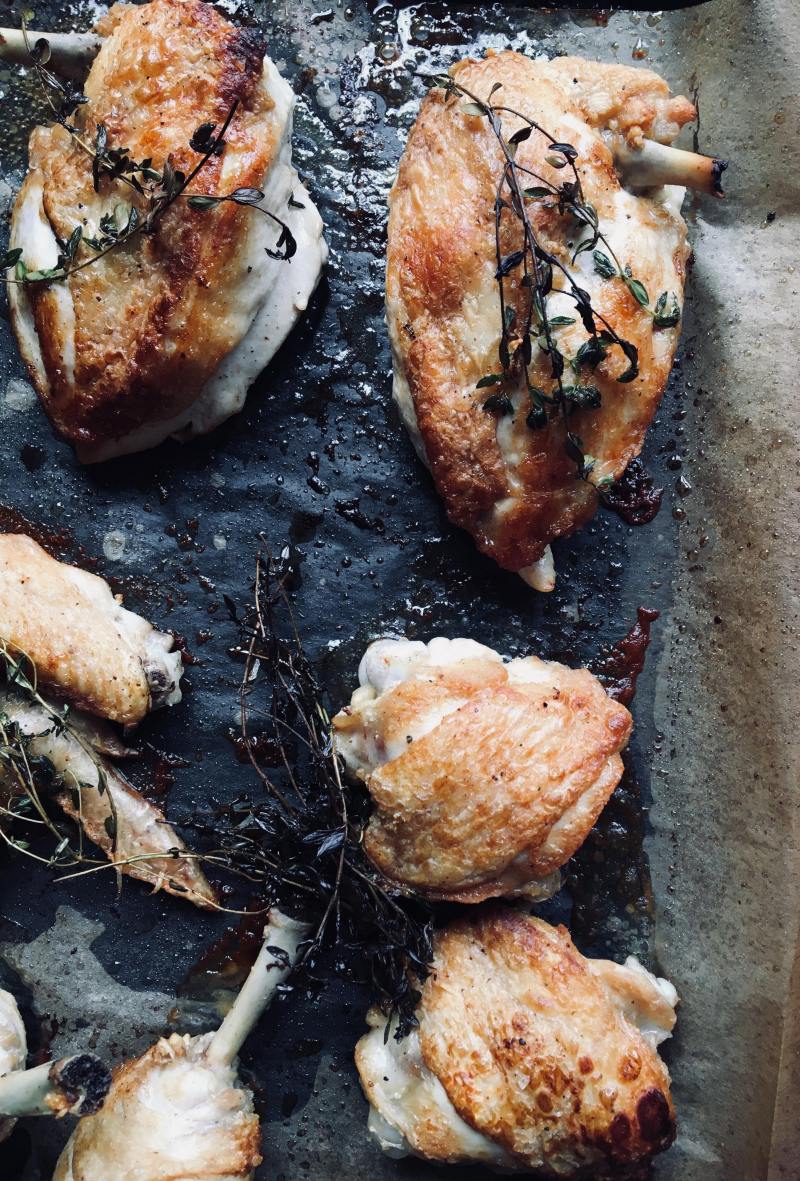
Prep and French trim a chicken breast, the term French trim means to expose the bone, offering a more appealing product once plated. (Find the step-by-step photos of me breaking down the free-range chicken for sauté as I didn’t want to waste the other cuts, classically this will consist of two breasts, two thighs, two legs, and two wings.)
How to cook the perfect chicken breast every time:
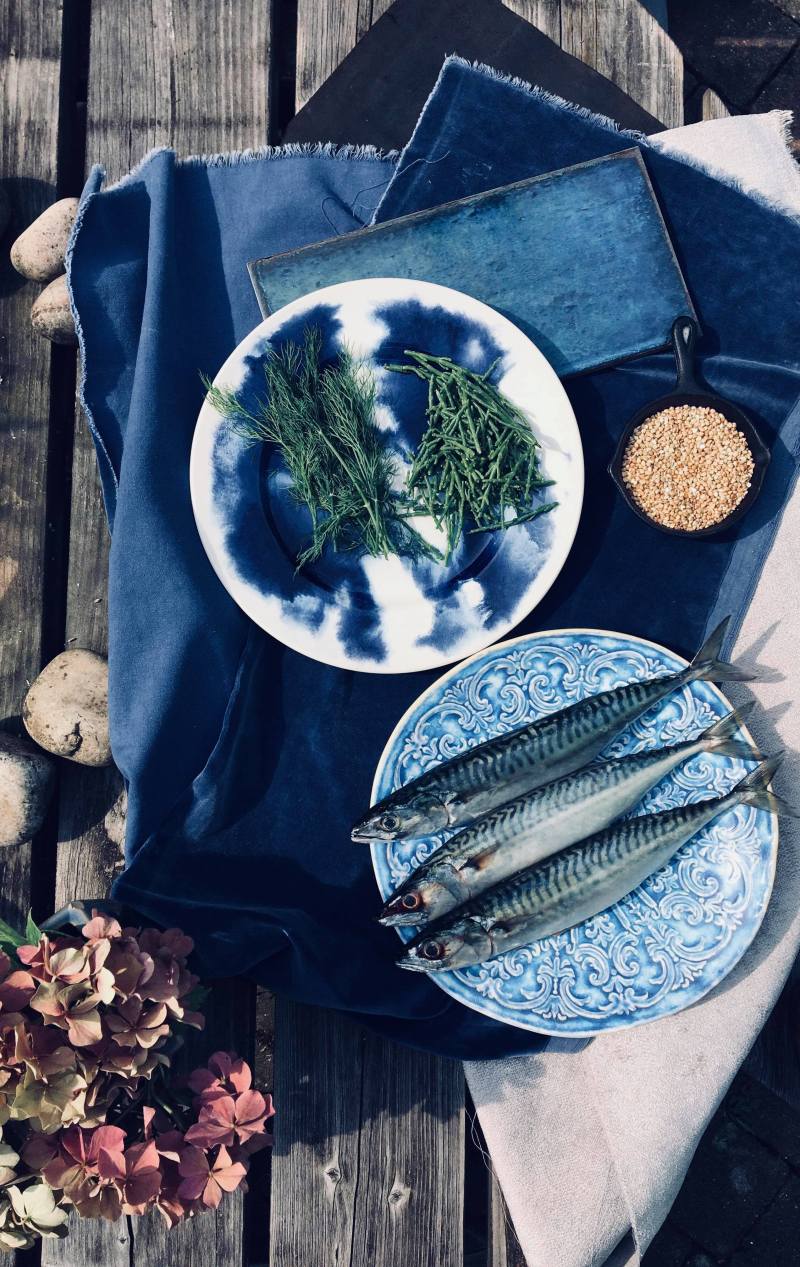
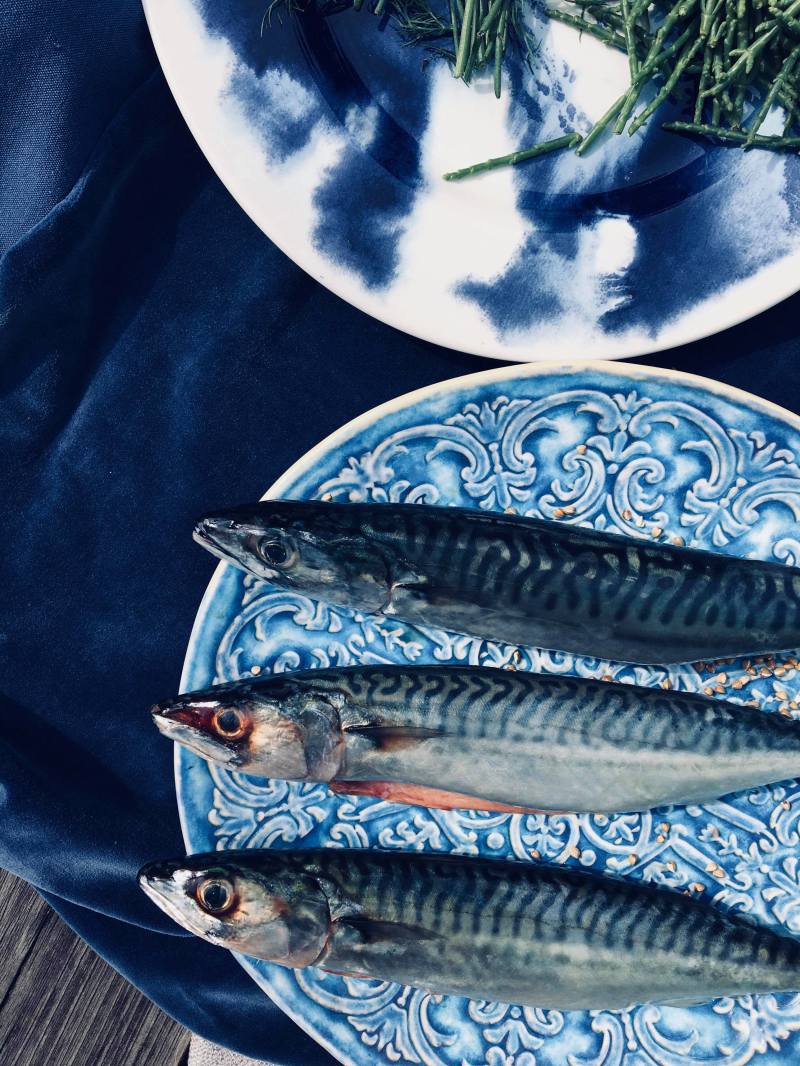
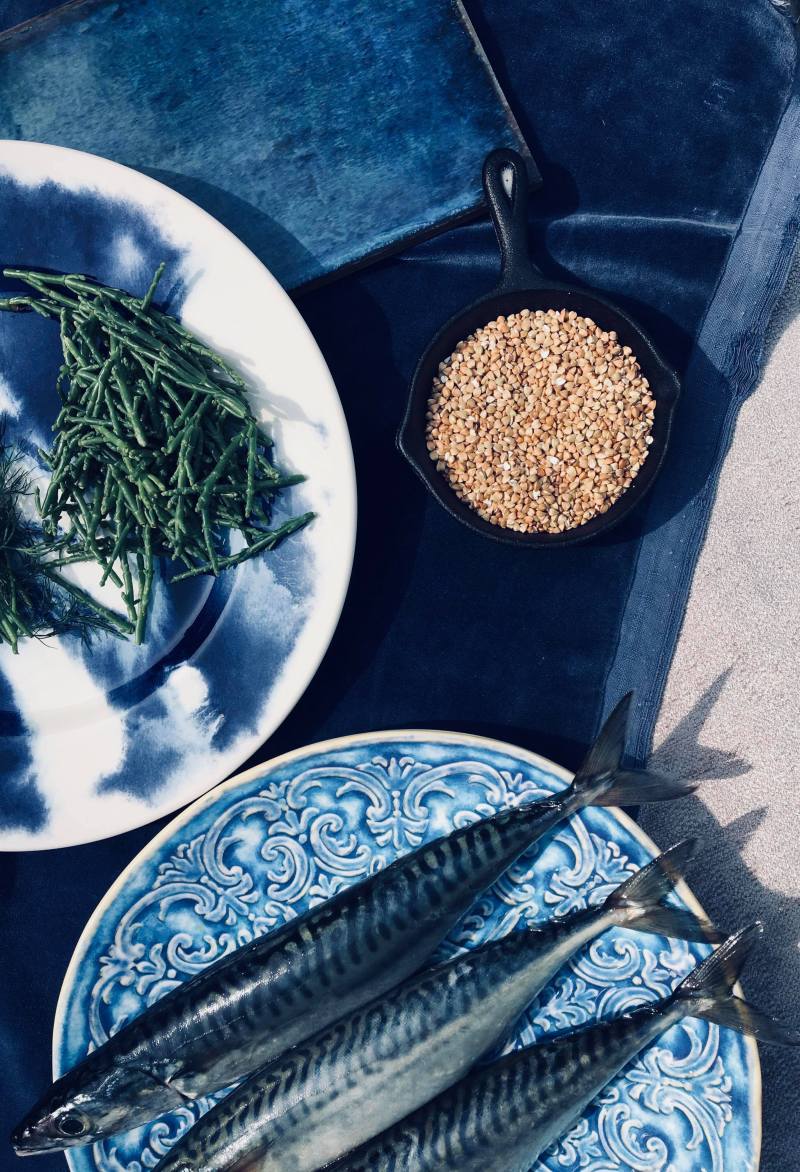
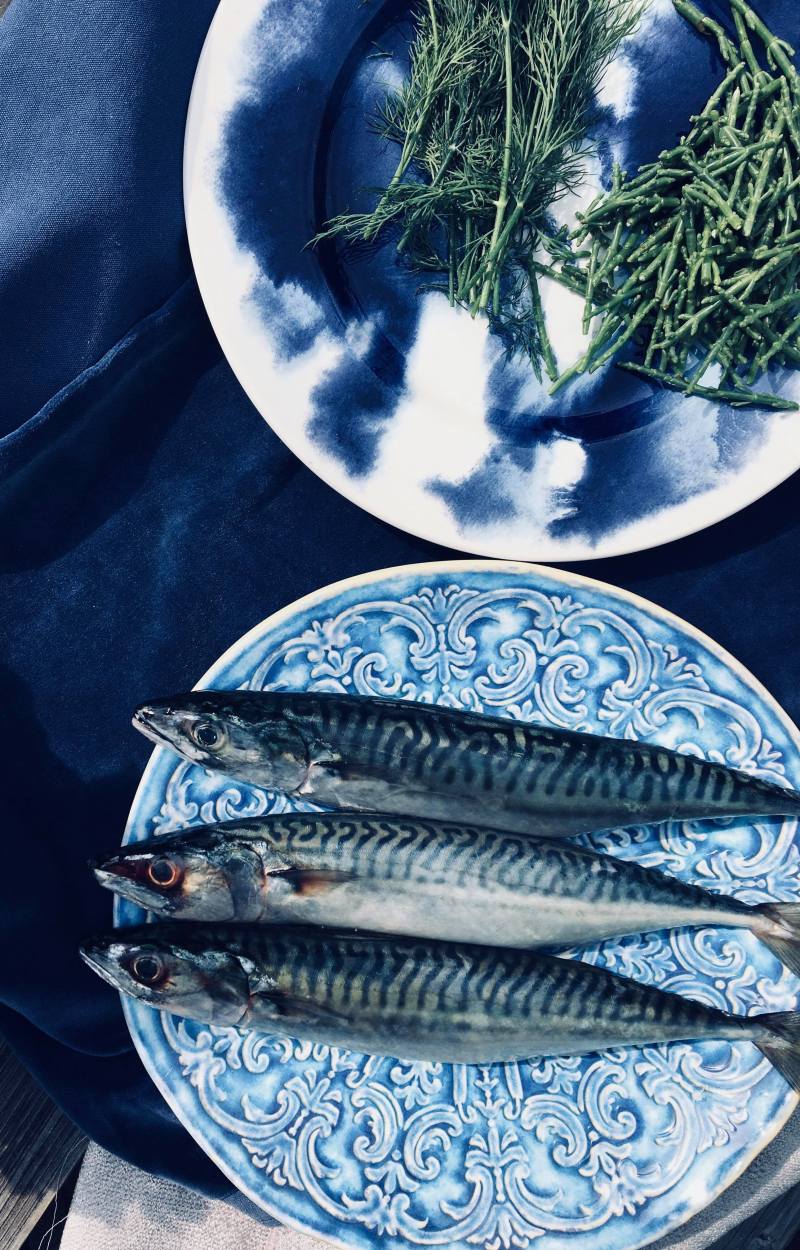
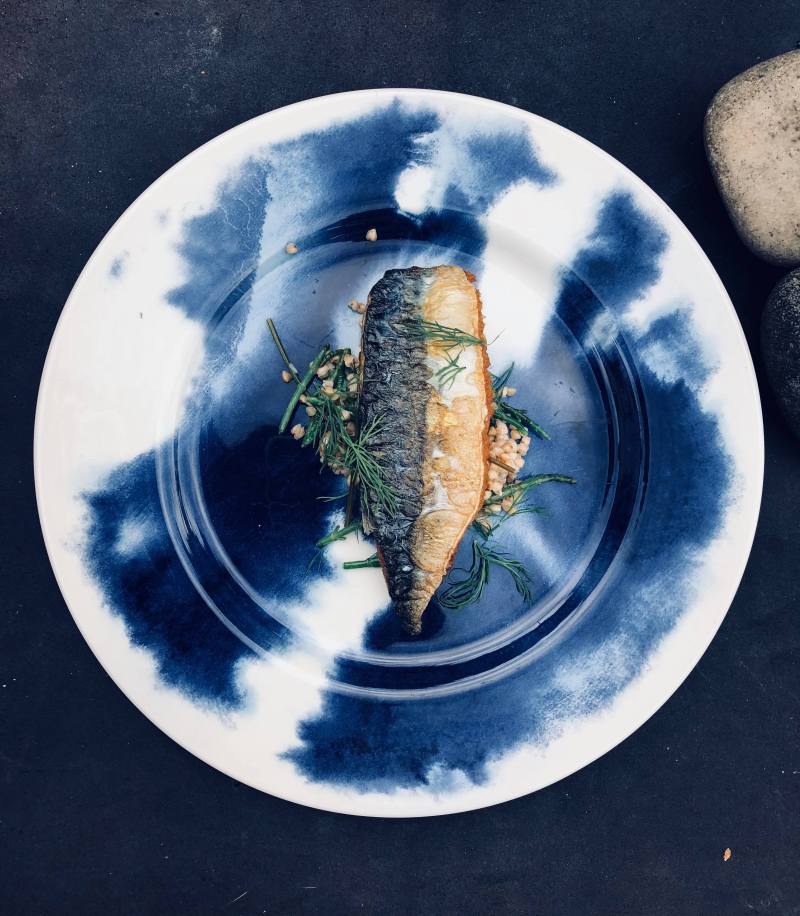
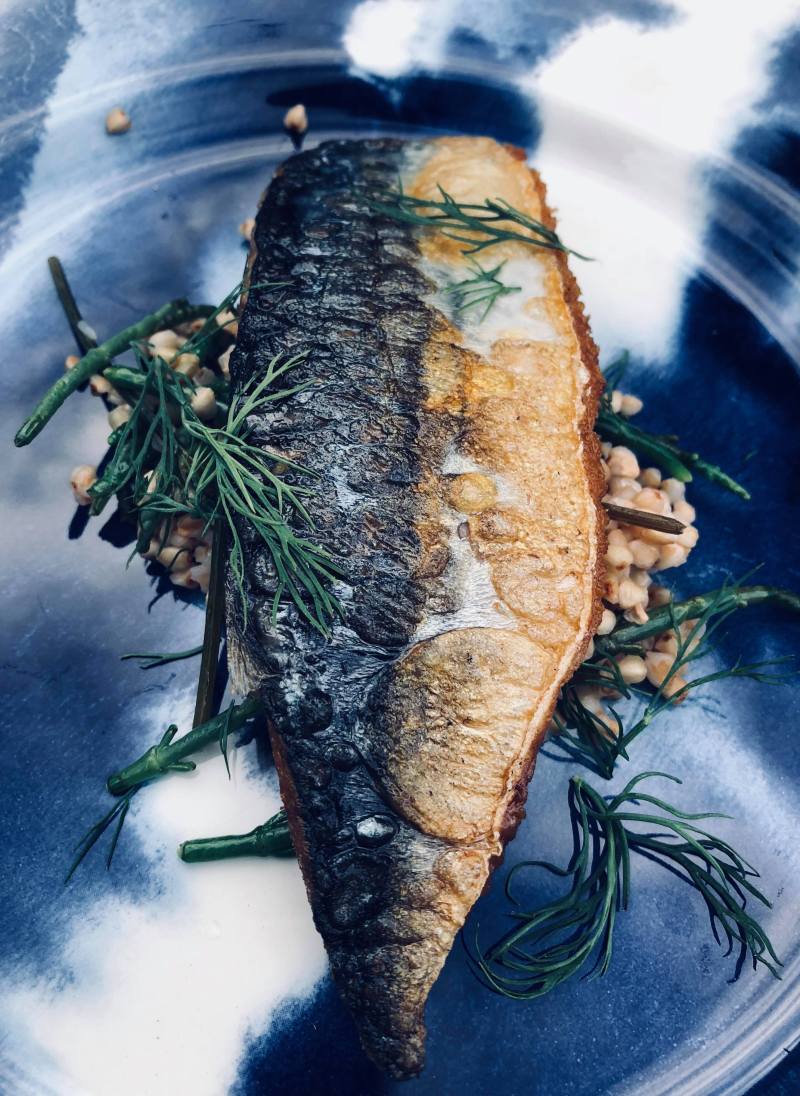
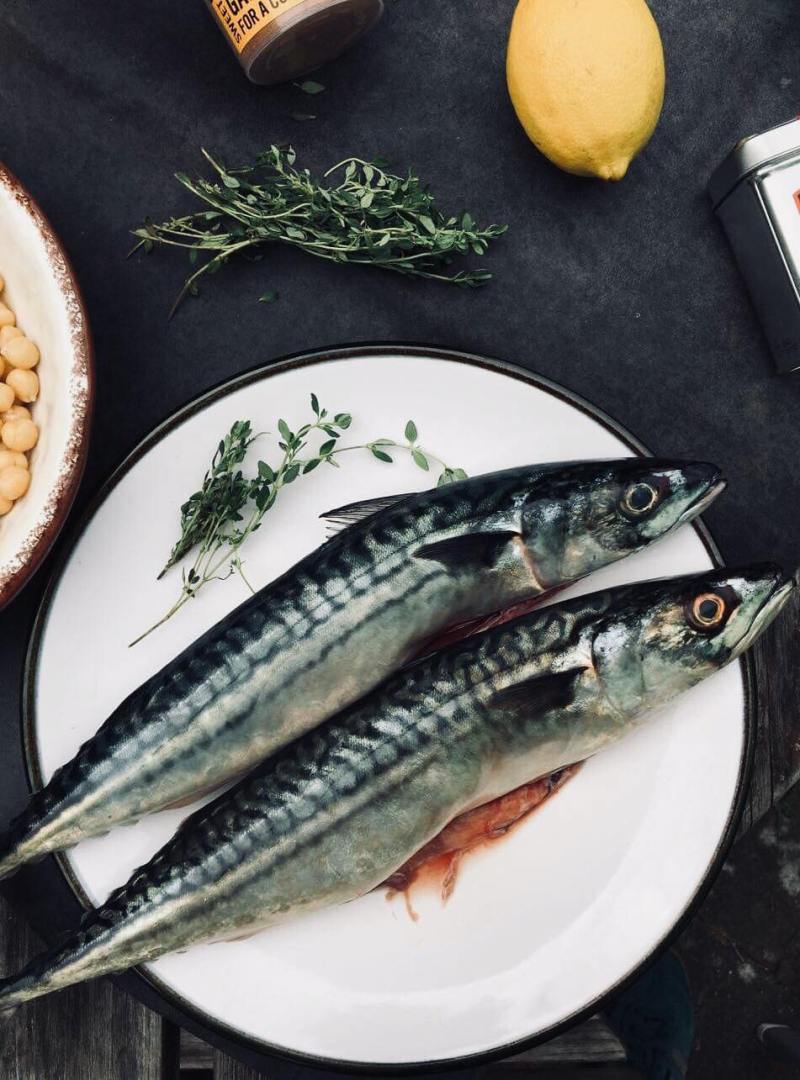
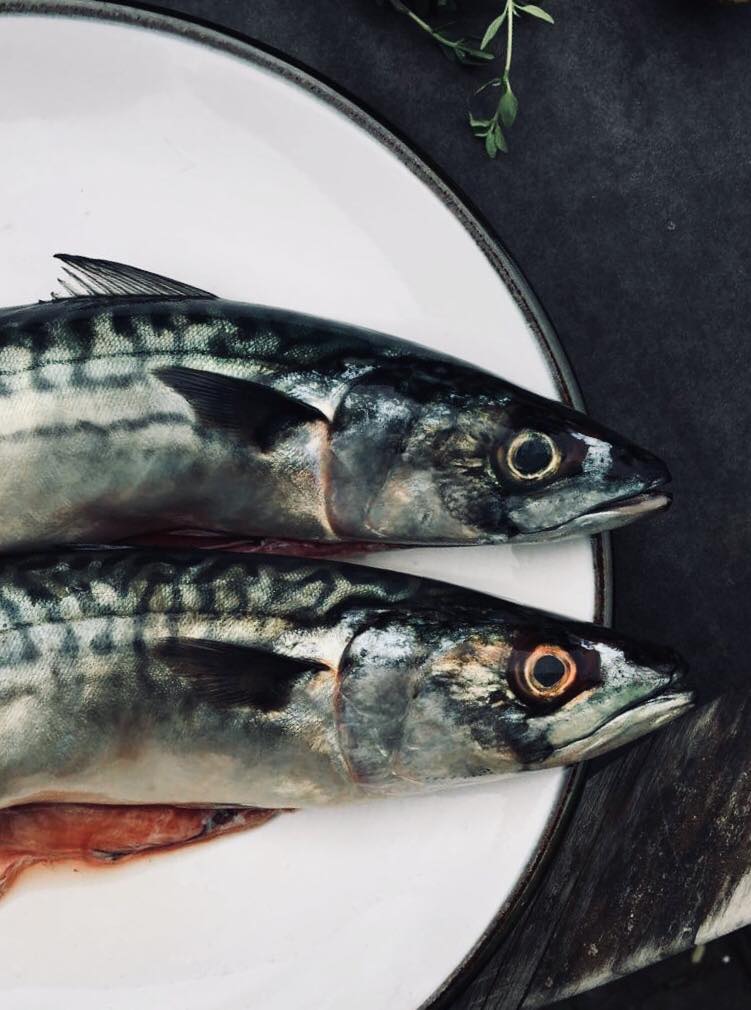
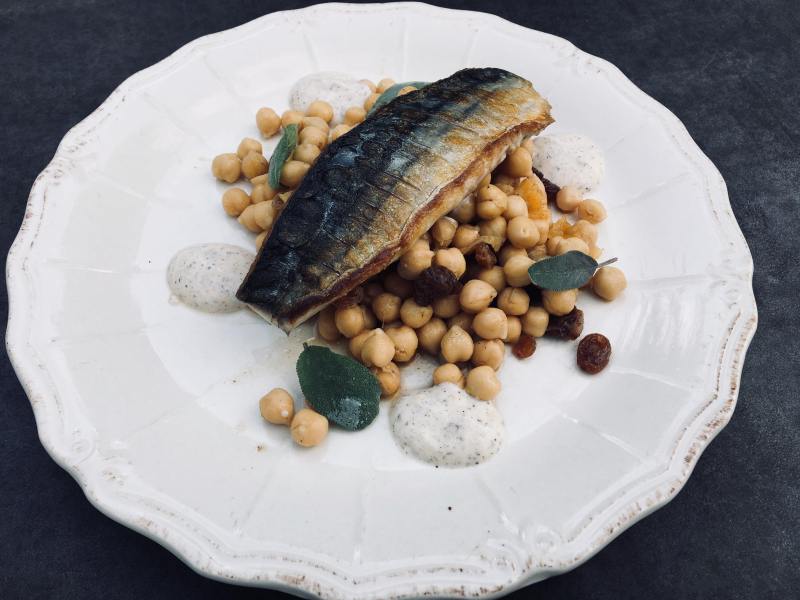
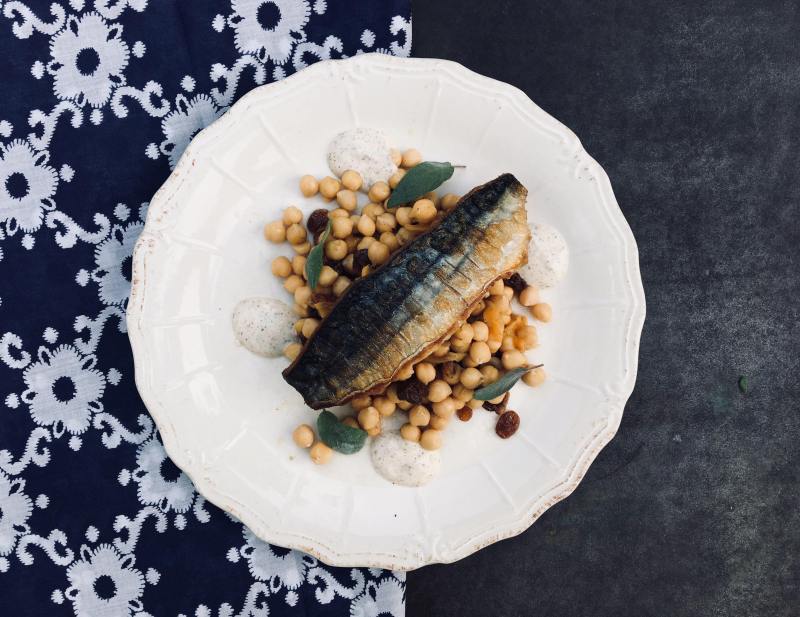
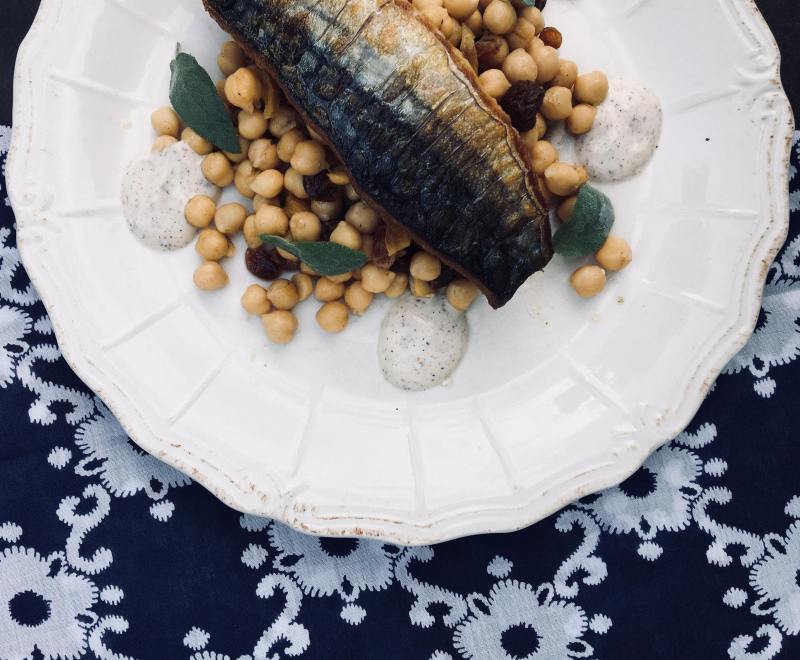
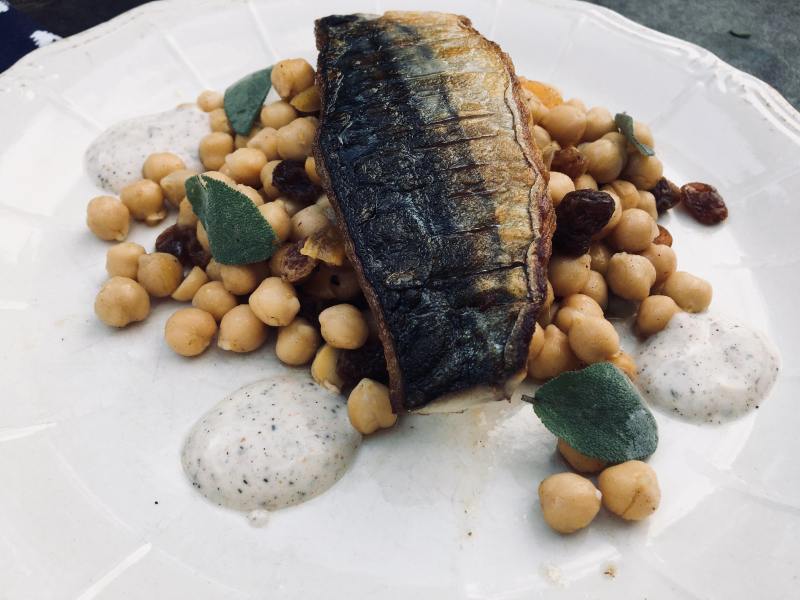
The alternative – Mackerel:
You will need… 2 whole mackerel that have been gutted and filleted if you are not comfortable about doing this ask your fishmonger to prepare these for you.
To plate:
Add your gently warmed chickpea salad to the centre of the plate then dot four spoonfuls of the yoghurt dressing around the plate and a little under the protein, carve your chicken on the angle to display the contrast between the crispy golden skin and the white flesh finish with some fresh sage leaves. To make this dish Pescatarian add the mackerel.
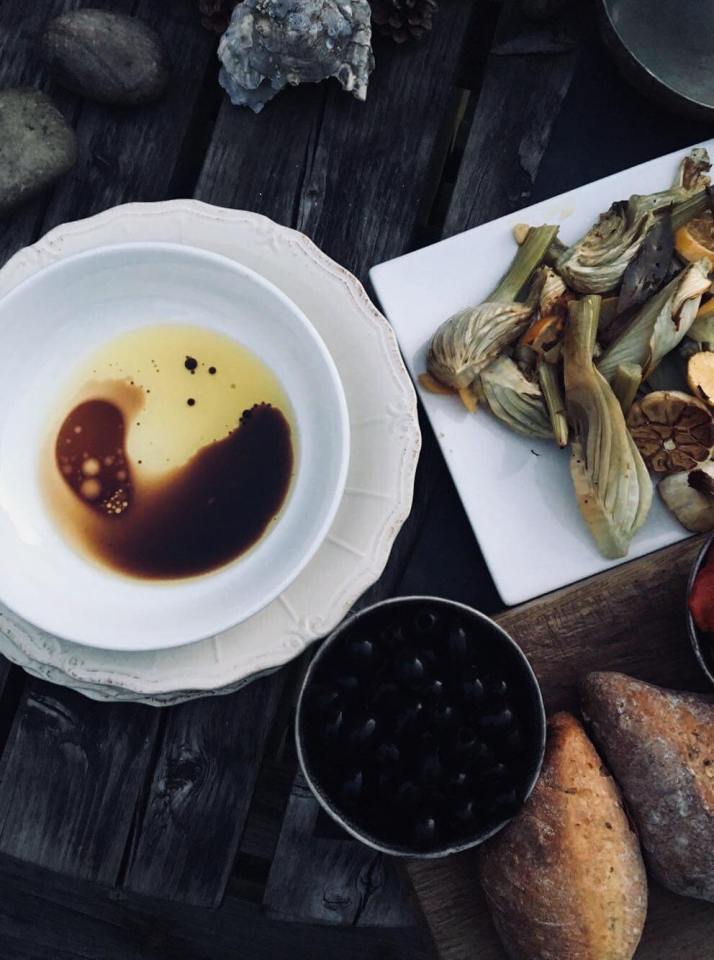

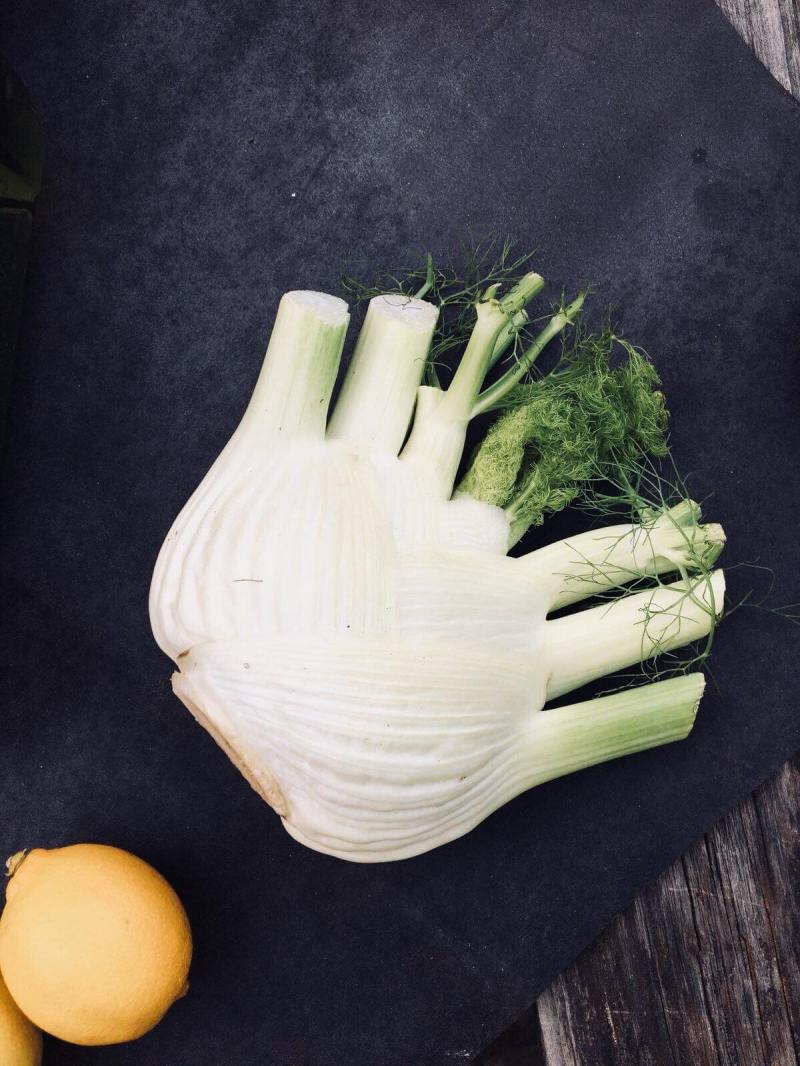

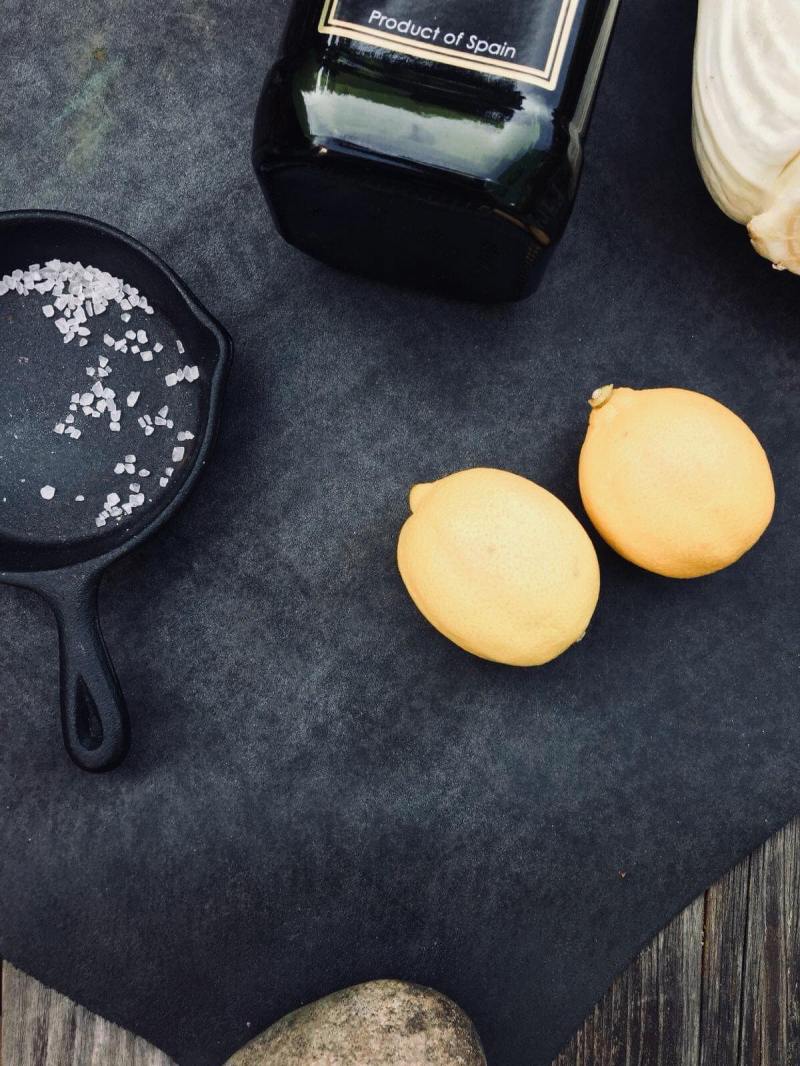
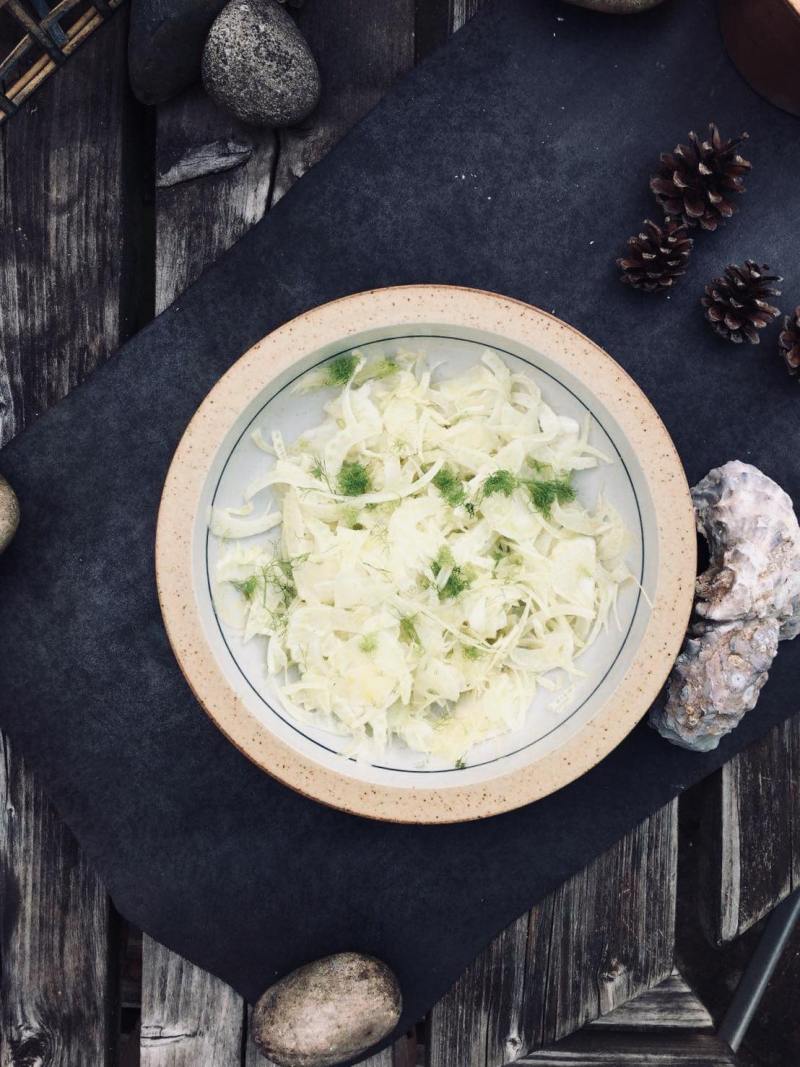
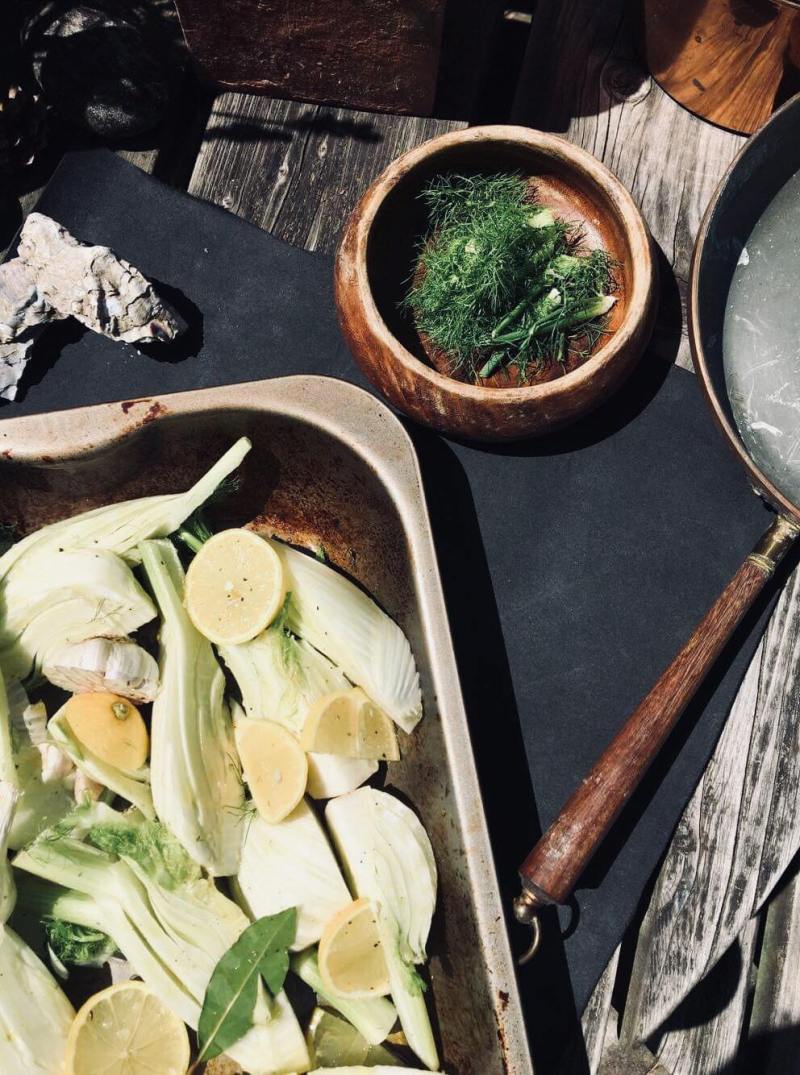
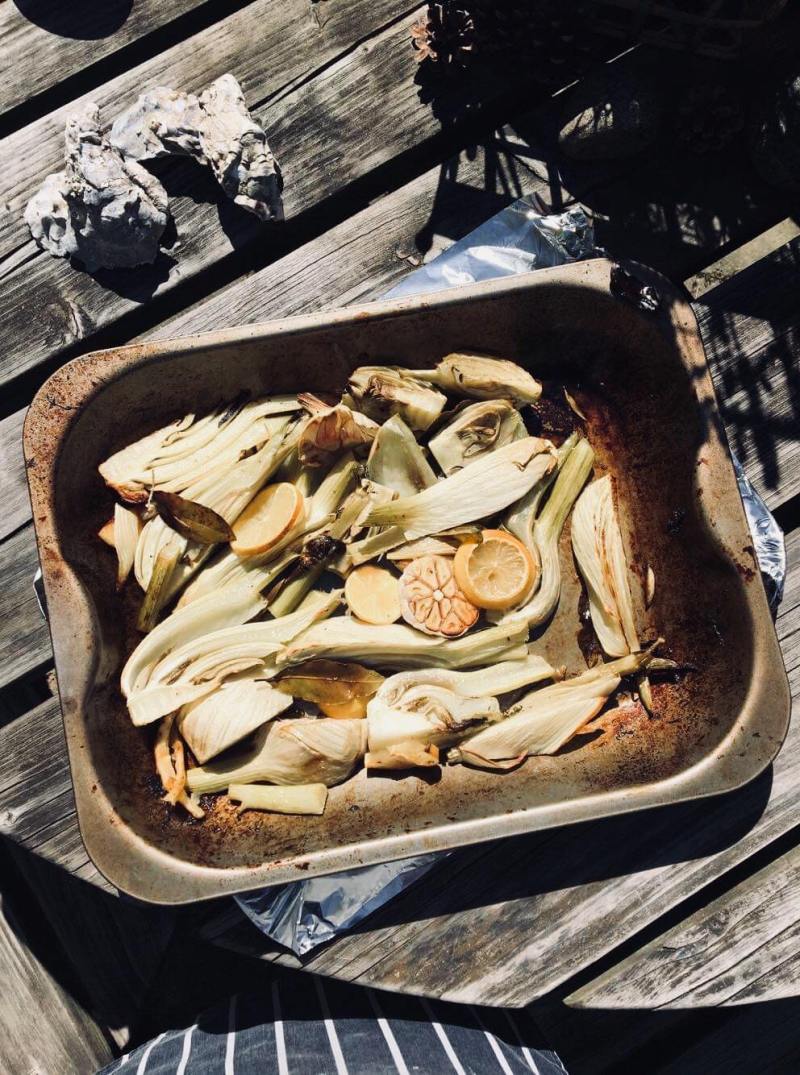
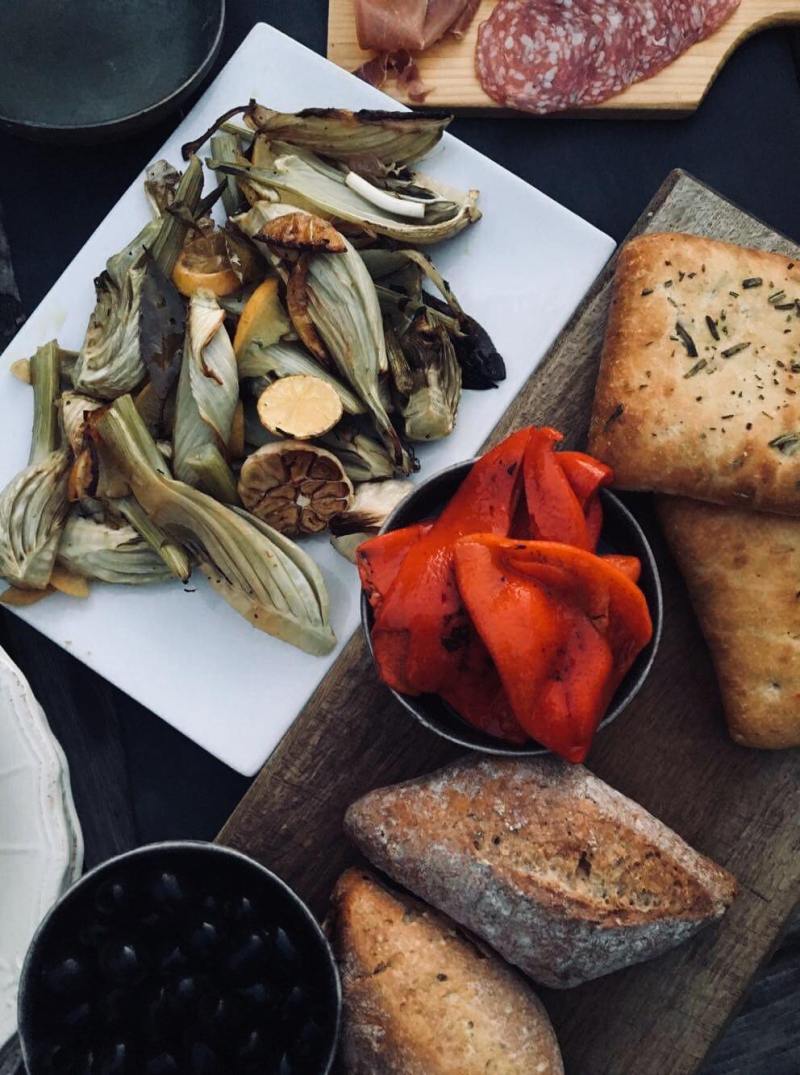
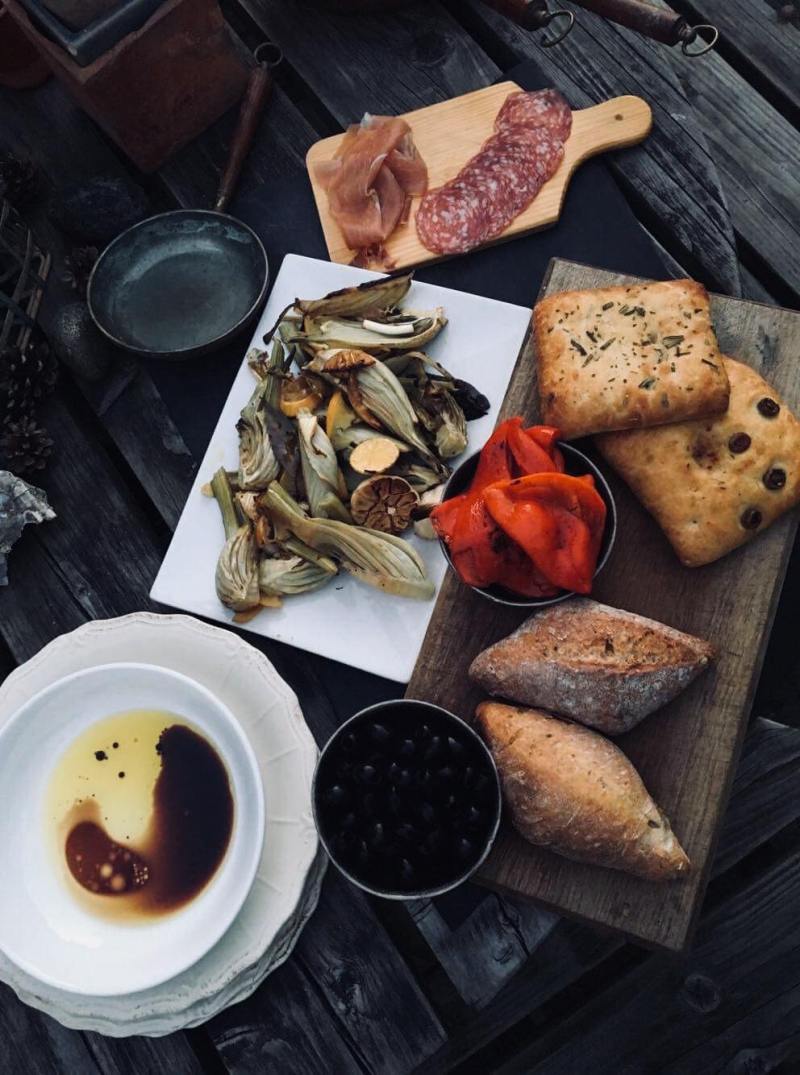
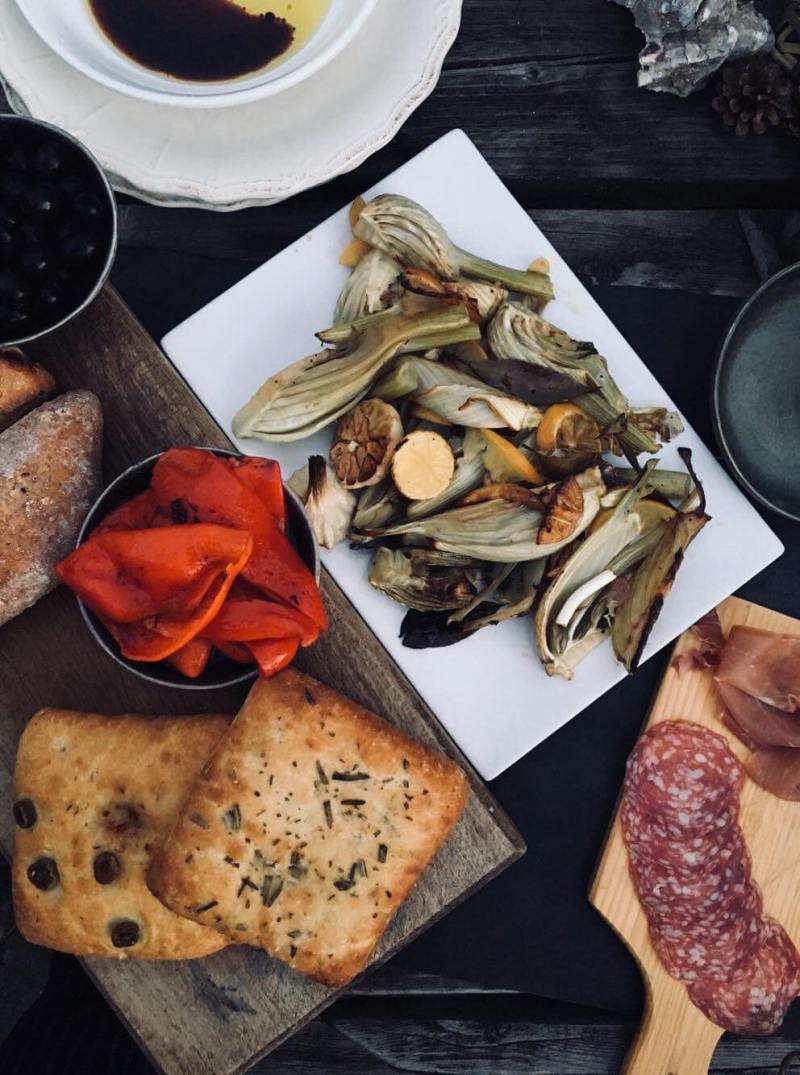


 Braised Fennel:
To accompany the dish:
A selection of cured meats
Warm artisan breads
Olive oil and balsamic vinegars
Cold artisan beer or a Malbec of your choice
