

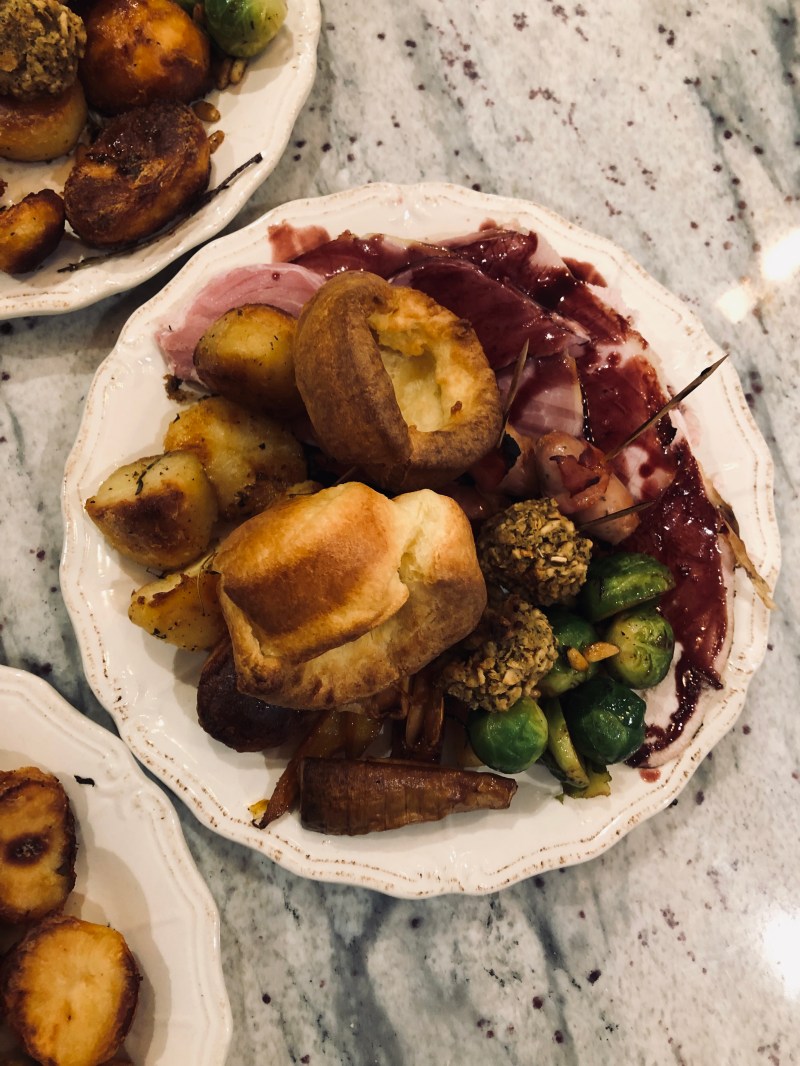

 Meats: Honey Roast Gammon with wholegrain mustard, Bay & Rosemary infused locally reared turkey, pigs in blankets
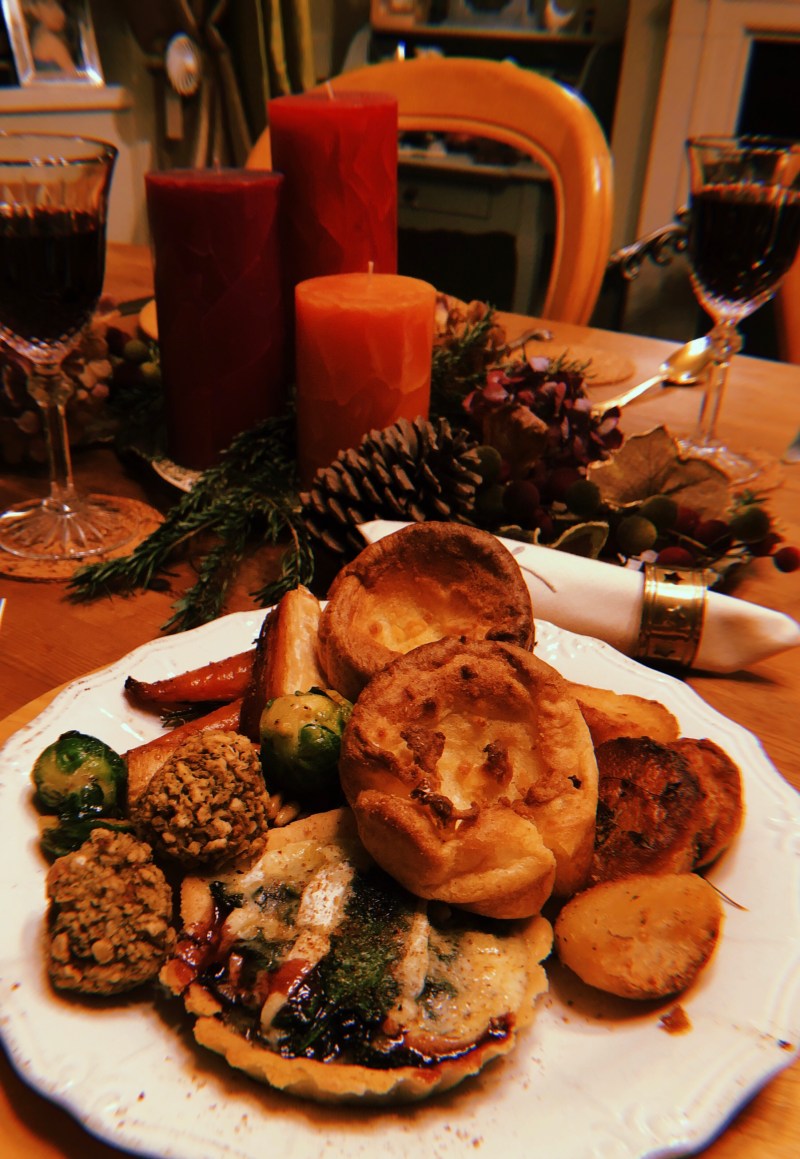
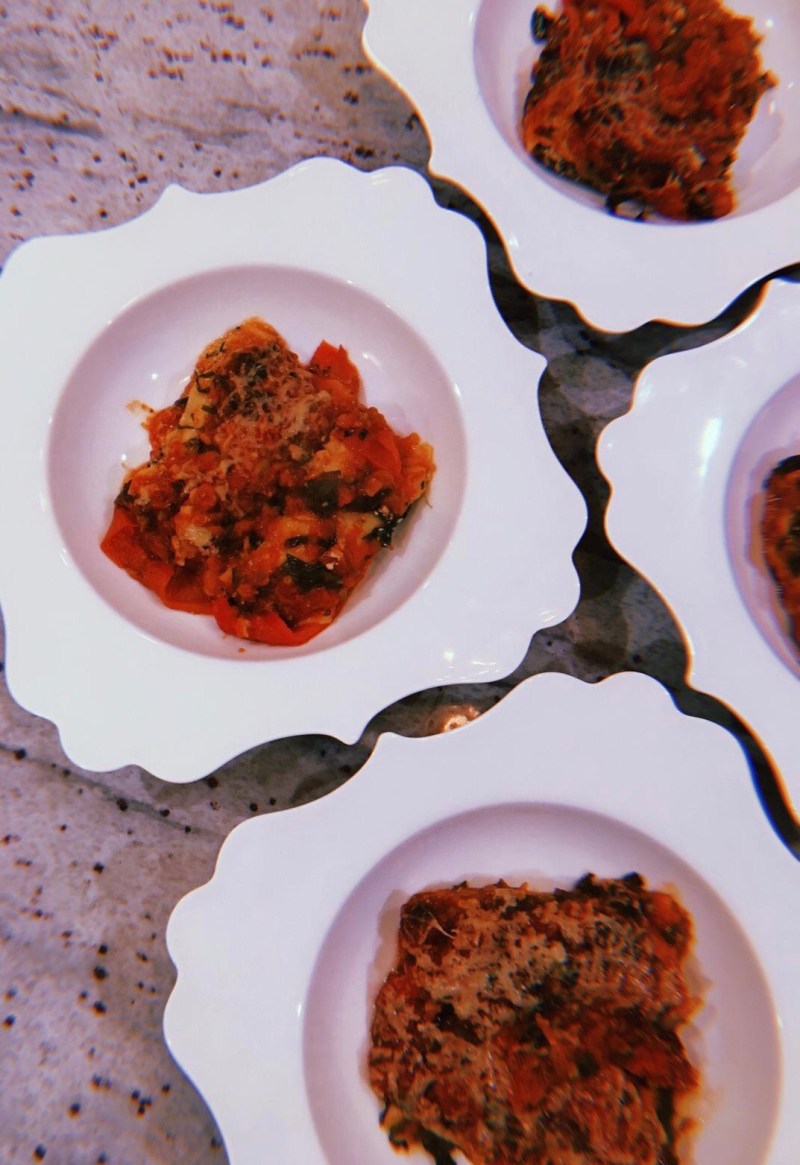
Vegetarian option: Tartlet of mushroom duxelles – chives & rosemary, GG cranberry sauce, nutmeg wilted spinach and black truffle infused brie – topped with freshly grated nutmeg
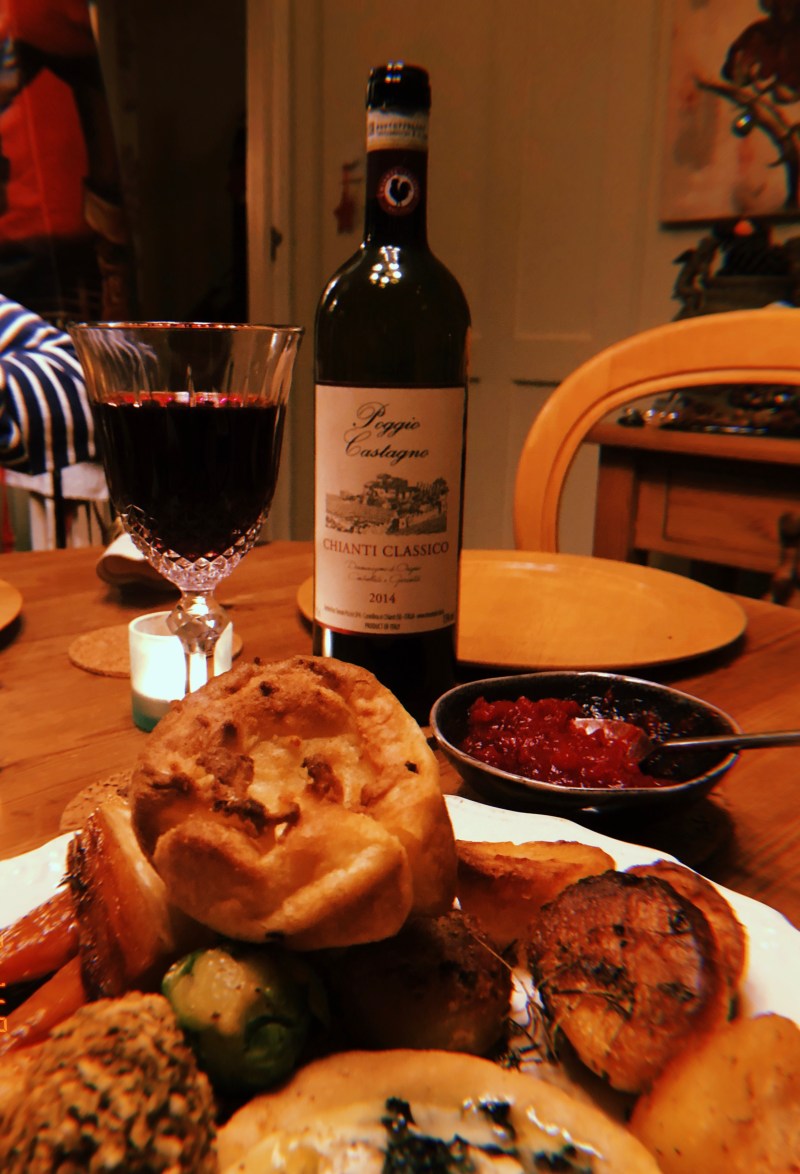
The trimmings: classic roast potatoes with garlic, thyme & rosemary, honey glazed and roasted carrots and parsnips, sautéed brussel sprouts with toasted pine nuts, herb stuffing balls, GG classic Yorkshire puddings
Condiments: pomegranate molasses & Chianti jus, the GG cranberry, Devonshire Bramley apple & port sauce, red onion & chilli chutney


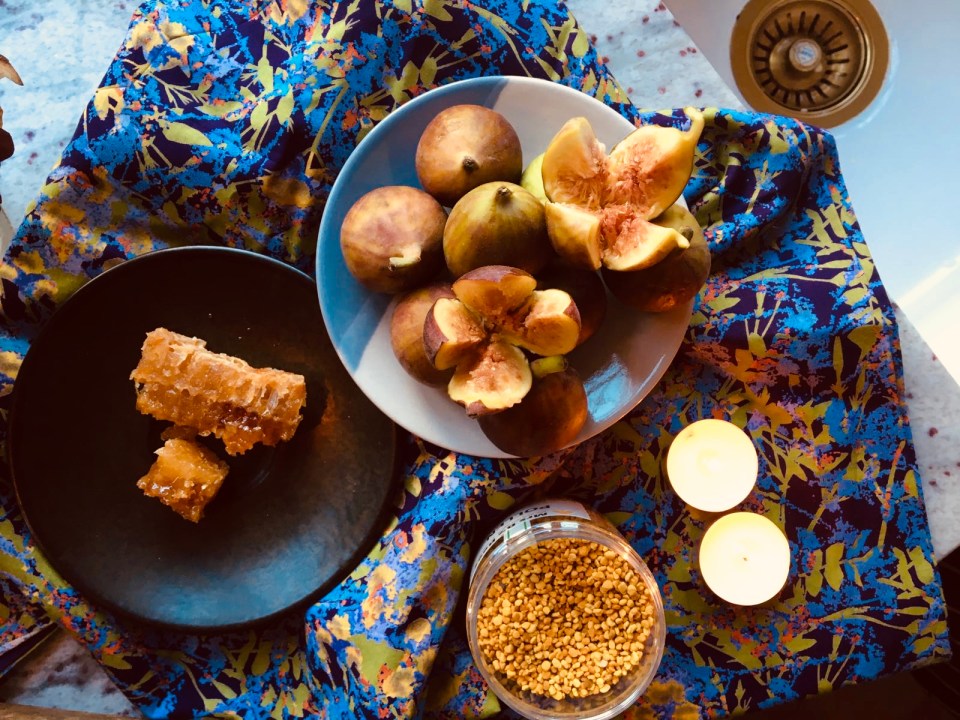
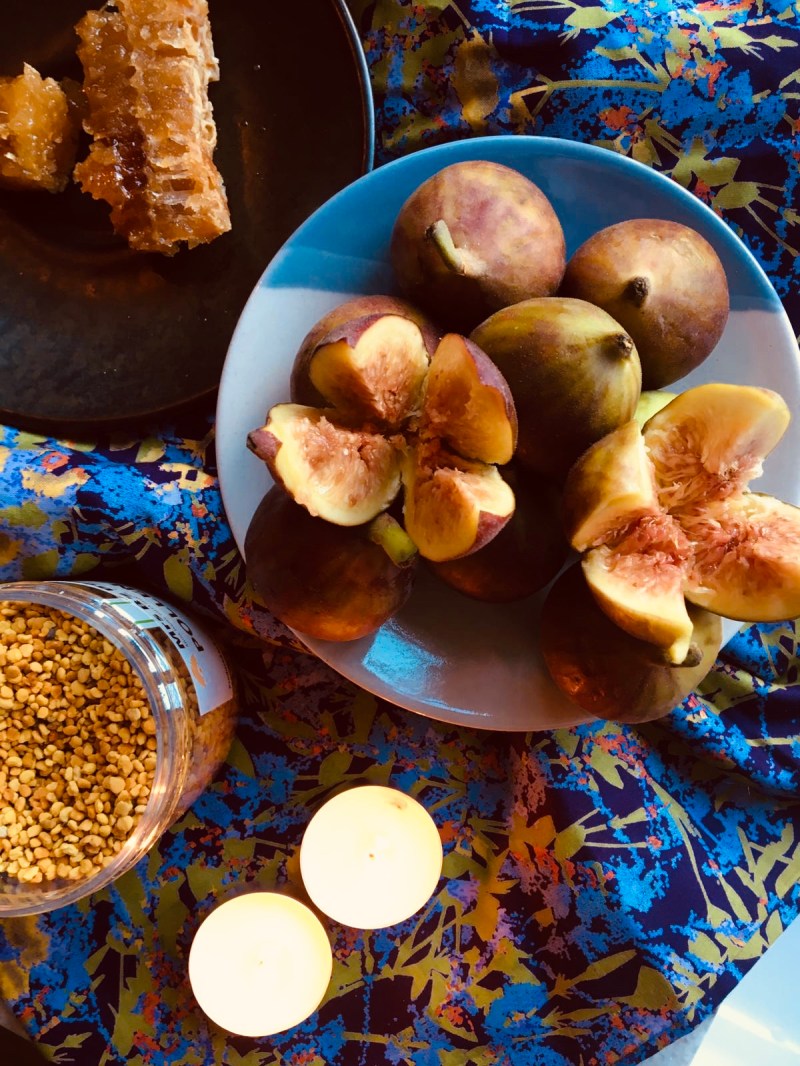


 Sweet Paste:


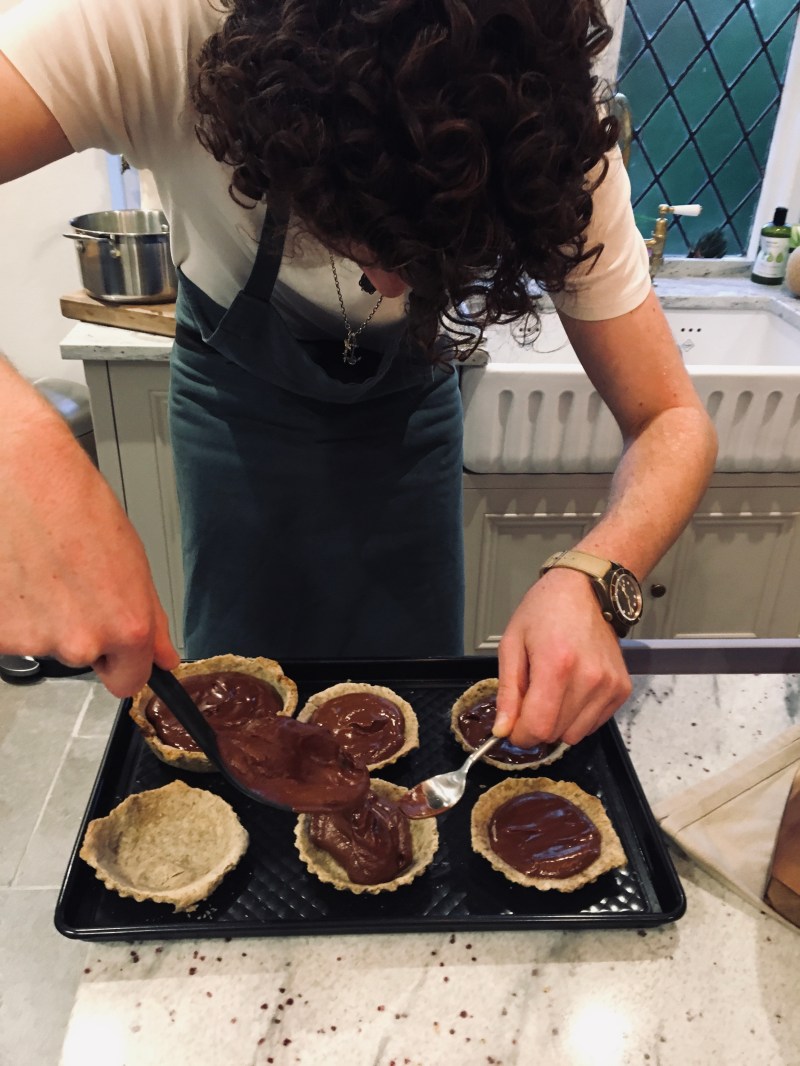


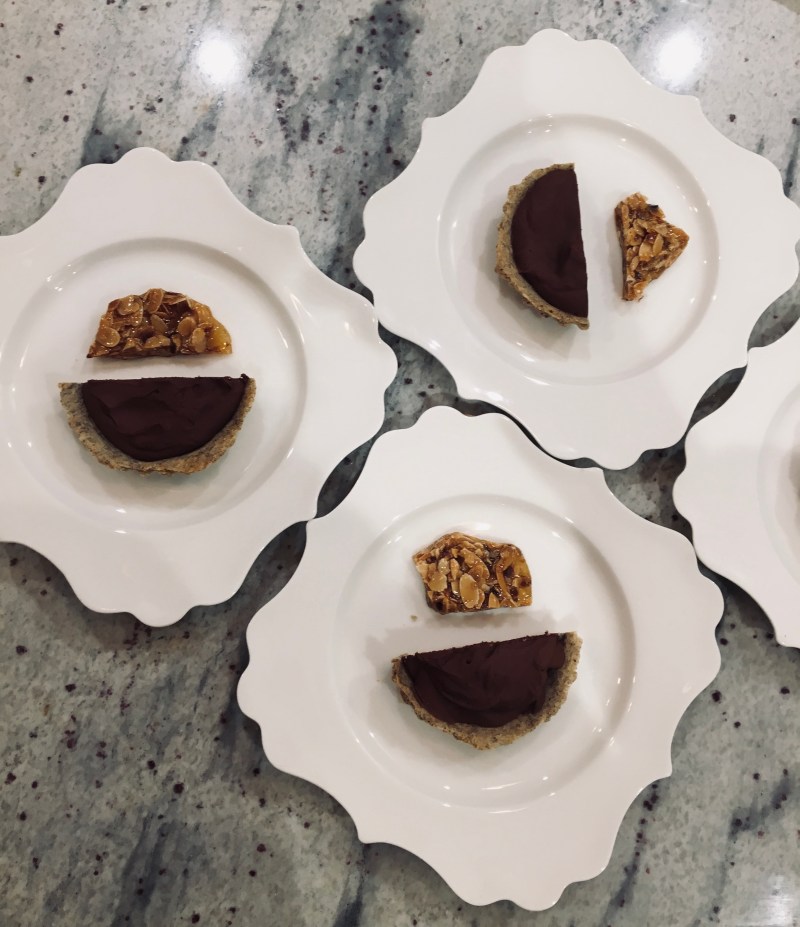
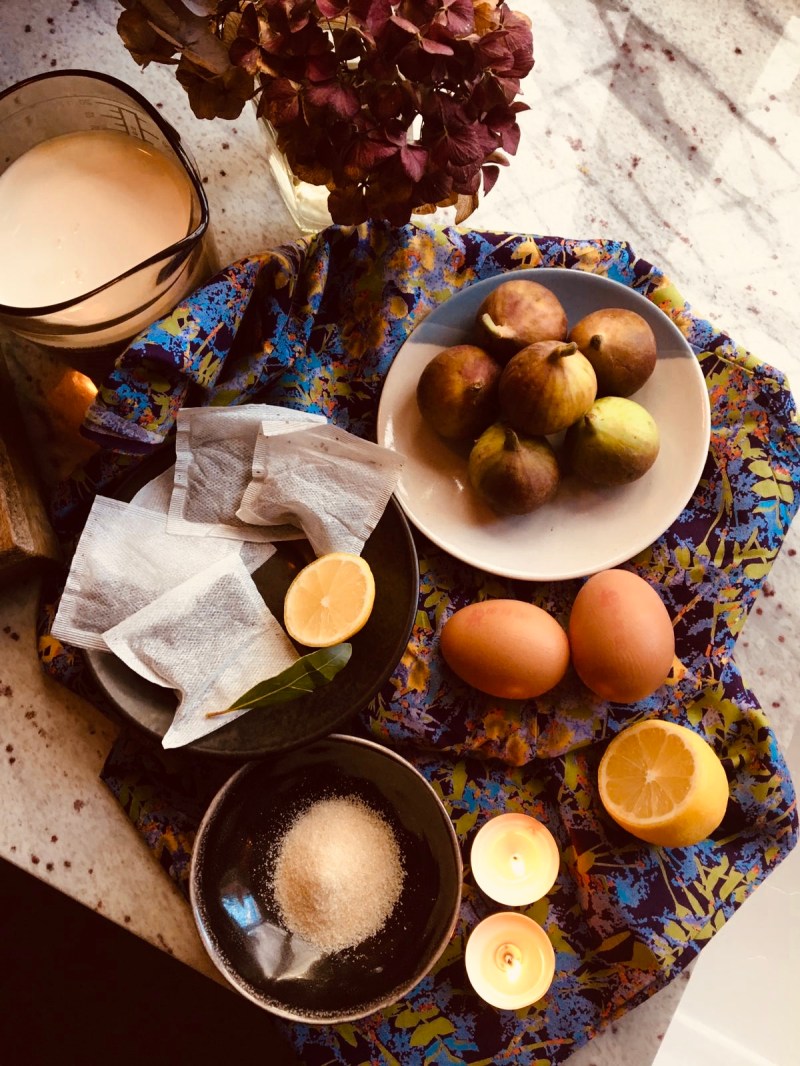
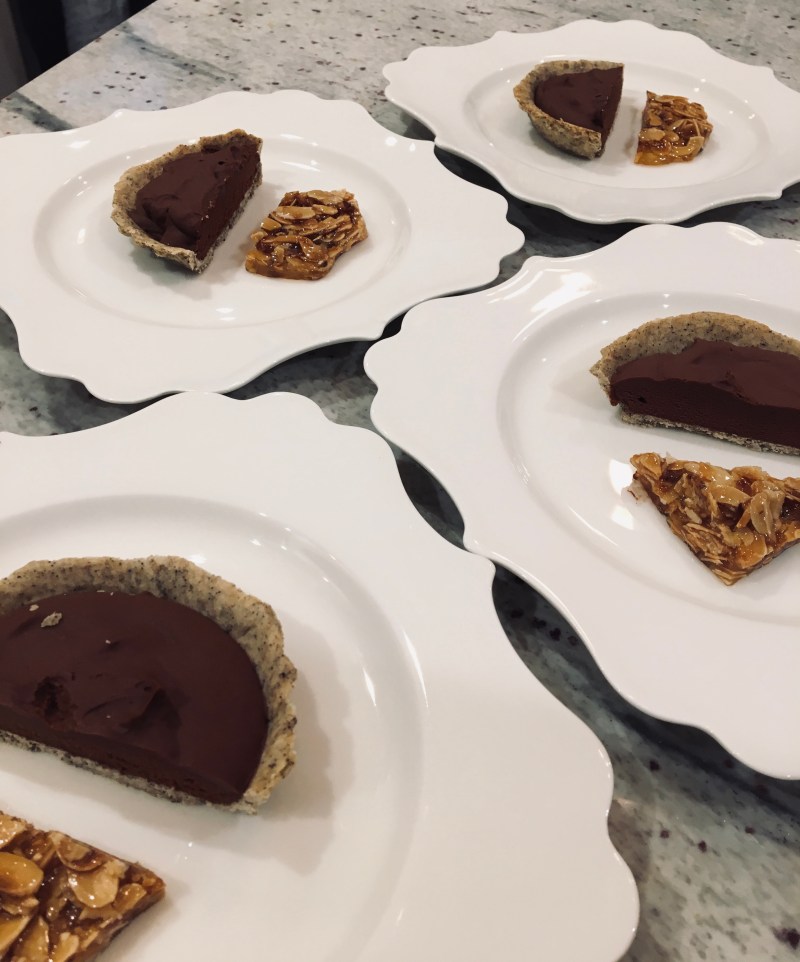 The pastry